background image

Copy Paper

19

1

*1

Paper weight: 80 g/m

2

, 20 lb

*2

When loading custom size paper in the bypass tray, you can specify the size. See p.30
“Copying from the Bypass Tray”.

*3

8K(Ba-Kai) = 267 

×

 390 mm, 10.6" 

×

 15.4"

*4

16K(Shi-Lui-Kai) = 195 

×

 267 mm, 7.7" 

×

 10.6"

*5

Place one sheet at a time. See p.30 “Copying from the Bypass Tray”.

Important

Misfeeds can occur when using damp or curled paper. In such cases, try turn-
ing over the paper stack in the paper tray. If there is no improvement, change
to copy paper with less curl.

Note

When using the bypass tray, it is recommended to load the paper in the 

L

orientation.

Postcards should be fed from the bypass tray.

Reference

If you want to add paper, see p.41 “

B

 Loading Paper”.

If you want to change the paper size, see p.46 “Changing the Paper Size”.

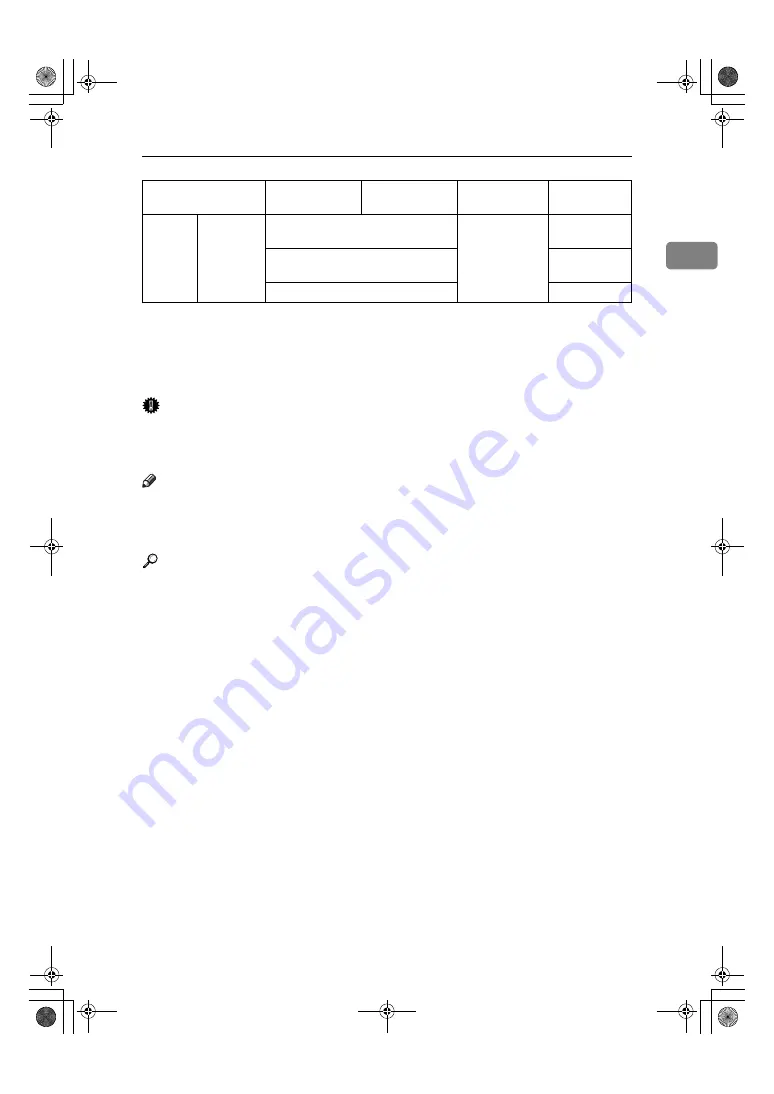
Bypass 
tray 

Custom 
sizes 

*5 

Translucent paper (A3

L

 , B4 JIS

L

), 

OHP transparencies

10 sheets

Translucent paper (A4

KL

B5 JIS

KL

), postcards

40 sheets

Adhesive labels (B4 JIS

L

, A4

L

)

1 sheet

Metric version

Inch version

Paper weight

Paper 
capacity

KirC1a_AE_F_FM.book  Page 19  Friday, January 31, 2003  4:54 PM

Summary of Contents for Aficio 1113

Page 1: ...book Paper thickness 2 0 mm Operating Instructions For safe and correct use of this machine please be sure to read the Safety Information in this manual before you use it Getting Started Copying Trou...

Page 2: ...use The machine contains a 5 milliwatt 770 800 nanometer wavelength GaAIAs laser diode Direct or indirect reflected eye con tact with the laser beam might cause serious eye damage Safety precautions a...

Page 3: ...i What You Can Do with This Machine KirC1a_AE_F_FM book Page i Friday January 31 2003 4 54 PM...

Page 4: ...e Main Power 14 Originals 15 Sizes and Weights of Recommended Originals 15 Original Sizes and Scanning Area 16 Copy Paper 18 Recommended Paper Sizes and Types 18 Unusable Paper 20 Paper Storage 20 2 C...

Page 5: ...Features 52 Settings You Can Change with User Tools 53 System Settings 53 Copier Features 56 5 Remarks Do s and Don ts 59 Toner 60 Handling Toner 60 Toner Storage 60 Used Toner 60 Where to Put Your Ma...

Page 6: ...iv KirC1a_AE_F_FM book Page iv Friday January 31 2003 4 54 PM...

Page 7: ...instructions under this symbol Be sure to read the instructions all of which are described in the Safety Information section The statements above are notes for your safety Important If this instructi...

Page 8: ...plug by pulling the plug not the cable if the power cable or plug becomes frayed or otherwise damaged To avoid hazardous electric shock or laser radiation exposure do not remove any covers or screws...

Page 9: ...e the machine Keep toner used or unused and toner cartridge out of the reach of children For environmental reasons do not dispose of the machine or expended supply waste at household waste collection...

Page 10: ...ING and R R R RCAUTION This machine has labels and hallmarks for RWARNING RCAUTION at the positions shown below For safety please follow the instructions and handle the machine as indicated 1 1 KirC1a...

Page 11: ...is environmentally friendly Please contact your sales representa tive for recommended paper As an ENERGY STAR Partner we have determined that this machine model meets the ENERGY STAR Guidelines for en...

Page 12: ...6 KirC1a_AE_F_FM book Page 6 Friday January 31 2003 4 54 PM...

Page 13: ...Exposure glass Place originals here face down for copy ing See p 15 Originals 3 Internal tray Copied paper is delivered here face down 4 Ventilation hole Prevents overheating Do not obstruct the vent...

Page 14: ...tor lights up To turn the power off press again the On indicator goes off 9 Control panel See p 10 Control Panel 10 Front cover Open to access the inside of the machine 11 Paper tray Load paper here S...

Page 15: ...omatically Other options 16 MB copier memory unit Increases copier features allowing you to use the sort function 32 MB DIMM Increases memory capacity allowing you to increase the number of originals...

Page 16: ...and con ditions to meet your requirements See p 49 User Tools 7 Clear Stop key While entering numbers press to cancel a number you have entered While copy ing press to stop copying 8 Clear Modes key...

Page 17: ...elect your original type 18 Number keys Use to enter the desired number of copies and data for selected modes 19 Start key Press to start copying Also use to initiate Auto Start See p 34 Auto Start 20...

Page 18: ...ected or specified ap pear here Currently selected items appear in brackets 3 Number of copies set Common keys 0 or 1 Press to move between pages or to select functions Cancel Press to cancel an opera...

Page 19: ...right side of the control panel Press to activate the machine When the machine has finished warming up you can make copies Main power switch left side of the machine When the machine is not to be use...

Page 20: ...an use the Auto Start function See p 34 Auto Start You can set up a copy job and press the Start key while Select Modes and Press Start is displayed When Input User Code and Press OK appears enter you...

Page 21: ...r creased originals Pasted originals Originals with any kind of coating such as thermal fax paper art paper alu minum foil carbon paper or conductive paper Originals with indexes tags or other project...

Page 22: ...A3 L L L L B4 JIS 1 L L L L A4 K K K KL L L L B5 JIS K K K K B5 JIS L L L L A5 K K K K A5 L L L L 11 17 L L L L 11 15 L L L L 81 2 14 L L L L 81 2 13 L L L L 81 2 11 K K K KL L L L 51 2 81 2 K K K KL...

Page 23: ...17 1 ADF Limitation Even if you place originals in the ADF or on the exposure glass correctly 4 mm 0 2 margins on all four sides might not be copied KirC1a_AE_F_FM book Page 17 Friday January 31 2003...

Page 24: ...ypass tray Standard sizes A3L B4 JISL 52 162 g m2 14 43 lb 10 sheets 1 A4KL B5 JIS KL A5KL B6 JISL A4KL B5 JIS KL A5KL B6 JISL 100 sheets 1 11 17 L 2 81 2 14 L 81 2 13 F4 L 81 4 13 L 8 13 F L 81 2 11...

Page 25: ...ray If there is no improvement change to copy paper with less curl Note When using the bypass tray it is recommended to load the paper in the L orientation Postcards should be fed from the bypass tray...

Page 26: ...opies on rough grain paper the copy image might be blurred Do not use paper that has already been copied or printed onto Paper Storage Note When storing paper the following precautions should always b...

Page 27: ...ax Copy Q ty on p 56 Copier Fea tures To change the number entered press the Clear Stop key and enter the new number G G G G Press the Start key Copying begins Note To stop the machine during a multi...

Page 28: ...results de pending on the orientation of orig inals For details see the explanations for each function Reference For original sizes you can place see p 15 Originals Placing Originals on the Exposure...

Page 29: ...on them Al so do not place anything on the ex posure glass cover as this could cause a paper jam ADF 1 Sensors Reference For details about originals the ADF can handle see p 15 Originals Placing a sta...

Page 30: ...function are vertical 105 297 mm 4 12 horizontal 128 1 260 mm 5 50 The maximum copy paper size is 297 432 mm 11 17 A A A A Place the original B B B B Press the Select Paper Tray key to select the pap...

Page 31: ...acing Originals 25 2 D Enter the vertical size of the original using the number keys and then press the OK or R key C C C C Press the Start key KirC1a_AE_F_FM book Page 25 Friday January 31 2003 4 54...

Page 32: ...djust the image density Selecting an Original Type There are two ways to match your originals Text If you do not select either of the modes your originals will be scanned using text original Text mode...

Page 33: ...select the desired copy pa per size manually You can also se lect the bypass tray Reference p 30 Copying from the Bypass Tray A A A A Select the paper tray or bypass tray by pressing the Select Paper...

Page 34: ...e By default the maximum number of sets is 99 You can change the default number us ing 1 Max Copy Q ty in the copier features See p 56 Copi er Features C C C C Place your originals When placing a stac...

Page 35: ...ected A Place the original and then press the Start key B Place the next original and then press the Start key Note Place the original in the same orientation as the first one C After all the original...

Page 36: ...or details about the paper capaci ty of the bypass tray see p 18 Copy Paper A A A A Open the bypass tray B B B B Push up the paper guide release lever 1 Paper guide release lever C C C C Gently insert...

Page 37: ...a multi sheet feed D D D D Push down the paper guide re lease lever Bypass is automatically select ed Note If you place A4 81 2 11 or larger copy paper hold the edge of the paper and push down the pa...

Page 38: ...ze paper Important To avoid paper misfeeds you should specify the size of paper A Press the R key B Make sure 1 Paper Size is displayed and then press the OK key C Press the 0 0 0 0 or 1 1 1 1 key unt...

Page 39: ...y to select 2 Pa per Type and then press the OK key C Press the 0 0 0 0 or 1 1 1 1 key until Special is displayed and then press the OK key E E E E Place your originals and then press the Start key Ki...

Page 40: ...Counter key B B B B Press the 0 0 0 0 or 1 1 1 1 key to display 3 Copier Features and then press the OK key C C C C Press the 0 0 0 0 or 1 1 1 1 key to display 6 Key Op Tools and then press the OK key...

Page 41: ...e copied or mar gins may appear Copies can be reduced or enlarged as follows Metric version Inch version Ratio Original Copy paper size 200 enlarge area by 4 A5 A3 141 enlarge area by 2 A4 A3 A5 A4 12...

Page 42: ...arge key B B B B Press the 0 0 0 0 or 1 1 1 1 key until the de sired reduce enlarge size is dis played C C C C Press the OK key D D D D Place your originals and then press the Start key KirC1a_AE_F_FM...

Page 43: ...e duce or Enlarge key then press the Zoom key and make fine ad justment using the 0 or 1 key A A A A Press the Zoom key B B B B Enter the ratio When using the 0 or 1 key A Enter the desired reproducti...

Page 44: ...Copying 38 2 KirC1a_AE_F_FM book Page 38 Friday January 31 2003 4 54 PM...

Page 45: ...he user code eight dig it number Users are restricted by user management Enter the user codes See p 34 User Codes The display is off The machine is in low power mode Turn on the operation switch The o...

Page 46: ...age density is too light Adjust the image density See p 26 Adjusting Copy Image Density Damp or rough grain paper is used Use dry paper without rough grain Toner bottle is almost empty Add toner See p...

Page 47: ...is not being used B B B B Pull the paper tray out until it stops C C C C Push the metal plate down Square the paper and then load it into the tray Important Do not stack paper higher than the limit m...

Page 48: ...bout 50 copies after the D symbol begins flashing but re place toner early to prevent poor copy quality Reference For details about toner storage see p 60 Toner Storage Do not incinerate used toner or...

Page 49: ...to side five or six times Note Do not remove the black cap when shaking Remove the black cap Note Do not remove the inner cap Put the toner bottle on the holder and then pull its head forward Push in...

Page 50: ...than one misfeed may be indicated If this happens check every appli cable area See the following charts B P There is a sticker inside the right cover that explains how to remove misfed paper When the...

Page 51: ...x Clearing Misfeeds 45 3 KirC1a_AE_F_FM book Page 45 Friday January 31 2003 4 54 PM...

Page 52: ...Changing the Paper Size in the Paper Tray A A A A Make sure the paper tray is not being used B B B B Pull the paper tray out until it stops Note Remove any remaining copy paper C C C C While pressing...

Page 53: ...aighten curled or warped pa per before loading it into the tray H H H H While pressing the release lever adjust the back and side fences to the new paper size Important When setting small quantities o...

Page 54: ...aper jam might occur If you cannot find the desired paper size select p and then load the copy paper size with the 6 Special Paper Size set ting See p 53 System Settings K K K K Push the paper tray in...

Page 55: ...System Set tings and p 52 Copier Fea tures D D D D Search for the desired setting us ing the 0 0 0 0 or 1 1 1 1 key Note 1 key Press to go to the next menu 0 key Press to go back to the previous menu...

Page 56: ...ess the OK key to view the total number of prints C C C C Press the Start key Changing the Languages You can change the language used on the display English is set as the de fault A A A A Press the Us...

Page 57: ...User Tools Menu 51 4 User Tools Menu System Settings KirC1a_AE_F_FM book Page 51 Friday January 31 2003 4 54 PM...

Page 58: ...User Tools 52 4 Copier Features KirC1a_AE_F_FM book Page 52 Friday January 31 2003 4 54 PM...

Page 59: ...completion This time can be set from 1 to 240 minutes In low power mode power consumption is reduced by 30 com pared with standby mode Note Default 1 minute Energy Saver might not be effective when a...

Page 60: ...e requires the same warm up time as the time to ready after power on 5 AOF Keep it on Note For details about this function contact your service represent ative 6 Special Paper Size Select the size of...

Page 61: ...s code to On or Off If you select On the registered access code is required for all applications Note Default Off Reference 4 Prog Key Op Code 4 Registering the key operator code 4 Prog Key Op Code Re...

Page 62: ...2 For text photo images containing mainly text areas Photo Mode 3 For photographic paper Special Mode 1 For originals through which light text on the rear side is ex tremely visible or there is a colo...

Page 63: ...51 2 81 2 81 2 14 When selecting User Ratio enter a ratio using the number keys from 50 to 200 4 Copy Reset Timer The machine automatically returns to its initial condition after your job is finished...

Page 64: ...pies made under each user code You can also reset each user code s counter to 0 5 Clear all User Codes 5 Clr All User Codes You can clear all user codes Note The number of copies made under the old co...

Page 65: ...ill continue However scanning of originals is interrupted The machine might fail to produce good copy images if condensation forms inside the machine due to rapid temperature change Do not open the co...

Page 66: ...sunlight Store on a flat surface Used Toner Note Toner cannot be re used Do not incinerate used toner or toner containers Toner dust might ig nite when exposed to an open flame Dispose of used toner c...

Page 67: ...t has an air turnover rate of more than 30 m3 hr per son Keep the machine away from humidity and dust Otherwise a fire or an elec tric shock might occur Do not place the machine on an unstable or tilt...

Page 68: ...ust be careful Take the following precau tions Turn off the main power Unplug the power cord from the wall outlet When you pull out the plug from the socket grip the plug to avoid damaging the cord an...

Page 69: ...4 or more 2 Right 1 cm 0 4 or more 3 Front 75 cm 29 6 or more 4 Left 1 cm 0 4 or more Connect the machine only to the power source described on the inside front cover of this manual Connect the power...

Page 70: ...to remove the water Important Do not use chemical cleaners or or ganic solvents such as thinner or benzene They can get into the ma chine melting plastic parts caus ing a failure Do not clean parts ot...

Page 71: ...g Heating roll system Resolution 600 dpi Exposure glass Stationary original exposure type Original reference position Rear left corner Warm up time Less than 25 seconds 20 C Originals Sheet book objec...

Page 72: ...K 100 feeding from paper tray Copying speed 6 copies minute A3L 11 17 L 8 copies minute B4 JISL 13 copies minute A4K 81 2 11 K Reproduction ratio Preset reproduction ratios Zoom From 50 to 200 in incr...

Page 73: ...lete system consists of main unit with full options Weight Approx 34 kg 75 lb Note Specifications are subject to change without notice Main unit only Complete system 1 Warm up About 780 W About 790 W...

Page 74: ...ion less than 25 W Power is supplied from the main unit Dimensions W D H 550 470 90 mm 21 7 18 6 3 6 Weight Approx 7 kg 15 4 lb Note Specifications are subject to change without notice 16 MB Copier Me...

Page 75: ...M available only when the optional 16 MB copier memory unit is installed Additional functions Increased memory capacity Number of originals that can be stored About 99 pages ITU T No 4 chart KirC1a_AE...

Page 76: ...nergy Saver Timer 53 Exposure glass 7 15 16 22 64 Exposure glass cover 7 9 64 F Front cover 8 I Internal tray 7 K Key Operator Tools 55 L Loading Paper 41 M Machine Environment 61 Main power indicator...

Page 77: ...71 U User Codes 34 User Tools 49 V Ventilation hole 7 Z Zoom 37 KirC1a_AE_F_FM book Page 71 Friday January 31 2003 4 54 PM...

Page 78: ...72 AE AE B120 6608 MEMO KirC1a_AE_F_FM book Page 72 Friday January 31 2003 4 54 PM...

Page 79: ...use The machine contains a 5 milliwatt 770 800 nanometer wavelength GaAIAs laser diode Direct or indirect reflected eye con tact with the laser beam might cause serious eye damage Safety precautions a...

Page 80: ...book Paper thickness 2 0 mm Operating Instructions For safe and correct use of this machine please be sure to read the Safety Information in this manual before you use it Getting Started Copying Trou...

Reviews: