Setup Guide for Ricmotech
RealGear RACEpro Switch Panel
This guide will help you mount and configure your
RACEpro switch panel for use. There are many
configurations for the various knobs, and switches that
can be tailored to your preference. Please read this
entire manual carefully if you wish to get the most out
of your new switch panel.
Mounting
Mounting the switch panel can be easily accomplished
by using the threaded holes on the back of the panel.
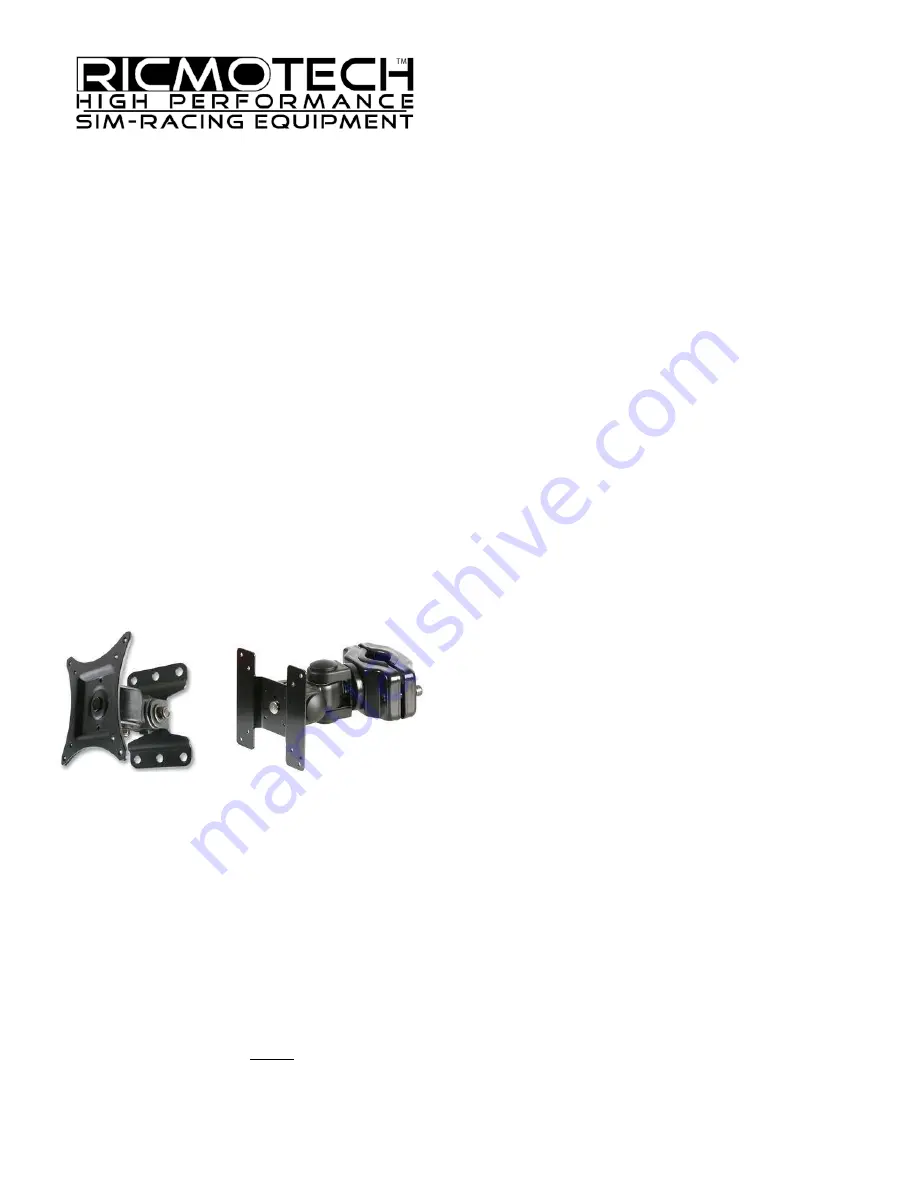
The holes are drilled in two sets of VESA 75x75 and
100x100. These is the same mounting pattern found on
typical PC monitors therefore you can mount the panel
using a PC monitor arm of your choosing so long as it
can be fixed into place. We do not recommend monitor
brackets that are designed to allow the monitor to be
moved freely. Ricmotech has several options available
which have been tested to work effectively.
There is also a flush mount kit to secure it into a 5 inch
by 10 inch panel opening.
PC Installation
Plug a USB A-male to B-Male cable from the back of the
switch panel to the PC. Windows should automatically
install drivers for it. After the drivers have been
installed, click Start and type joy.cpl, this will open the
game controllers panel. Toggle some of the switches
and observe the red dots changing color on screen to
confirm the switch panel is working correctly.
Basic Principles of a Switch Panel
Both Windows and Sim-racing titles are designed so
that all auxiliary functions in the sim are controlled with
a push-button controller or a keyboard. However,
neither of these devices is found on a real race car, so
we prefer to use switches, and knobs. So the RACEpro
Switch Panel will take all the inputs and output them to
the game as button presses. The RACEpro will allow you
to change the way some of the button presses are
output when a knob is turned or a toggle switch is
flipped.
Latching Toggle Switch
T
he latching toggle switch will output a short button
press when the switch is flipped on (up position) and
another short button press when the switch is flipped
off (down position). If the switch is toggled on then off
quickly, or off then the Re-Sync function is triggered.
The Re-Sync function allows the user to easily correct an
"out-of-sync" condition.
Here is an example of how an "out-of-sync" condition
occurs. Suppose a latching toggle switch is used for the
pit lane speed limiter. The user enters a practice session
and is placed in pit lane with the limiter already turned
on but the switch on the switch panel is in the off
(down) position. Since the game only responds to a
button press to toggle the limiter on/off, flipping the
switch on (up) will result in turning the limiter off and
flipping it off (down) will turn it on. This is an "out-of-
sync" condition. To get the game in sync with the switch
just flip the switch on then off very quickly, which
triggers the Re-Sync.
One-Way Momentary Toggle
When the toggle switch is flipped, the panel will output
a button press and hold it pressed for as long as the
toggle is held in the flipped position. When the toggle is
released it will return to its normal position and the
output will stop.
Push-Button Switch
The push-button operates the same as the one-way
momentary toggle. When the button is pressed, the
panel will output a button press and hold it pressed for
as long as the button is held down. When the button is
released it will return to its normal position and the
output will stop.


