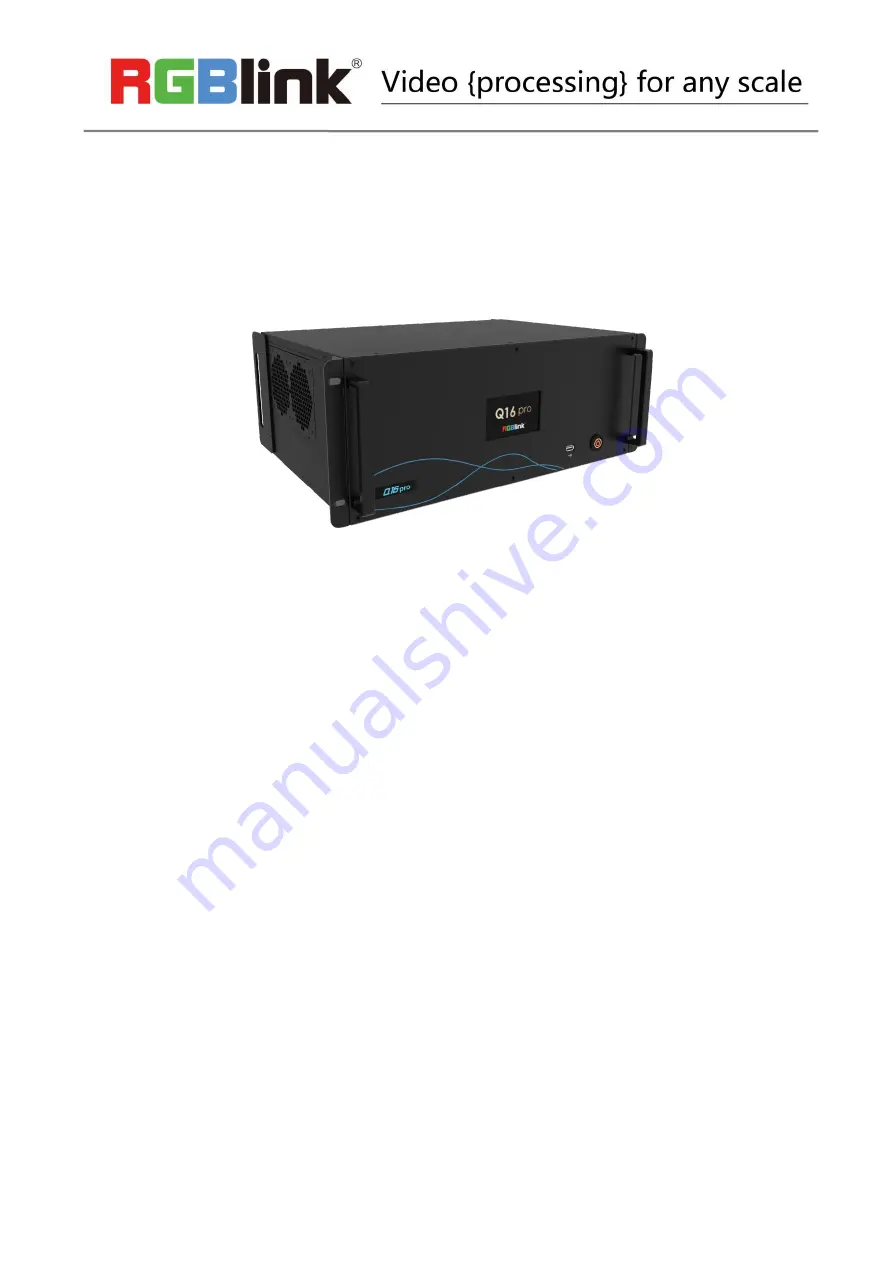
background image

Q16pro 2022

Quick Start

Each module supports up to 8 layers

Support 4K@60 inputs and outputs

Each layer supports for overlying,crossing and roaming

XPOSE visualization operation

Dual OSD scrolling

Genlock synchronization

Support deinterlacing

Summary of Contents for Q16pro2022

Page 1: ...art Each module supports up to 8 layers Support 4K 60 inputs and outputs Each layer supports for overlying crossing and roaming XPOSE visualization operation Dual OSD scrolling Genlock synchronization Support deinterlacing ...

Page 2: ...3 Front Panel 3 Rear Panel 4 USE YOUR PRODUCT 6 Install XPOSE 6 Login in XPOSE 10 System Setting 12 Find Device 12 Keyboard Manager 13 Authorization Setting 14 Output Input Overview 15 Connect the Device 15 Output Setting 16 Input Setting 16 Device Overview 18 Display System 19 Layer Management 21 Preset Management 24 CONTACT INFORMATION 27 ...

Page 3: ...erformance platform that can be deployed in varied applications including corporate and visual messaging as well in retail and digital signage applications The Q16pro models allow connection of 4K video sources as well as output to 4K with outputs offering multi screen and multi layer capabilities A host of features are built in to Q16pro including EDID management 3D image processing and highly co...

Page 4: ...gblink com www rgblink com 3 28 Hardware Orientation Front Panel Description 1 LCD Touch Screen shows LOGO and main menu Main Menu include Device Settings Load Upgrade Language and Version 2 USB Port for device upgrade 3 Power Switch to turn on off device 1 2 3 Q16pro 4U ...

Page 5: ...lots 1 3 supporting HDMI DP and other optional modules 2 Blue Output 1 2 Output slots 1 2 supporting HDMI DP and other optional output modules supporting input modules 3 Yellow COMM Communication board with LAN and RS232 port to connect router or computer to realize software control 4 Power Interface support single power supply Q16pro 2U ...

Page 6: ...t slots 1 5 supporting HDMI DVI SDI DP and other optional output modules supporting input modules 3 Yellow COMM Communication board with LAN and RS232 port to connect router or computer to realize software control 4 Power Interface 2U supports single power supply 4U and above supports double power supply module Note purple tip indicates input blue tip indicates output yellow tip indicates communic...

Page 7: ...itions NTFS format Monitor Resolution must be 1920x1080 pixel or above it can not display normally if the resolution is lower than 1920x1080 Operating system Windows 7 or above full version not Ghost version or compact version CPU i5 and above Mac Monitor Resolution must be 1680x1050 pixel or above it can not display normally if the resolution is lower than 1680x1050 CPU i5 and above Double click ...

Page 8: ...ort rgblink com www rgblink com 7 28 Click Browse to select the XPOSE software install location Click Install During installation it will pop up the window of Install Shield Wizard for Virtual Com port If user install the XPOSE software for the first time click Next ...

Page 9: ...GBlink Science Technology Co Ltd Ph 86 592 5771197 support rgblink com www rgblink com 8 28 Then click Install as shown in the figure below Click Finish and complete the installation as shown in the figure below ...

Page 10: ... Xiamen RGBlink Science Technology Co Ltd Ph 86 592 5771197 support rgblink com www rgblink com 9 28 Click Finish and is ready to run the XPOSE ...

Page 11: ...th first name last name email company and country and then click Register Now Please note that the email shall be invalid and complete otherwise Registration Activation code cannot be received Click Activate and scan the QR code an email from RGBlink Registrations will be sent to the Register email address Type in the activate code and confirm Keep the user name as Admin and password blank and the...

Page 12: ...com 11 28 After login users can find the management including Topology Diagram Search Display System Layer Management Preset Management Keyboard Settings The details of each hierarchy will be described hereafter In the following text we are going to show how to use XPOSE 2 0 to control Q16pro ...

Page 13: ...OSE 2 0 is done either by connecting Q16pro to the PC which run XPOSE 2 0 or connect Q16pro to router which offer same network as the PC in System Info show the current software version Language Chinese English and Russian Communication Setting Search or Direct Search default Serial port Ethernet Communication Both are Choose Both are Chosen default Layer Management Auto Cut On or Off Prompt Messa...

Page 14: ... Keyboard setting is designed to fit for different operation system such as Windows and Mac Users can set short cut keys Drag Input Output Layer and Preset from the list to the keys you desired as follow Input Output Layer If the setting goes wrong or no need for short cut keys any more click to clear some keys or clear all Clear is to clear some keys the keys need to selected before hand Clear al...

Page 15: ...een block to remove the function not to be permitted Click Slave Unit Slave Unit is to control multiple devices simultaneously which are connected to same network In the same network means the the the third section in the IP address digits are the same XPOSE do operation on one device same operation synchronized to other devices For example there is another devices linked to the same network one w...

Page 16: ...ce is selected in Find Device under System Setting the device can be searched on XPOSE 2 0 Click the and click refresh to check all available devices in the network Click to choose the device and in Chosen Device click the device to obtain the control of this device Following is 4U model for your reference and the operation takes 4U as an example Q16pro 4U ...

Page 17: ... do the following settings in the edit section after clicking icon Resolution setting Resolution Q16pro supports customizing resolution and users can also use standard output resolution Click any input port in purple area the board where the port locates is selected Users can do settings to the board now A red rectangle flashes around the chosen port when it is clicked Different input modules port...

Page 18: ...t port Scale X Y Vertical and horizontal position Width Height Vertical and horizontal size Crop Left crop left Top crop top Width horizontal size after crop Height vertical size after crop EDID Input Port chosen port Basic Parameters EDID Template RGB DVI or RGB HDMI Monitor Name type the monitor name Width Height Frequency type in custom parameters to meet your needs ...

Page 19: ...ard info Input modules info and output module info IP Support auto manual setting Show IP Address Netmask Gateway Fan Control Support auto manual setting Fan Speed 0 100 Backup You can choose to turn on off backup Backup Mode Input Backup Preset Backup Power on Set power on time Factory Setting Remove EDID Clear the previous EDID parameter Save IP No change of IP after reset Note IP default 192 16...

Page 20: ... types of basic Display Area which is used to contain output interface and could be regarded as layout of output Drag a template to create a container in other word a display area Mode XPOSE 2 0 allows multiple modes running on one same interface to differentiate each mode different color is given to each mode based on different devices Q16pro Presentation Mode and Matric Mode optional Monitor Res...

Page 21: ... list Monitor Layout Auto or Manual Users can fill in the H Total V Total Row and Column in Auto or Manual mode then click a customized container is created If this container need to be saved click If Users choose Manual there will be a simulated display area showing up at the bottom of the column After fill in the H V total and Row Column drag the available monitor to the display area Display Sys...

Page 22: ...ed to manage the layer of each monitor Click this icon to enter the interface Adjust Display Sysyem window on XPOSE interface Drag the boarder of the display area to move its place in the interface Click icon to shrink Click to enlarge the proportion of display area on interface Cancel a Screen Group Long pressing the to cancel the screen group ...

Page 23: ...rner is to show how many layers at present allowed to put in the output Layer Adjustment there are two ways to adjust layer 1 Use the bar under the interface Choose one layer and the bar shows its signal source type in position and size Display Area When enter Layer Management interface the window is blank The screen group created in Display System shall be dragged from the Display Area Signal Sig...

Page 24: ...nitor cover up all monitors in the same screen group with the one signal Layer Copy Press Ctrl and mouse left at the same time move the mouse the layer selected can be copied and place in any monitor in the same Display Area but it doesn t work when cross over display area 1 this icon means data related when width is changed height will be changed as same proportion 2 this icon means data not rela...

Page 25: ... the tools bar on top of window to do such operations Layer Backward Layer to Top Paste Selected Layer Forward Select All Cancel Selected Layer to Bottom Copy Selected Delete Selected Preset Management Preset Management is designed to switch bank scene setting done in last step Preset Management Mode 1 Manual Mode 2 Schedule Mode ...

Page 26: ...scene preset switch Manual Mode Switch Manual Mode or Schedule Module by the bar in the left bottom corner of the window Cut Cut switch from PST to PGM immediately Select a bank and click Preset Name fill in the blank after New Preset Name to rename a Preset Bank Click the color block after Color Selection and choose a new color for the boarder of chosen bank Hotkey ...

Page 27: ...28 Select the bank that need to be looped Set Start Time and End Time and press OK to confirm The Preset can be added into the loop list after confirm click this icon to edit Start Time and End Time if needed Click this icon to delete this preset if it is not needed Turn on Daily Loop and Loop Switch ...

Page 28: ... valid to the original purchase owner Warranty related repairs include parts and labor but do not include faults resulting from user negligence special modification lighting strikes abuse drop crush and or other unusual damages The customer shall pay shipping charges when unit is returned for repair Headquarter Room 601A No 37 3 Banshang community Building 3 Xinke Plaza Torch Hi Tech Industrial De...

Reviews: