background image


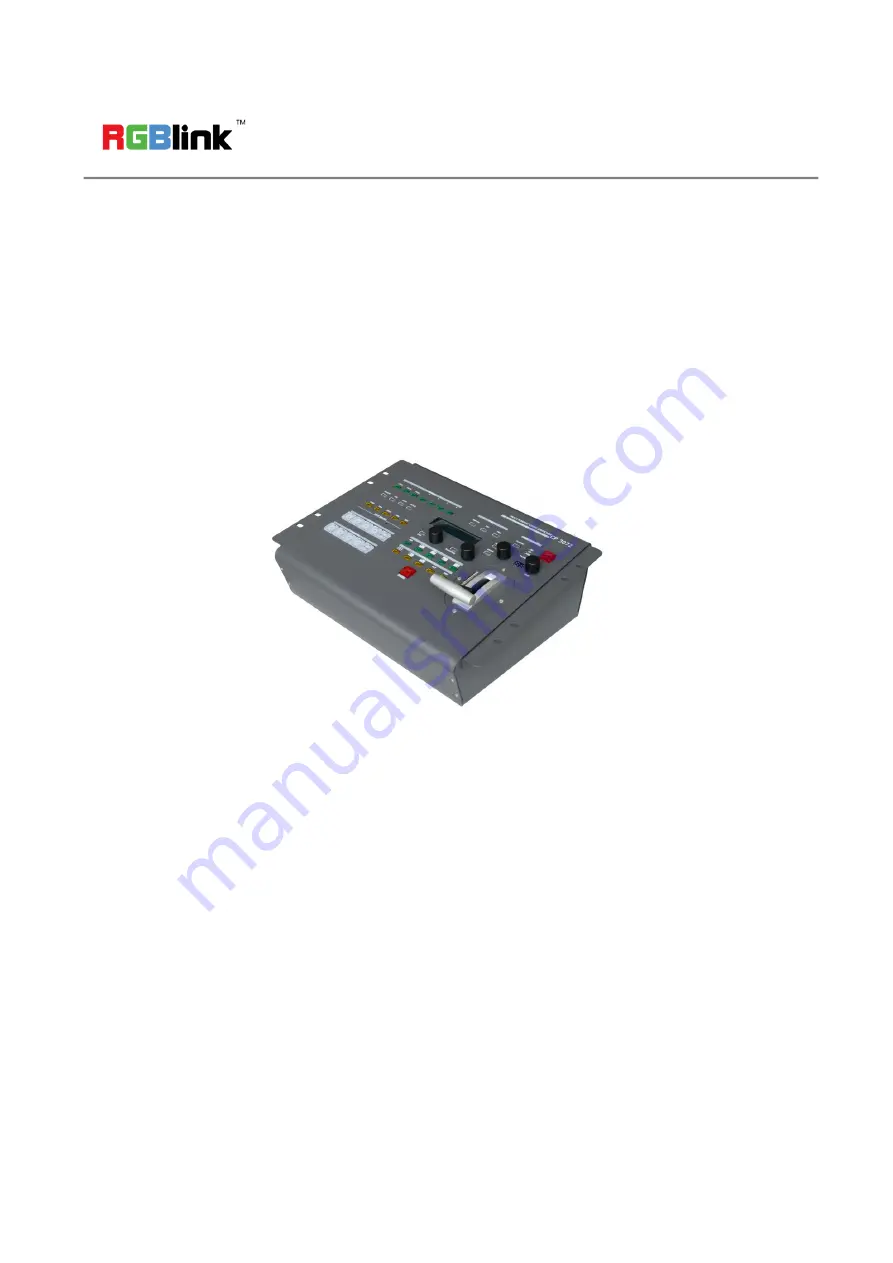
CP 3072S Quick Start


VIEWSIZE THE WORLD


4 channels, 16 signal sources 


Preview and program outputs separately 


PIP between any two inputs 


Seamless switching between any two channels 


Seamless switching between PIPs 


Operation  of  T-BAR  to  realize  the  seamless 

switching of video signals 


Support the multi-layers preview 


Support the preview edition 


Support DSK between any two channels 


Support blend between any two channels 

Summary of Contents for CP 3072S

Page 1: ...PIP between any two inputs Seamless switching between any two channels Seamless switching between PIPs Operation of T BAR to realize the seamless switching of video signals Support the multi layers preview Support the preview edition Support DSK between any two channels Support blend between any two channels ...

Page 2: ...nel 9 Operating Instruction 10 Content 10 How to Change the Transition Effects 11 How to Choose the Output Format 11 How to Edit the Channel Signal 12 How to Realize Single Image Switching 12 How to Scale the Image 13 How to Crop the Image 13 How to Set the Position of the Image 13 How to Set up the PIP 13 How to Use Black Out 14 How to Realize the BLEND Setting 15 How to Realize the DSK Setting 1...

Page 3: ...sing the interactive control panel including the buttons knobs T BAR slider control OLED panel the indicator light etc System Connection RGBlink offers solutions to demanding technical problems Any application questions or required further information please contact with our customer Support Engineers CP 3072 System Connection Diagram The CP 3072S supports the multi layers preview preview edit and...

Page 4: ...216 Email sales rgblink com http www rgblink cn 3 Packing Configuration Note Chinese Standard American Standard or European Standard power cord is option The parts bag contains 1 PVC bag 1 CP 3072S silkscreen 1 standard screwdriver 2 blank key caps and 2 T bar gasket Power Cord USB Cable Certification HDMI to DVI Cable Parts Bag USB Disk ...

Page 5: ...il sales rgblink com http www rgblink cn 4 Hardware Orientation Front Panel Panel Instruction 1 PVW out area 7 Output format setting area 2 Save Load area 8 Lock top panel area 3 Function edit area 9 Transition time control area 4 Input sources edit area 10 T bar control area 5 DSK BLEND and PIP area 11 Auto take button 6 Effects operation area ...

Page 6: ...ruction INPUTS 4 layers preview signal PGM Program output signal PST Preview edit signal Button Instruction LOAD Load button PAGE Total 4 pages use for save and load SAVE Save button 1 4 Number button use for save and load Button Instruction BRIGHT Brightness adjustment button MENU Menu button POS Position adjustment button ENTER Confirm button CROP Crop button OLED Panel Show operation menu items...

Page 7: ...utton LED Light The light is on if there is PGM out and is off if there is no PGM out HDMI HDMI signal source button 1 4 Channel signal source button and number button USB USB signal source button BLACK Black button Button Instruction DSK DSK effect button PIP layout shortcut button PIP L T Key level knob Alpha adjustment knob PIP layout shortcut button PIP R T BLEND BLEND effect button PIP layout...

Page 8: ...ink com http www rgblink cn 7 6 Effects Operation Area 7 Output Format Setting Area 8 Lock Top Panel Area Button Instruction 0 CUT L R L R T B B T III FADE L M R T M B LT RB Button Instruction FORMAT Output format button HD HD output format indicator SD SD output format indicator RGB RGB output format indicator Button Instruction LOCK Lock top panel button ...

Page 9: ...0865925788216 Email sales rgblink com http www rgblink cn 8 9 Transition Time Control Area 10 T bar Control Area 11 Auto Switch Button Button Instruction OLED Panel Show transition time Knob Adjust transition time Button Instruction T bar Switch effects mode manually Button Instruction TAKE Preview seamless effect switch button ...

Page 10: ...BS input BNC port 3 7 11 15 HDMI input HDMI A port Only for CP 3072 or 3G SDI input BNC port Only for CP 3072S 4 8 12 16 VGA input DB15 port 23 25 Audio input port Other Interface 17 Switch 18 Power IEC 3 19 Dial Switch 20 USB Interface 21 22 RS 232 Interface 24 TALLY light Output Interface 27 HDMI program output HDMI A 29 VGA program output DB15 31 CVBS program output BNC 26 HDMI preview output H...

Page 11: ...struction Content How to Change the Transition Effects How to Choose the Output Format How to Edit the Channel Signal How to Realize Single Image Switching How to Scale the Image How to Crop the Image How to Set the Position of the Image How to Set up the PIP How to Use Black Out How to Realize the BLEND Setting How to Realize the DSK Setting How to Save the Parameter How to Load the Saved Paramet...

Page 12: ...5 kinds of mode L R L R T B B T and III Push the wipe pattern shortcut button there are 3 kinds of mode L M R T M B and LT RB Push the wipe pattern shortcut button user can choose cut mode Push the wipe pattern shortcut button user can choose fade in fade out mode 2 Push the TAKE button or use T bar switcher to switch between the image with effects Note T bar is only available for fade How to Choo...

Page 13: ...channel 2 will be switched to VGA push button 2 again the OLED screen show as follows How to Realize Single Image Switching CP 3072S can realize seamless effects switch between two channels choose the channel in B BUS PST area then push the TAKE button the signal will be switched to LED display For example switch channel 2 to LED display first push the 2 button in B BUS PST area then push the TAKE...

Page 14: ...OS or V POS and set according to actual need user can adjust the items by the knob or number buttons after setting push the knob to confirm 3 If image quality distorts by improper operation it can be recover by reset How to Set the Position of the Image 1 Push the POS button in Function Edit Area and enter to the position adjustment function menus 2 Turn the knob choose H POS or V POS and set acco...

Page 15: ...peration user can choose the channel of A BUS or B BUS How to Use Black Out Black out descriptions Black signal realizes one key touch to a black screen CP 3072S provides black effect processing for program output and preview output with cut black effect Operation is as below Push the BLACK button in A BUS PGM bar the button light is on then the program output is cut to black Push the BLACK button...

Page 16: ...the DSK Setting 1 First set PIP mode or user can not set DSK 2 Push the DSK button in DSK Operation Area and enter to the DSK menus SELECT User can choose the signal of A BUS channel or B BUS channel MODE There are 2 kinds of preset modes DSK and KEY COLOR The colors include white yellow cyan green red blue and black BACKGROUND User can choose black or blue Y Cb Cr OFFSET User can optimize the eff...

Page 17: ... 3 Then set BANK buttons 1 to 4 are on or flash the button on can be saved and flash will be overwrite push the button on to save How to Load the Saved Parameter 1 Push the LOAD button the button light turns on and PAGE 1 2 3 and 4 button light flash 2 First set PAGE for example choose 1 3 Then set BANK buttons 1 to 4 are on or flash the button on is ready for recall and flash means just recall pu...

Page 18: ... and are non transferable RGBlink warranties are only valid to the original purchase owner Warranty related repairs include parts and labor but do not include faults resulting from user negligence special modification lighting strikes abuse drop crush and or other unusual damages The customer shall pay shipping charges when unit is returned for repair Headquarter S603 604 Weiye Building Torch Hi T...

Reviews: