


21
------------------ Video Adjustment
Please make sure that all the system units and devices are connected properly
before the video adjustment operation begin. To optimize the video performance,
users can adjust the video equalization (sharpness) through hotkey commands or
Push-Button configurations.
Video Adjustment Configuration (HDMI/DVI)
(
on
Computer Unit
only
)
z
DVI Mode for Monitor Display
Set the display(s) of both
Console
and
Computer Units
to DVI mode that is
incapable of carrying any audio signals. (Perform this setting before creating
the connection between the Extender Units and/or the KVM Switch(es))
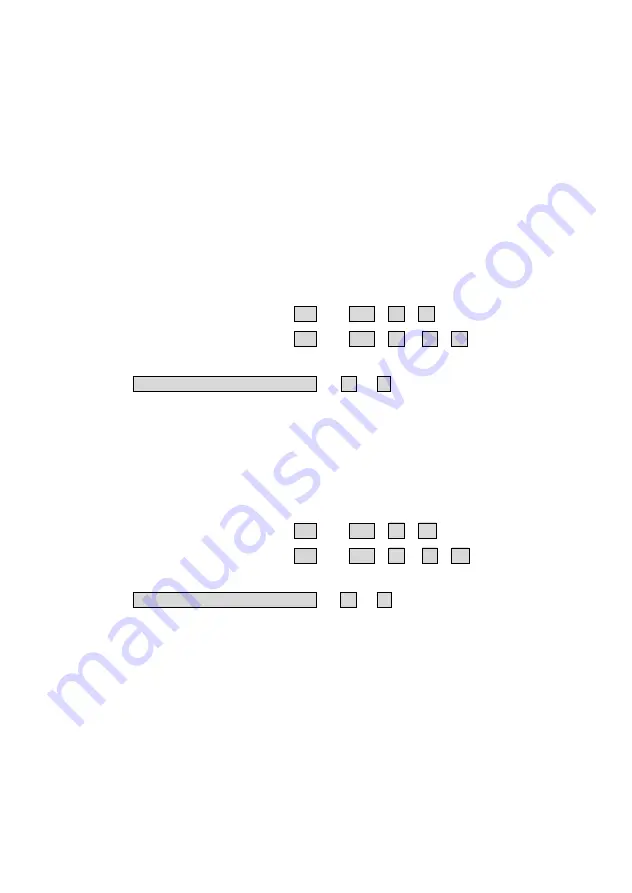
in Standard Mode:
[
left
Ctrl +
left
Ctrl + V + D
]
in Compatibility Mode:
[
left
Ctrl +
left
Ctrl + E + V + D
]
OR
Press & Hold
Push-Button
2 Sec.
+ V + D
z
HDMI Mode for Monitor Display
Set the display(s) on both
Console
and
Computer Units
to HDMI mode that is
capable of carrying high-definition digital audio and video signals. (Perform this
setting only on the Computer Unit before creating the connection between the
Extender Units and/or the KVM Switch(es))
in Standard Mode:
[
left
Ctrl +
left
Ctrl + V + M
]
in Compatibility Mode:
[
left
Ctrl +
left
Ctrl + E + V + M
]
OR
Press & Hold
Push-Button
2 Sec.
+ V + M
NOTE: By factory default, the display mode on Console and Computer Units is set
to DVI mode.
NOTE: The HDMI/DVI video adjustment is applicable only if the fiber optic cable is
connected and the Console Unit is set to remote mode.


