


REHVD0309-1, Quick Installation Guide
8
3.5 Network Camera Setup
This section describes how to configure the network camera, and is intended for product
Administrators,
who have unrestricted access to all the Setup tools; and Operators, who have access
to the settings for Basic, Live View, Video & Image, Audio, Event, and System Configuration.
You can configure the network camera by clicking Setup
in the top right-hand corner of the Live View
page. Click on this page to access the online help that explains the setup tools
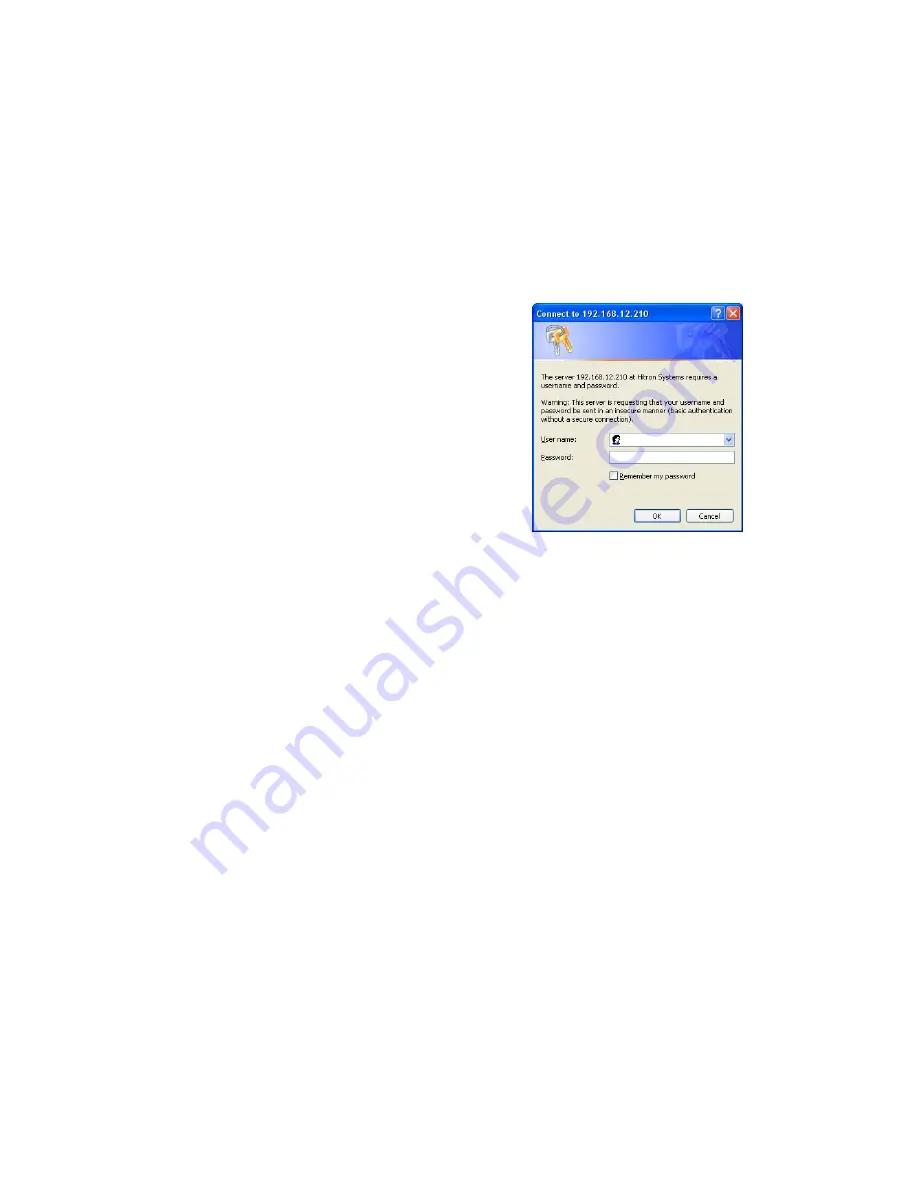
When accessing the Network Camera for the first time,
the “Admin Password” dialog appears. Enter your admin
name and password, set by the administrator.
Note: If the password is lost, the Network Camera must
be reset to the factory default settings.
See “3.6 Resetting to the Factory Default Settings”.
3.6 Resetting to the factory default settings
To reset the Network Camera to the original factory settings, go to the Setup>System >Maintenance
web page (described in “3.5.5 System>Maintenance” of the User’s Manual) or use the control button
on the network camera, as described below:
Follow the instructions below to reset the Network Camera to the factory default settings using the
Reset Button.
1. Switch off the Network Camera by disconnecting the power adapter.
2. Press and hold the Control Button with a straightened paperclip while reconnecting the power.
3. Keep the Control button pressed until the Status and Power indicator blink.
4. Release the Control Button.
5. When the Power Indicator changes to Green (may take up to 1 minute), the process is complete
and the network video transmitter has been reset.
6. The transmitter resets to factory defaults and restarts after completing the factory reset.
CAUTION: When performing a Factory Reset, you will lose any settings you have saved.
3.7 More Information
For more information, please see the Network Camera User’s Manual, which is available on the CD
included in this package.


