PB Pro Companion Guide
© Resus Digital Limited 2018
Manual Version 3.02
October 2nd
9
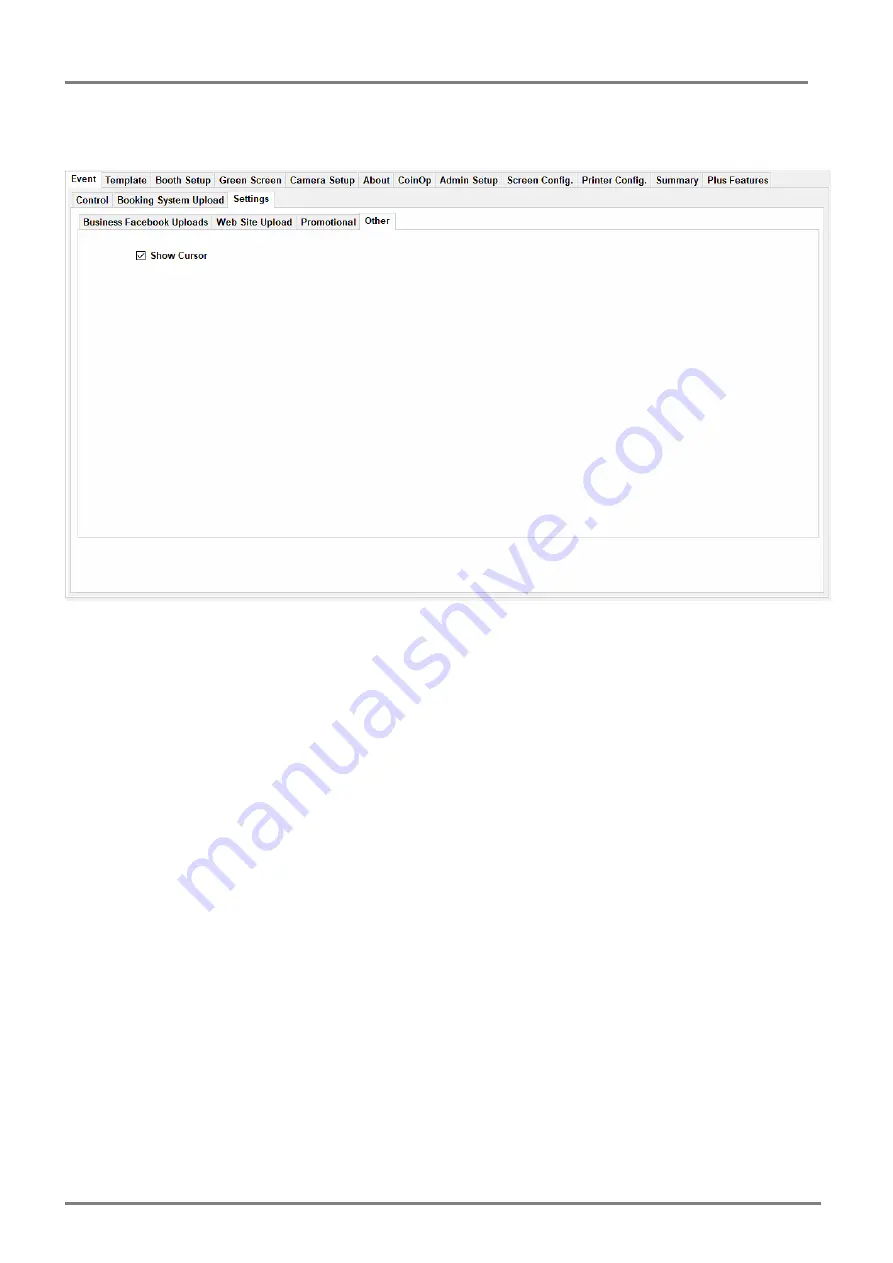
Event >> Settings >> Other
This simply allows you to hide or show the cursor on screen when using the Software with Touch Screens.
Page 1: ...up Tab 13 Booth Setup Language 13 Booth Setup Preview Windows 14 Booth Setup Functions and Appearance User Options User Options 2 Other Art Other Art options 2 15 Booth Setup Functions and Appearance...
Page 2: ...PB Pro Companion Guide Resus Digital Limited 2018 Manual Version 3 02 October 2nd 2...
Page 3: ...B Pro Companion Guide Resus Digital Limited 2018 Manual Version 3 02 October 2nd 3 Opening Screen On the Opening Screen shown Above if you SHIFT Click on the area marked in Gray open up the Admin Pane...
Page 4: ...Enter in the Admin password for help with this email support photobooths co uk This can be entered by using the On Screen Keyboard or by using a physically connected keyboard to the computer If you h...
Page 5: ...ent Admin Settings but stay in Admin Settings Save and Close Save all current Admin Settings and Close the Admin Close No Save Close the Admin don t save anything Quit Application Quit s the PB Pro so...
Page 6: ...e By selecting an event in the drop down box you can view images which will show in the white box When viewing these images you can select the images and also Copy clear or delete an event Event Booki...
Page 7: ...8 Manual Version 3 02 October 2nd 7 Event Settings Web Site Upload Website Upload allows you to upload your images to a web page for viewing Please contact us for Website uploads to our or your own se...
Page 8: ...Resus Digital Limited 2018 Manual Version 3 02 October 2nd 8 Event Settings Promotional The Promotional Attract mode Cycle Rate is the speed at which the opening Graphics when in Coin Op Mode displays...
Page 9: ...ro Companion Guide Resus Digital Limited 2018 Manual Version 3 02 October 2nd 9 Event Settings Other This simply allows you to hide or show the cursor on screen when using the Software with Touch Scre...
Page 10: ...ture2 3 and 4 Additional options allow the pictures to be turned on orientation angle scale and transparency You can add a Logo of text graphic or QR code by clicking the optional buttons This will pr...
Page 11: ...le Photo Layout Similar in layout to the Multi Photo Layout you can add Logo s Text or QR codes as well as altering the Background Image Solid Colour and alter the aspect settings of the Single image...
Page 12: ...o Companion Guide Resus Digital Limited 2018 Manual Version 3 02 October 2nd 12 Layout Promotional If your at a promotional event you can use this tab to print out an additional page as a promotional...
Page 13: ...Limited 2018 Manual Version 3 02 October 2nd 13 Booth Setup Tab Booth Setup Language To change the Software s used language select from the drop down box A restart may be required after saving from th...
Page 14: ...ted 2018 Manual Version 3 02 October 2nd 14 Booth Setup Preview Windows Onscreen live previews and the final image preview can be altered in size to cater for different screen sizes and for performanc...
Page 15: ...r 2nd 15 Booth Setup Functions and Appearance User Options User Options 2 Other Art Other Art options 2 All used icons within the software can be altered within the User Options and User Options 2 tab...
Page 16: ...we see that Single or Multiple Group Shot options are selected for Sing Multi shot and also enabling the green screen option Also the webcam option is enabled again for single or multi shot All the op...
Page 17: ...tting and is not currently supported Booth Setup Functions and Appearance One Shot Options This option allows you to select the number of printers require for that particular shot it doesn t keep the...
Page 18: ...s add a Logo Text Strap Line Event Name and optional Instructions Clicking the Preview Button after altering the options will show the updated layout in the Preview Window Note Make sure background im...
Page 19: ...ns select the image in the left hand panel then choose Delete under the highlighted option Then to add an additional image select Add Add will only be available if a slot is available for a green scre...
Page 20: ...u require from the Canon Drop Down Menu Then you can select the orientation Next select the Webcam from the drop down menu for taking photos The other options are personal preference you can alter the...
Page 21: ...anual Version 3 02 October 2nd 21 About Tab The About Section s most important item is the version number when on support we may ask you to go to the About Tab and let us know the Version number so it...
Page 22: ...n Guide Resus Digital Limited 2018 Manual Version 3 02 October 2nd 22 CoinOp If CoinOp is fitted you can configure all the options in the CoinOp tab It s worth talking to Support when initially settin...
Page 23: ...Digital Limited 2018 Manual Version 3 02 October 2nd 23 Admin Setup The admin setup tab allows you to change the current Admin password The notification options are to do with Coin Op notifications a...
Page 24: ...ctober 2nd 24 Screen Config PB Pro allows multiple external screens to be setup they will all require a different connection such as HDMI DVI or VGA to be hooked up to the PC You can configure what is...
Page 25: ...gs used from PB Pro are controlled from the Printer Config Page If strip printing is used set the Strip Print Paper size to suit Clicking the Set Printer Preferences page allows you to set the main se...
Page 26: ...PB Pro Companion Guide Resus Digital Limited 2018 Manual Version 3 02 October 2nd 26 Summary Tab This is the opening page that just shows a quick summary of the System...
Page 27: ...lly need to reduce the resolution down to 2592 x 1728 or as near as possible such as 2256 1504 on some of the cameras such as 450D To do this simply have your camera ready and disconnect it from any C...
Page 28: ...28 Setting the Timeout Whilst still in the menu s press the right button to move across the the First option with a spanner icon You ll see the first option below it change to Auto power off When tha...
Page 29: ...the Menu button once to turn off this menu Setting Up the Flash On the front of the Camera to the right of the lens is a small flash button Pressing this will make the Flash popup meaning it is ready...
Page 30: ...using a PhotoBooth it causes far too many problems and the extra time taken by the camera to focus on the many objects in a picture can take far to long to take the picture As a result you will need...
Page 31: ...pdating Your Software When we release an update to the software each time the program runs as long as an Internet connection exists it will let you know that a new version is available Click on OK and...