Renner Kompressoren RS 90/1-110, Operation Manual
The Renner Kompressoren RS 90/1-110 is a highly efficient and reliable air compressor perfect for industrial use. To ensure seamless operation and maximum performance, it comes with a comprehensive Operation Manual. You can conveniently download this manual for free from manualshive.com, gaining valuable insights into optimizing your air compression process.
Share
Download


Reviews:
No comments
Related manuals for RS 90/1-110

SX
Brand: KAESER KOMPRESSOREN Pages: 122

AC310H
Brand: Makita Pages: 7
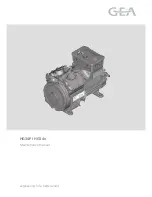
HG34P Series
Brand: GEA Pages: 40

FP1995 Series
Brand: Campbell Hausfeld Pages: 24
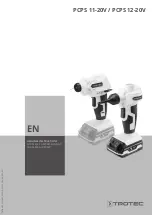
PCPS 11-20V
Brand: Trotec Pages: 17

8010ALFC
Brand: California Pages: 16

AC6168
Brand: Stanley Pages: 20

PC1130
Brand: Senco Pages: 4

PC1280
Brand: Senco Pages: 48

VST55-90B
Brand: Gardner Denver Pages: 84

ACL4
Brand: Alto Pages: 14

34245
Brand: WilTec Pages: 10

Performer SH090
Brand: Danfoss Pages: 52

HG34P Series
Brand: GEA Pages: 26

40L
Brand: GMC Pages: 16

PRO A29B-0 150 CM3 Zero
Brand: ABAC Pages: 100

MANGAR AIRFLO 24
Brand: EasyCare Pages: 14

AirSmart ELECTRA-SAVER
Brand: Gardner Denver Pages: 80


