32.
Using the powerful features of HEW you will be able to view, edit and build the workspace. If “Writing the on-
chip flash memory mode” was selected above then debugging is not possible.
33.
If “Debugging mode” was selected instead then debugging is now possible except in the low power modes
(where the comms will be dropped and HEW will display error messages when trying to access registers or
perform other operations). Note that the MCU current will be much greater if the debugger connection is
active – for current measurement, please select “Writing the on-chip flash memory mode”.
34.
Press F7 to build the code.
35.
Right click on the download module and select “Download” to download it.
36.
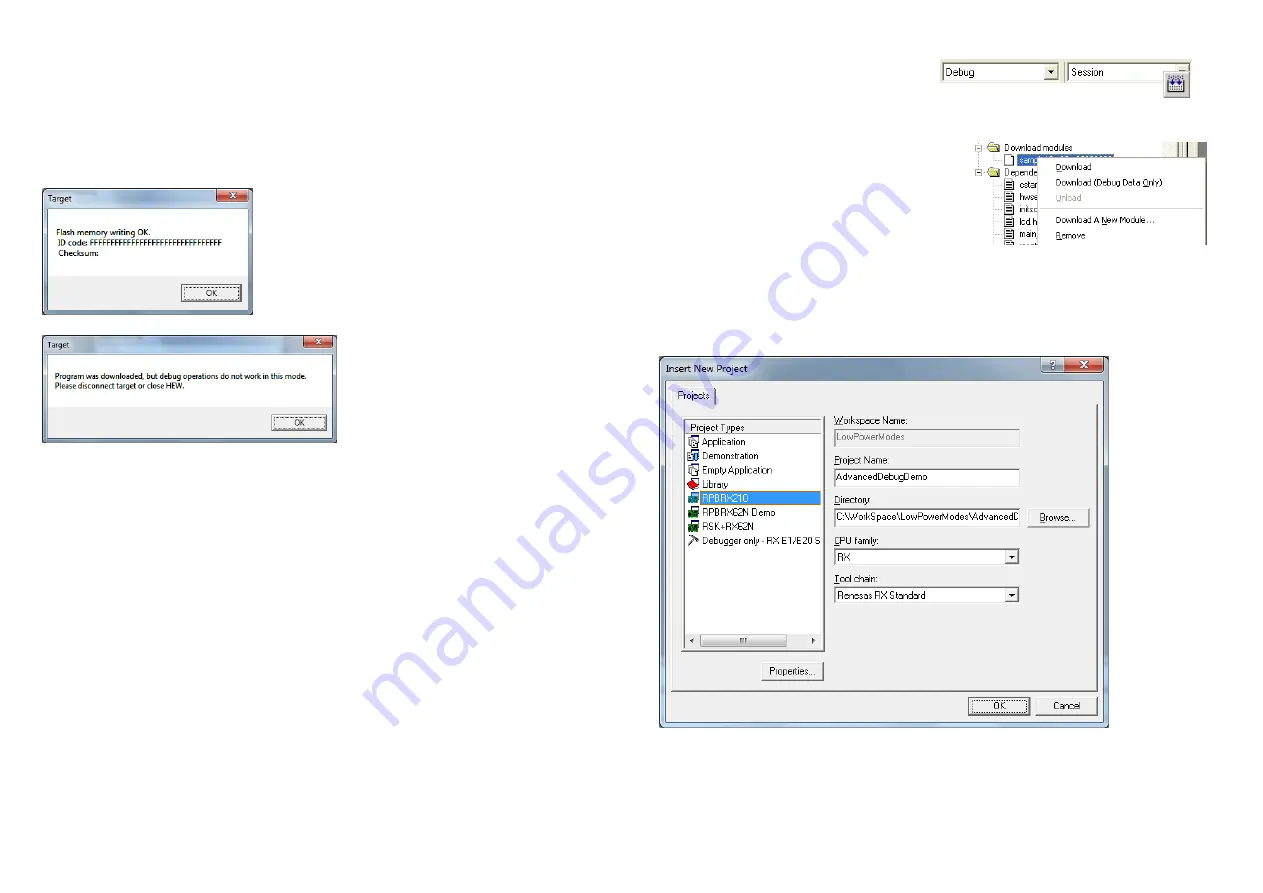
If the download module includes data in the ID code area, an information dialog will be displayed.
37.
If Writing to Flash, the following dialog will be displayed:
Click OK to dismiss it.
38.
Select [Debug->Disconnect] to disconnect.
5. The Main HEW Controls
39.
There are two pull-downs to select the Build
Configuration and Session.
40.
The ‘Build’ icon is the command to compile, assemble and link the project.
41.
The “Connect” icon is used to reconnect to the debugger, use the same settings as before (although on
subsequent connections the dialog boxes are slightly different format than the first time).
42.
You can download to the target by right clicking on the
“Download module” and selecting Download.
To learn more about using HEW, open the HEW User
Manual installed on your computer (Start Menu > All
Programs > Renesas > High-performance Embedded
Workshop > Manual Navigator).
6. AdvancedDebugDemo_RX program operation
43.
Either create a new workspace as in step 21, or to insert into an existing workspace select [Project->Insert
Project], New project.
44.
Select “RPBRX210” as the project type and enter a Project name and directory. Click OK.
Summary of Contents for Promotional board
Page 7: ......


