background image

13

ENGLISH

The mix section is based on the Ableton channel strip. The following functions are already assigned:

3.1 fader:

Via the fader you can adjust volume for the respective channel.

3.2 Channel Rec:

Enables the respective channel for recording.

SHIFT -5- + Channel 1 Rec. sets a marker


SHIFT -5- + Channel 2 Rec. jumps to the previous marker


SHIFT -5- + Channel 3 Rec. jumps to the next marker


SHIFT -5- + Channel 4 Rec. activates the global LOOP


SHIFT -5- + Channel 5 Rec. DAW Tap


SHIFT -5- + Channel 6 Rec. (de-)activates the metronome


SHIFT -5- + Channel 7 Rec. Nudge-


SHIFT -5- + Channel 8 Rec. Nudge+

3.3 Channel Solo:

Switches the respective channel to solo. SHIFT -5- + Channel Solo stops the track/scene‘s clip.

3.4 Channel on/off:

Activates/deactivates a channel. SHIFT -5- + Channel On/Off activates a track/scene‘s clip.

3.5 Send 1:

Regulates the respective send value for return 1.

3.6 Send 2:

Regulates the respective send value for return 2.

3.7 PAN:

Regulates the PAN value for the respective channel.

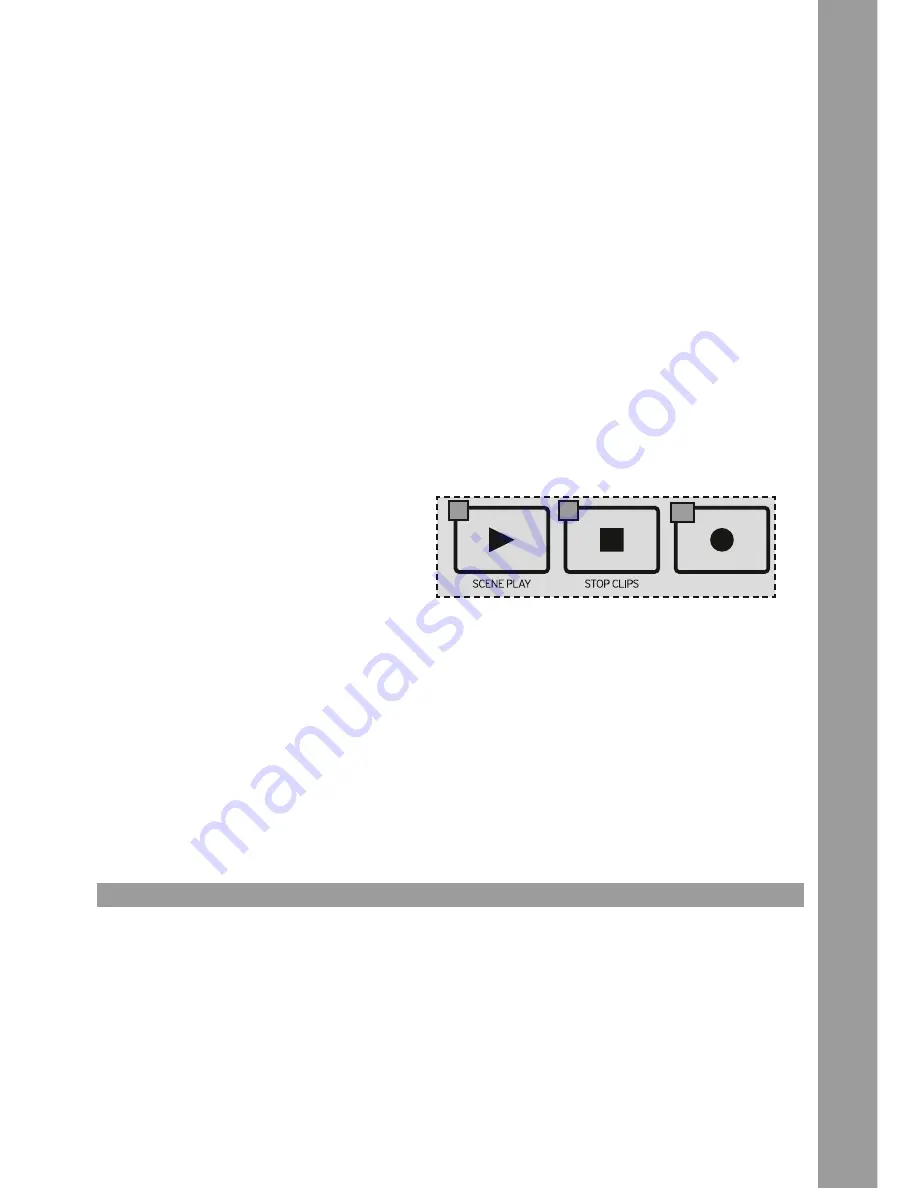
3.8 Play:

Starts DAW playback. SHIFT -5- + Play starts the current scene.

3.9 Stop:

Stops DAW playback/recording. SHIFT -5- + Stop stops all clips.

3.10 REC:

Activates DAW recording. SHIFT -5- + Rec (de-)activates the overdub function.

3.11 Shift/Scene:

Via Shift/Scene -5- further 8 tracks will be assigned automatically.

4. TECHNICAL SPECIfICATIoNS

Weight:  

1.3 kg


Dimensions:  

32 x 2,9 x 28,5 cm (WxHxD)


Number of presets:  

Note keys:  

25 (velocity sensitive)


Pads:  

16 (velocity sensitive) 

Dials:  

32


Inputs/outputs: 

1 mini USB port 

Capacity:  

< 100 mA, 5V DC via USB

3.8

3.9

3.10

Summary of Contents for IM.8-13

Page 1: ...connections Never touch these parts with wet hands Connect the power cable to appropriate shock proof outlets only The only supply point to be used is a supply outlet in accor dance with specifications of the public supply network Disconnect the device from the supply outlet when not in use and before cleaning Be sure to hold the mains plug by the body Never pull the mains cord Position the device...

Page 2: ...ved to uphold the warranty rights MAINTENANCE Check the technical safety of the device regularly for damage to the mains line or the casing as well as for wearout of wear parts such as rotary and sliding switches If it is to be assumed that a safe operation is no longer feasible then the device must be disconnected and secured against accidental use Always disconnect the mains plug from the outlet...

Page 3: ...Keyboard 2 Pads 3 Mix Section 4 Transport Section 5 Scene Shift 6 Scene LEDs 7 Reset 8 CC PC 9 ARP 10 SUS 11 VEL 12 Octave 13 Octave 14 Chord Mode 15 ARP Mode 16 ARP Time 17 Scale 18 Transpose 4 1 2 3 5 6 7 8 9 10 11 12 13 18 17 16 15 14 ...

Page 4: ... 5 varioussettingsregardinginternalfunctionscanbeselectedviathekeyboard Detailed information can be found in the corresponding chapters 2 2 CC and PC Input Beides notes the pads can also send CC and PC data In order to send CC press CC 8 In order to send PC press Scene Shift 5 and CC 8 Depending on the selected preset the control elements send CC or notes 2 3 Internal Functions Keypad disposes of ...

Page 5: ... halftone up or down press Scene Shift 5 Transpose Halftones 18 Repeat this step in order to transpose the keyboard by multiple halftones up or down 2 3 5 Velocity When the Velocity button 11 is pressed all notes will be sent at maximum velocity 127 independent from their key stroke By pressing the velocity button again this function will be deactivated 2 3 6 Sustain BypressingandholdingtheSustain...

Page 6: ...ps the track scene s clip 3 4 Channel On Off Activates deactivates a channel SHIFT 5 Channel On Off activates a track scene s clip 3 5 Send 1 Regulates the respective send value for return 1 3 6 Send 2 Regulates the respective send value for return 2 3 7 PAN Regulates the PAN value for the respective channel 3 8 Play Starts DAW playback SHIFT 5 Play starts the current scene 3 9 Stop Stops DAW play...

Reviews: