Reloop 10tion Instruction Manual Download Page 11

DE
UT
S

CH

11

E

ngli

SH

2. COnnECTiOnS

2.1 inputs

Connect a turntable or CD player to the Phono/Line Input -1-. If necessary earth your turntable via 
the GND Grouinding Screw -4-. With the Phono/Line Switch -2- you can turn the pre-amp on and off 

respectively.ThePhono/LineGainKnob-3-canbeusedtoadjusttheinputvolume.Theinputsignal

can be monitored via the Phono/Line-In Status LED -14-.

Youcanconnectamicrophonewitha6.3mmjacktotheMicrophoneInput-9-.Adjusttheinput
volumeviatheGainKnob-10-.TheMicrophoneStatusLED-13-lightsupwhenthereisanincoming

signal.

2.2 Outputs
Youcanconnectyourheadphonestothe6.3mmHeadphonesOutput-11-.ViatheoverlayingGain

knob -12- you can adjust the volume.

Connectyourmainsoundsystem(forexampleamplifieroractivespeakers)totheMasterOutput
-8-.TheMasterL/RLEDs-15-lightupwhenthereisanoutgoingsignal.

2.3 USB & Kensington Connections

If desired you can protect your 10tion Interface via the Kensingto Safety Slot -16-.

ConnecttheincludedUSBcordtotheUSBPort-5-andafreeUSBportofyourcomputer.TheUSB

Status LED -6- lights up when the connection has been successful.

Via the Cable Reel Relief -7- you can relieve your USB cord from stress.

3. COMPUTER RECOgniTiOn

Whenconnectingforthefirsttimeyour10tionInterfacewillberecognisedPlug-N-Playwithoutthe

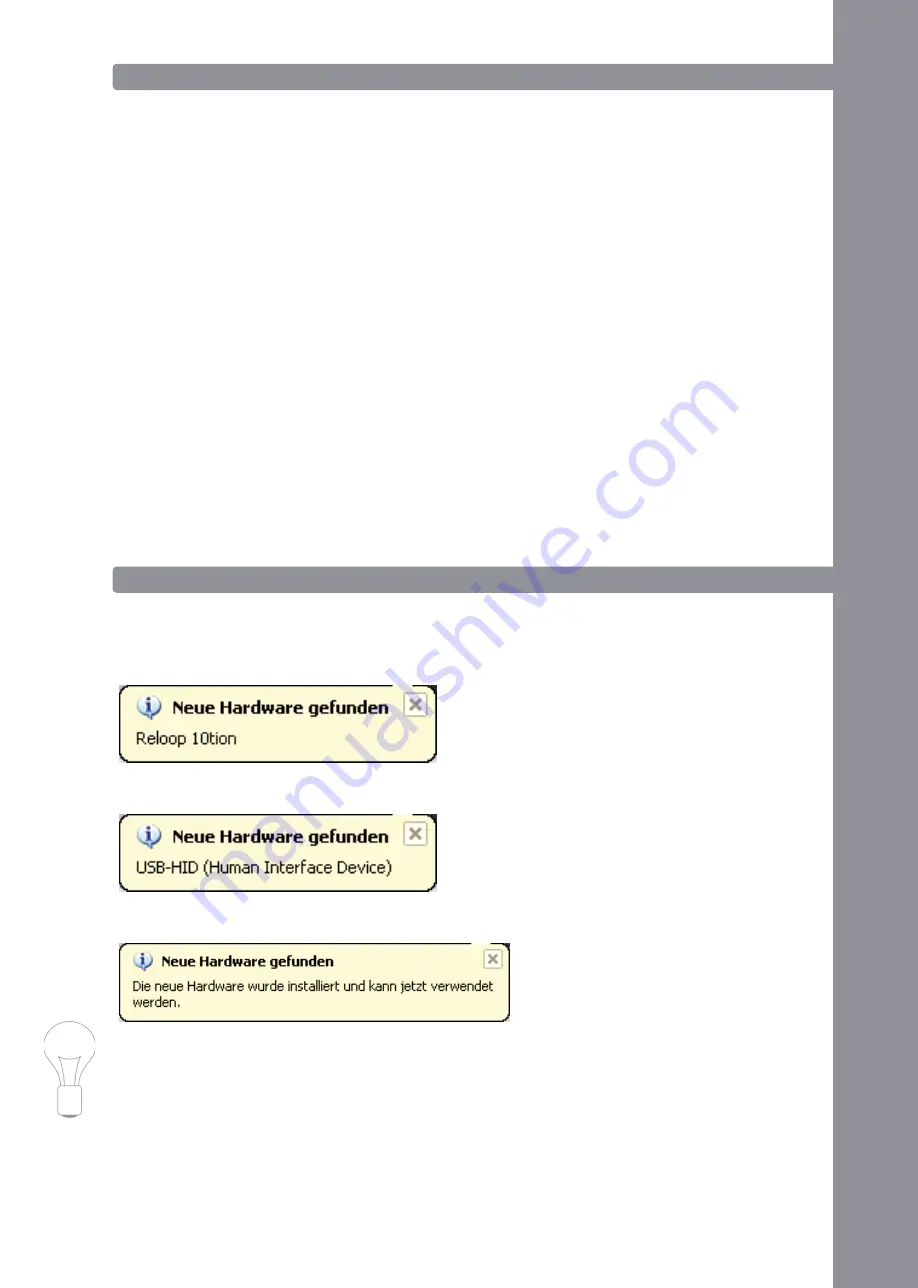
necessity for further drivers. The following messages should appear; as example for Windows XP:

New hardware found – Reloop 10tion

New hardware found – USB-HID (Human Interface Device)

New hardware found – Your new hardware is installed and ready to use.

nOTE!
The 10tion interface is Windows XP, Vista (also 64 bit) and Mac OS X compatible. Please refer to 
the included CD or the Reloop Support Forum for current drivers.

Summary of Contents for 10tion

Page 1: ...and documents are deposited at the manufacturer Mode d emploi ATTENTION Pour votre propre s curit veuillez lire attentivement ce mode d emploi avant la premi re utilisation Toutes les personnes charg...

Page 2: ...das eigenm chtige Umbauen und oder Ver n dern des Ger tes nicht gestattet Beachten Sie bitte dass Sch den die durch manuelle Ver nde rungen an diesem Ger t verursacht werden nicht unter den Gew hrlei...

Page 3: ...h Einschwingung erzeugten Schroteffekt zu vermeiden welcher zu Lautsprecher und Frequenzweichensch den f hren k nnte Ger te die an Netzspannung betrieben werden geh ren nicht in Kinderh nde Lassen Sie...

Page 4: ...Port 6 USB Status LED 7 Kabelzugentlastung 8 Master Ausgangsbuchsen 9 6 3 mm Mikrofon Eingangsbuchse 10 Mikrofon Gain Drehregler 11 6 3 mm Kopfh rer Ausgangsbuchse 12 Kopfh rer Gain Drehregler 13 Mikr...

Page 5: ...uptanlage z B Verst rker oder Aktivboxen an die Master Ausgangsbuchsen 8 an Die Master L R LEDs 15 leuchten bei ausgehendem Signal auf 2 3 USB Kensington Anschluss Mit dem Kensington Sicherheitsschlos...

Page 6: ...spiel Windows XP Dr cken Sie auf die Schaltfl che Treiber installieren Falls Ihr 10tion Interface noch nicht angeschlossen ist werden Sie m glicherweise jetzt dazu aufge fordert Die ASIO Treiber werde...

Page 7: ...Phono Line Eingang 1 anzuschlie en Bitte entnehmen Sie weitere Einstellungsm glichkeiten der Soundkarte Routing der Anleitung Ih rer entsprechenden Software 6 Control Panel Nach erfolgreicher Installa...

Page 8: ...st fuses of the same class with the same trigger features and nominal current rating Ensure that the power will only be supplied after the device has been fully set up Always plug in the mains plug la...

Page 9: ...ibility by trained staff Keep this operation manual in a safe place for later reference in the event of questions or prob lems APPLICATION IN ACCORDANCE WITH REGULATIONS This device is an external USB...

Page 10: ...Screw 5 USB Port 6 USB Status LED 7 Cable Reel Relief 8 Master Output 9 6 3 mm Microphone Input 10 Microphone Gain Knob 11 6 3 mm Headphones Output 12 Headphones Gain Knob 13 Microphone Status LED 14...

Page 11: ...tive speakers to the Master Output 8 The Master L R LEDs 15 light up when there is an outgoing signal 2 3 USB Kensington Connections If desired you can protect your 10tion Interface via the Kensingto...

Page 12: ...ASIO driver installation file Example Windows XP Push the Install driver button If your 10tion Interface has not been connected yet you may be asked to do so now The ASIO drivers will now be installe...

Page 13: ...ration in the software Please learn more available soundcard settings routing from the instruction manual of the corre sponding software 6 Control Panel After a successful ASIO driver installation Win...

Page 14: ...de pi ces d usure pouvant tre remplac es de l ext rieur La maintenance doit exclusivement tre effectu e par du personnel qualifi afin de conserver les droits de garantie Les fusibles 57 doivent uniqu...

Page 15: ...s Les directives de pr vention des accidents de l association des f d rations professionnelles doi vent tre respect es dans les tablissements commerciaux Dans les coles instituts de formation ateliers...

Page 16: ...mise la terre 5 Port USB 6 T moin d tat du port USB 7 Protecteur de cordon 8 Sortie master 9 Entr e MIC 6 3 mm 10 Bouton rotatif gain MIC 11 Prise couteurs 6 3 mm 12 Bouton rotatif gain couteurs 13 T...

Page 17: ...sortie le t moins d tat des sorties master Gauche Droite L R 15 s allument 2 3 Connexions USB et Kensington Vous pouvez si vous le souhaitez s curiser votre Interface 10tion l aide d un verrou de s c...

Page 18: ...re syst me d exploitation Exemple pour Windows XP Cliquez sur le bouton Installer le pilote Il vous sera demand de connecter l interface 10tion si elle n est pas d j connect e Les pilotes ASIO sont pr...

Page 19: ...tres concernant la carte son routage au moyen d instructions correspondantes du logiciel 6 Panneau de commande Une fois l installation des pilotes ASIO s est termin e avec succ s Windows XP Vista l i...

Page 20: ...www reloopdj com Reloop Trademark Global Distribution GmbH Schuckertstr 28 48153 Muenster Germany Copyright 2009 Nachdruck Verboten...

Reviews: