18
19
2. GETTING STARTED
2.1 Install digital photo frame on flat horizontal surface, and then
plug one end of the included AC adapter into the right side the frame
and the other end into standard 110—240V AC electrical outlet. Then it
will power on automatically.
2.2. Remove the protective film covering the LCD.
2.3.Press the Exit button on the back for 3~5s, it will power on/off.
3. OPERATING INSTRUCTION
After turning on the unit, it will display opening logo, after 3s then it
will show Buit-in Memory (If there is no inserted card or USB in it)
3.1 CARD AND USB
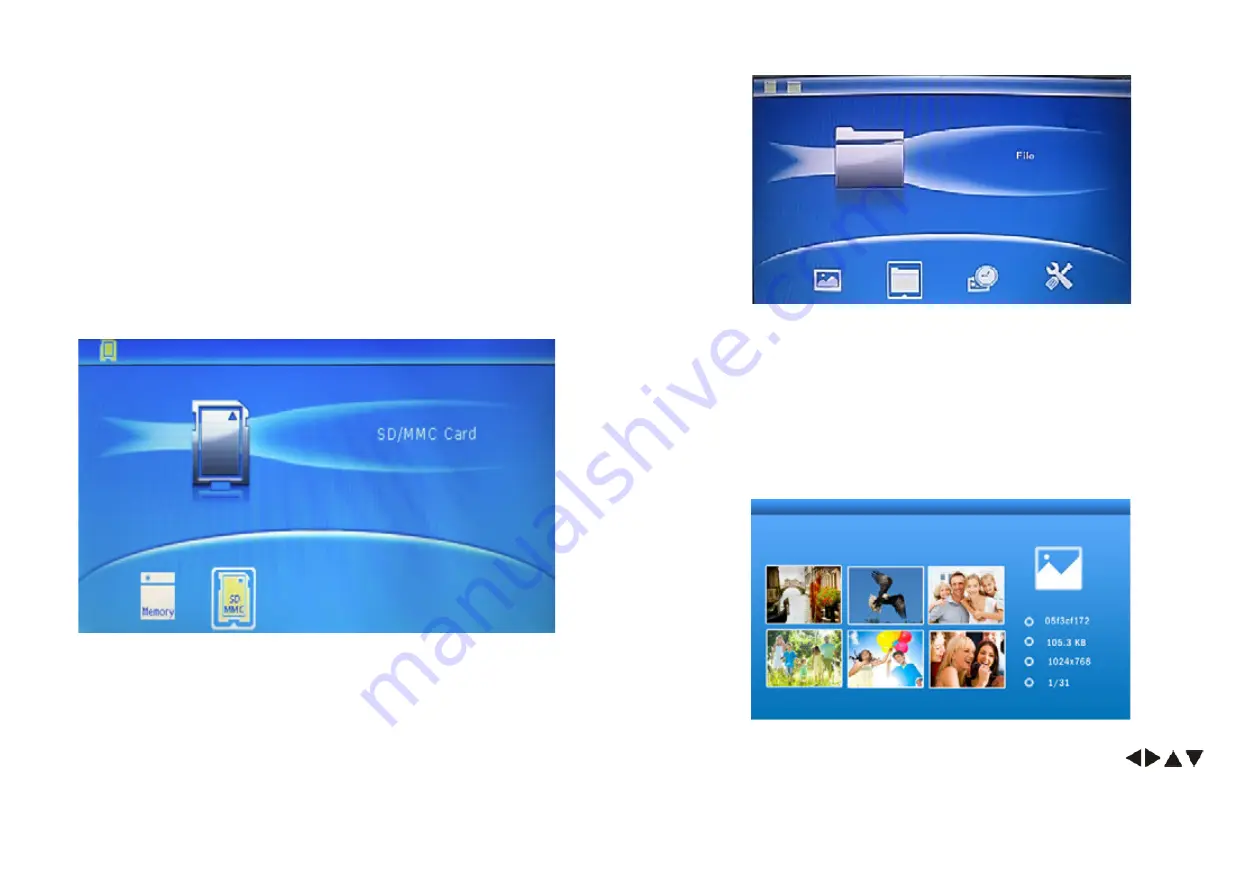
It supports SD/MMC/SDHC and USB 2.0. After inserting a card or
USB device, slideshow will play automatically, then press
Exit
twice to
access to
Main menu
, you can view
Photo, File, Calendar
and
Set-
up
icon on this interface. Press
OK
to confirm your selection.
Note:
Make sure there are supported picture files in the Card or USB
device.
3.2 PICTURE MODE
Press
EXIT
to choose «
MEMORY CARD
» in the main menu. High
-
light
Photo
, press
OK
to access to the six-picture mode, use
to choose the picture you want to display, press
OK
to play the pic
-
ture in single window.


