™
OWNER’S MANUAL
READ AND SAVE THESE INSTRUCTIONS
Net Weight 12.93 lbs (5.87 kgs)
Ceiling Fan
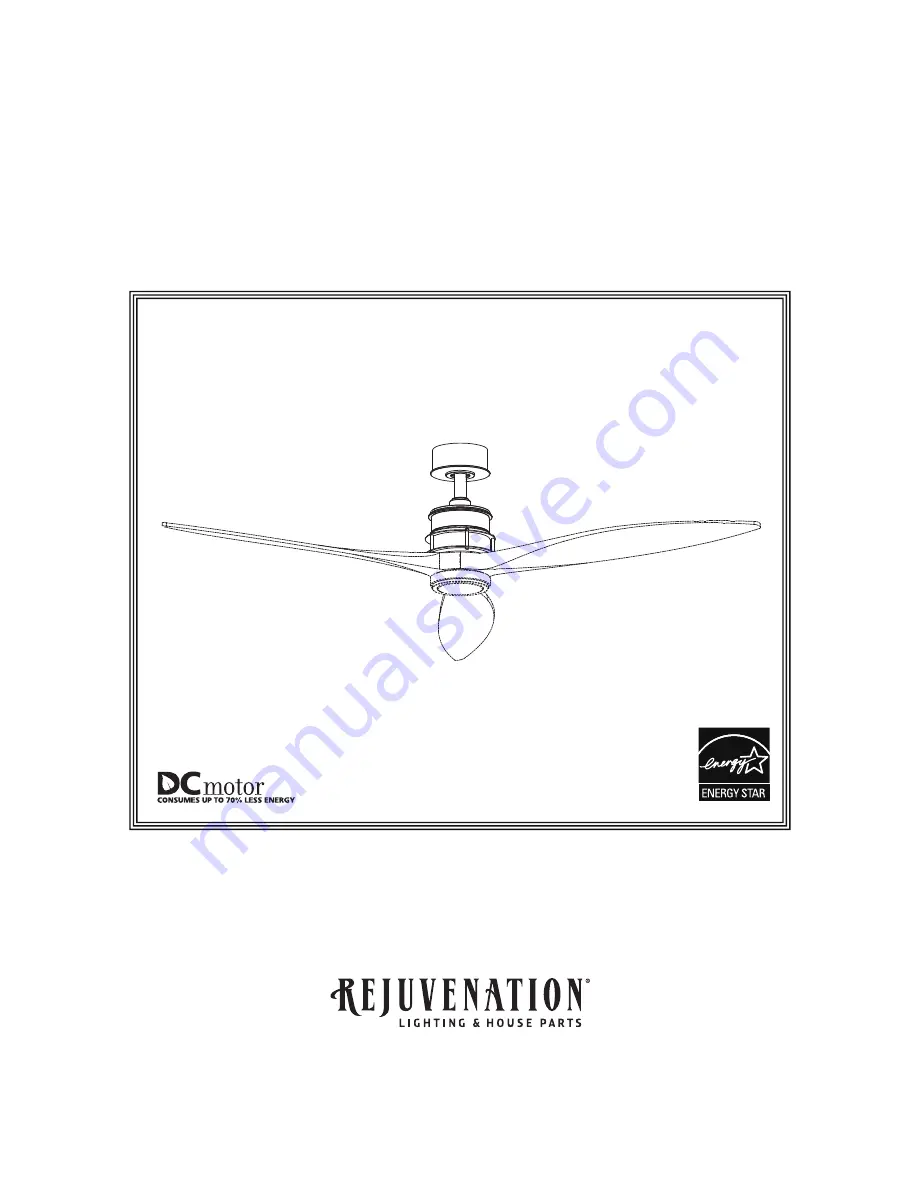
The Falcon
Page 1: ...OWNER S MANUAL READ AND SAVE THESE INSTRUCTIONS Net Weight 12 93 lbs 5 87 kgs Ceiling Fan The Falcon...
Page 2: ...ursuant to part 15 of the FCC Rules These limits are designed to provide reasonable protection against harmful interference in a residential installation This equipment generates uses and can radiate...
Page 3: ...Plate Trim Cover One Phillips head screwdriver One stepladder One blade screwdriver One wire stripper Four wire connectors supplied WARNING WARNING Before assembling your ceiling fan refer to section...
Page 4: ...warm air near the ceiling down into the occupied space Remember to adjust your thermostat when using your ceiling fan additional energy and dollar savings could be realized with this simple step Elec...
Page 5: ...een two joists and takes the place of wooden blocking To avoid fire or shock follow all wiring instructions carefully Any electrical work not described in these instructions should be done or approved...
Page 6: ...ritical that the clevis screw in the downrod support is properly installed and the setscrews and nuts are securely tightened Failure to verify that the clevis screw nuts hairpin clip and setscrews are...
Page 7: ...or Assembly 2 each per blade Blade not included 8 Secure the three blades using the 1 4 20 screws with blade plate through the holes located on the bottom of the motor assembly marked A A B B C C Figu...
Page 8: ...ve in the ball is lined up with tab on the hanger bracket Figure 4 WARNING Failure to seat tab in groove could cause damage to electrical wires and possible shock or re hazard WARNING To avoid possibl...
Page 9: ...round Listed Outlet Box Household Supply Black Wire from Supply Black Wire from Fan x 3 WIRE CONNECTORS HARDWARE USED NOTE If you feel that you do not have enough electrical wiring knowledge or experi...
Page 10: ...attach and tighten the canopy screw cover over the shoulder screws in the hanger bracket utilizing the keyslot twist lock feature Figure 1b 1 Remove one of the two shoulder screws in the hanger bracke...
Page 11: ...erence or if multiple ceiling fans with the same type of control system are installed in the same structure 3 To make fan operational install 23A 12V battery included in hand held remote transmitter w...
Page 12: ...possibility of electrical shock RECOMENDED Periodically check that the blade holders to motor hub screws are secure and tight How to Operate Your Ceiling Fan continued Figure 5 5 D and ON dip switch...
Page 13: ...Ceiling Canopy 1 Hanger Bracket Assembly Canopy Screw Cover Assembly 4 Motor Coupler Cover Assembly 5 6 7 Trim Cover 8 9 10 ADRAC1 45 P799001 APP799004BL APPCP1101 AP799002 Blade Plate P799008BL Fan M...
Page 14: ...Exploded View Illustration 14 Falcon 9 11 1 2 3 4 5 NOTE The illustration shown is not to scale or its actua 6 7 8 10...
Page 15: ...embly AP799013BL AP799016 AP799014 Blade Set 1 A0241 A0242 A0243 15 1 Before discarding packaging materials be certain all parts have been removed How To Order Parts When ordering repair parts always...
Page 16: ...y Canopy Trim Ring Assembly AP799010 P799012 16 1 Before discarding packaging materials be certain all parts have been removed How To Order Parts When ordering repair parts always give the following i...
Page 17: ...sitive to signals from solid state variable speed controls Solid state controls are not recommended choose an alternative control method 3 FAN WOBBLES EXCESSIVELY 1 Setscrew and nut in downrod support...
Page 18: ...2550 N W Nicolai Street Portland Oregon 97210 Customer Service 888 401 1900 www rejuvenation com...
Page 19: ...Peso neto 5 87 kg 12 93 lb Ventilador de techo MANUAL DEL PROPIETARIO LEA Y GUARDE ESTAS INSTRUCCIONES The Falcon...
Page 20: ...en el hogar Este equipo genera utiliza y puede emitir energ a de radiofrecuencia y a menos que se instale y se utilice de acuerdo con el manual de instrucciones puede provocar interferencias perjudic...
Page 21: ...conductores de dos conductores con conexi n a tierra del siguiente tama o Materiales tama o del cable seg n el A W G Calibre de Alambre Estadounidense longitud del cable instalado 14 12 hasta 15 2 m...
Page 22: ...vel de rendimiento y ahorro de energ a de los ventiladoresdetechodependendesucorrectainstalaci n yuso Acontinuaci nlepresentamosalgunassugerencias para asegurar un rendimiento eficiente del producto S...
Page 23: ...rgas el ctricas aseg rese de que la electricidad est desconectada en la caja de fusibles principal antes de realizar la instalaci n el ctrica Toda instalaci n el ctrica debe cumplir con los c digos na...
Page 24: ...orte del barral Instale el barral en el acoplador Alinee los orificios del pasador en el barral con los orificios del soporte del mismo Figura 3 4 Instale el pasador y el pasador de horquilla y apriet...
Page 25: ...e la misma Empuje la semiesfera hacia arriba bien ajustada contra el pasador Ajuste firmemente el tornillo de fijaci n en la semiesfera Si el tornillo de fijaci n est flojo podr a provocar oscilaci n...
Page 26: ...cortar la alimentaci n el ctrica de la caja de fusibles principal antes de colgar el ventilador Figura 1 NOTA Si no est seguro de si la caja de salida tiene conexi n a tierra pida consejo a un electr...
Page 27: ...tor con conexi n a tierra No opere el ventilador hasta que las aspas est n instaladas Podr a ocasionar ruidos y da os al motor ADVERTENCIA 1 Conecte el conductor verde con conexi n a tierra de la bola...
Page 28: ...do tornillo de reborde sin retirarlo del todo Ensamble la base girando el chavetero de la base sobre el tornillo de reborde de la abrazadera para colgar Ajuste el tornillo de reborde Ensamble por comp...
Page 29: ...l receptor Las luces del ventilador de techo si est n instaladas parpadear n para indicar que el c digo del mano ha sido emparejado con el receptor Si no se usa durante largos periodos de tiempo extra...
Page 30: ...motor est n bien ajustados C mo utilizar su ventilador de techo Cont Figura 5 30 5 Conmutador D y ON La selecci n ON es la selecci n regulable de luz y debe ser utilizada con todas las bombillas meno...
Page 31: ...s que contiene Lista de piezas de Falcon 2 Unidad del barral de la semiesfera 3 Capuch n de techo 1 Unidad del soporte de suspensi n Cubierta para el tornillo del capuch n 4 Cubierta de uni n del moto...
Page 32: ...32 9 11 1 2 3 4 5 6 7 8 10 Ilustraci n del despiece de Falcon NOTA la ilustraci n que se muestra no est hecha a escala y su configuraci n real puede variar...
Page 33: ...i n de la pieza N mero de modelo del ventilador P ngase en tienda para obtener las Rejuvenatin en 888 401 1900 NOTA la ilustraci n que se muestra no est hecha a escala Unidad de la placa de luz 1 2 3...
Page 34: ...mero de pieza Descripci n de la pieza N mero de modelo del ventilador P ngase en tienda para obtener las Rejuvenatin en 888 401 1900 NOTA la ilustraci n que se muestra no est hecha a escala Kit opcion...
Page 35: ...son sensibles a las se ales de los controles de velocidad de estado s lido variables Los controles de estado s lido no son recomendables Escoja un m todo de control alternativo 3 EL VENTILADOR OSCILA...
Page 36: ...2550 N W Nicolai Street Portland Oregon 97210 Customer Service 888 401 1900 www rejuvenation com...