3
Getting Started
Preparing the Film
If your film is not in good condition (ie. it is broken, ruptured with
perforated holes, misaligned, taped overlap, bent, spliced, gluey, or thick),
please check and fix the problem first. Otherwise it may damage or jam
the reflecta Film Scanner Super 8 and Normal 8, or produce poor quality
videos.
Also, some early films might have been wound too tight, which might cause
jittering during the recording process. You can use the reflecta Film Scanner
Super 8 and Normal 8 to rewind it back and forth to regain proper winding
tightness.
Before recording, it is good practice to use a lint-free cloth and/or anti-
static film cleaner to remove dirt particles, clean any processing chemical
residues, and to dry any scattered mildew on the film in order to prevent
them showing up on recorded videos.
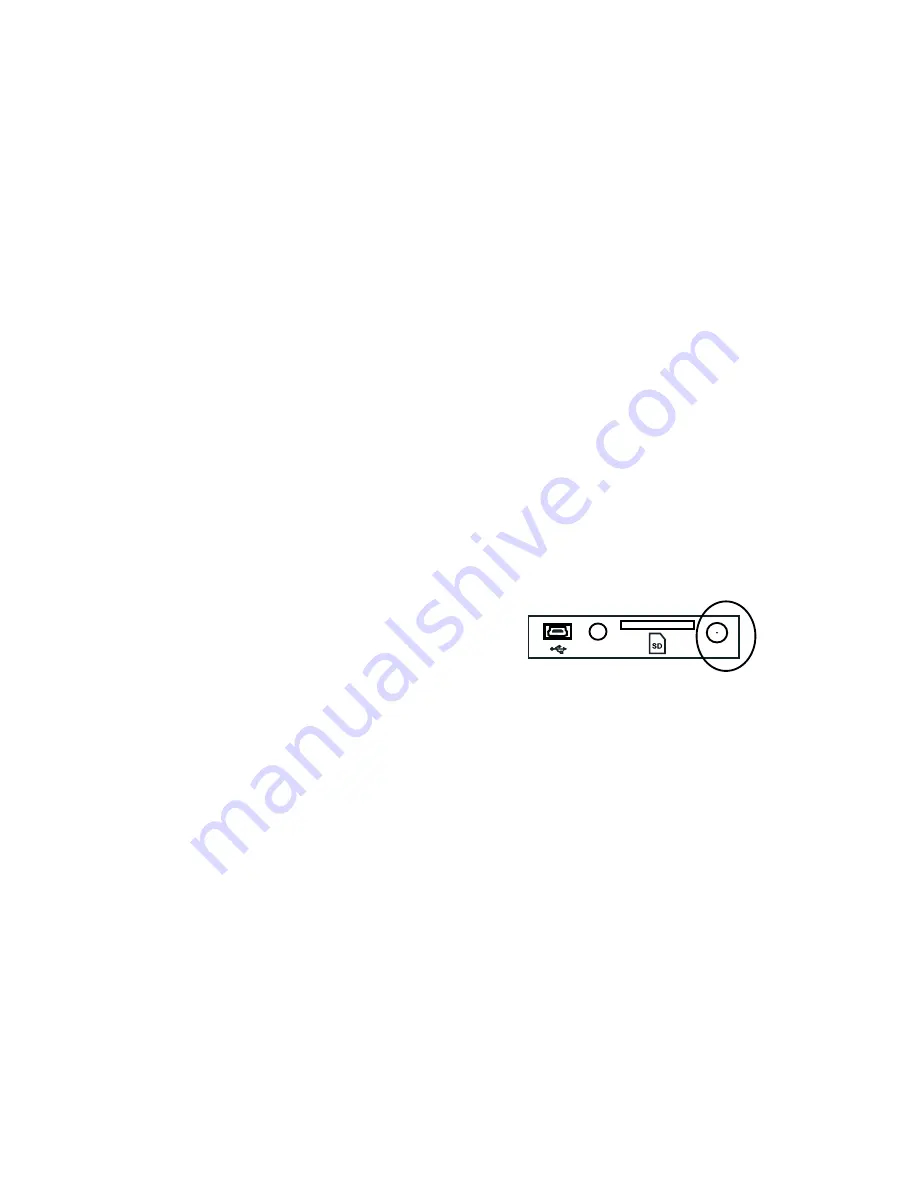
1. Attach Power Cord
Plug in the included DC 12V power adapter.
2. Insert SD/SDHC Memory Card (Max. 32 GB)
Insert the SD/SDHC memory card before powering on the Film Scanner
device.
•
Using a MicroSD card with an adapter, or SDXC card (64GB), which
is not compatible with the Film Scanner will lead to a "
Card error
"
message appearing on the screen. The Film Scanner can only take a SD/
SDHC memory card of up to a maximum capacity of 32 GB.
•
Make sure the SD/SDHC card is unlocked (white tab in forward position).
•
Insert and push the SD/SDHC card inward until it clicks. Improper
insertion may damage the card reader or the SD/SDHC Card, which
neither is covered under warranty.
•
Dismount/eject the SD/SDHC card by pushing the card in and releasing,
instead of pulling it out. The Film Scanner will power off automatically
when the SD/SDHC card is mounted/dismounted.
DC 12V
TV OUT
Power port


