4
5
A
B
C
D
E
F
G
I
H
J
INSTRUCTIONS FOR OPERATING
INSTRUCTIONS FOR OPERATING
Operation
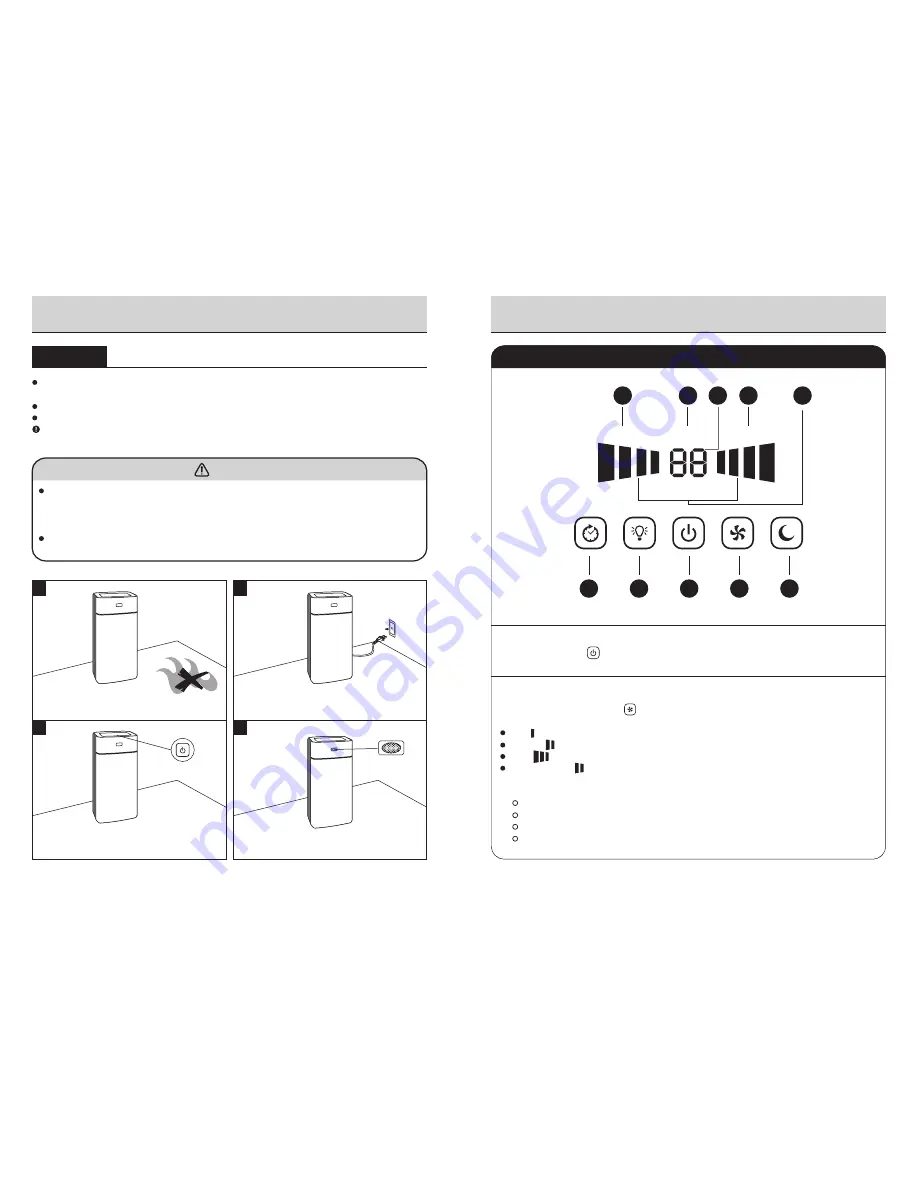
Place. Locate the appliance on a solid surface. Be sure the grille is not blocked by other objects
and there are no candles or flames near the unit. (Figure 1)
Plug in. Plug into nearest standard electrical outlet. (Figure 2)
Switch on. Press the power button and the appliance starts to operate under AUTO mode. (Figure 3)
The color of clean sign will change alternately for 1 minute, and then clean sign will revert to
current air condition. (Figure 4)
Caution
For the first time use or re-operate the appliance after unplug, the odor sensor need to be pre-
heated for 3-5 minutes and will not response during this period. Besides, if the current air quality
is not good, it's suggested to purify the air manually first and then switch back to
AUTO mode, otherwise the sensitivity of odor sensor may decrease.
Re-operate the appliance after long period unused, the sensitivity of the odor sensor may
decrease, it will revert to normal after 1-2 days operation.
Control Panel Instructions
UV+TIO
2
CLEAN CELL
AUT
O
AIR VOLUME
AUT
O
1
2
3
4
REPLACE FILTER
A) On/Off Button
By pressing button A once, you can switch the unit on, display screen will illuminate. The
appliance will start to operate under AUTO mode. By pressing it twice, the unit is switched off.
B) AUTO mode/Fan Speed
By repeated pressing button B you can adjust the air clean speed or operate under AUTO
mode. Symbol I show which of the four levels you have selected:
Green: Clean
Light Orange: Low pollution
Orange: Medium pollution
Red: High pollution
AUTO
Low for silence technology
Medium for normal use
High for maximum cleaning
Once the AUTO is activated, appliance will automatically sense and adjust the air clean speed
once it detects pollutants in the air. Additionally 4 stages of clean sign, clearly shows your
current air condition accordingly:
TIMER
UV
POWER
AUTO / FAN
NIGHT MODE
z
z
z


