60
g) Starting the quadrocopter
There are two ways to start the quadrocopter:
1) Manual start:
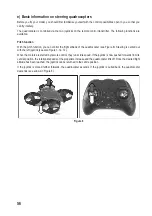
Switch the remote control transmitter and the quadrocopter on as described above. The LED on the quadrocopter and
the LED on the transmitter must light up continuously.
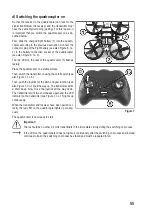
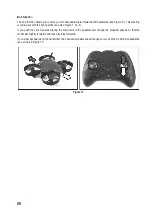
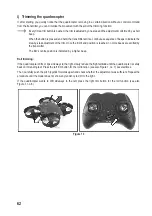
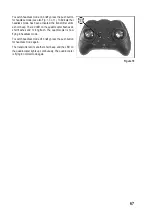
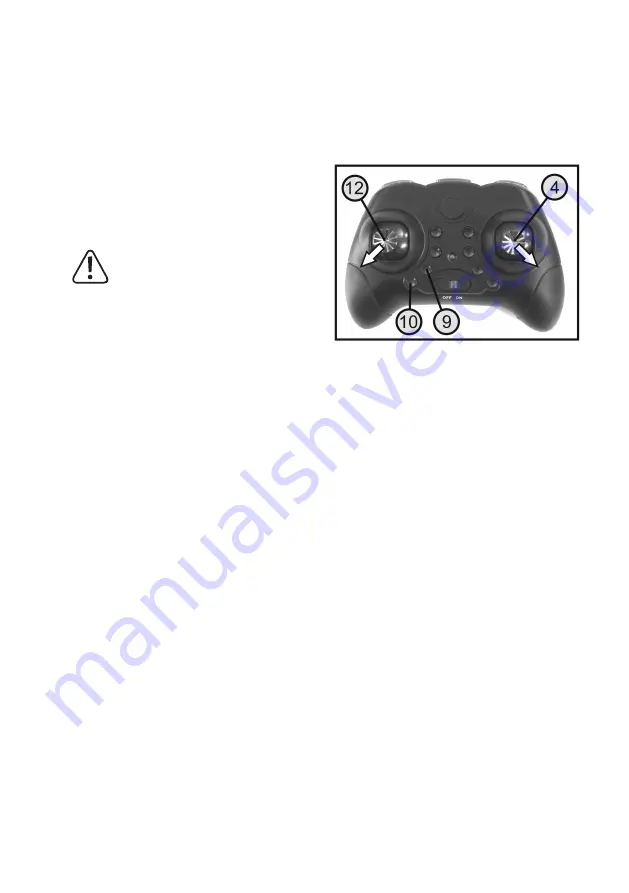
Move the left joystick (see also Figure 1, no. 12) to the
lower left corner and the right joystick (see also Figure 1,
no. 4) to the lower right corner (see arrows in Figure 12).
Hold the two joysticks in this position until the propellers
start and turn at low speed.
Important!
To stop the propellers again after they have
been started up, the left joystick must be moved
to the lower right corner and the right joystick
moved to the lower left corner (see dark arrows
in Figure 15).
If the propellers are running, move the two joysticks back
to the centre position. The red LED on the quadrocopter
flashes slowly.
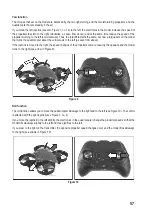
If you now move the left joystick forwards carefully, the quadrocopter will significantly increase propeller speed and
take off. The red LED on the quadrocopter will light up continuously.
With the right joystick, you can easily correct any drift forwards or backwards or to the side.
Once the desired flight altitude is reached, move the left joystick back to the centre position.
The quadrocopter can now hover at a steady flight altitude.
The flight altitude and flight direction can now be controlled separately with the two joysticks.
2) Automatic start:
Switch the remote control transmitter and the quadrocopter on as described above.
Quickly press the push button for the start and land function (see Fig 12, no. 9).
The propellers start up, the quadrocopter takes off and automatically ascends. While ascending, the LED on the
quadrocopter flashes slowly.
You can easily correct any drift during the ascent using the right joystick.
When the ascent is complete after approx. 80 cm, the quadrocopter hovers automatically at a constant altitude.
The flight altitude and flight direction can now be controlled separately with the two joysticks.
Figure 12

