background image

PAGE NO. 6

PROGRAMMING THE REMOTE CONTROL

Putting the Remote Receiver in Setup Status

•   First, you must place the remote receiver into

setup status

.  To do this press the reset switch by

inserting a small pin (i.e. Un-bent paper clip) into
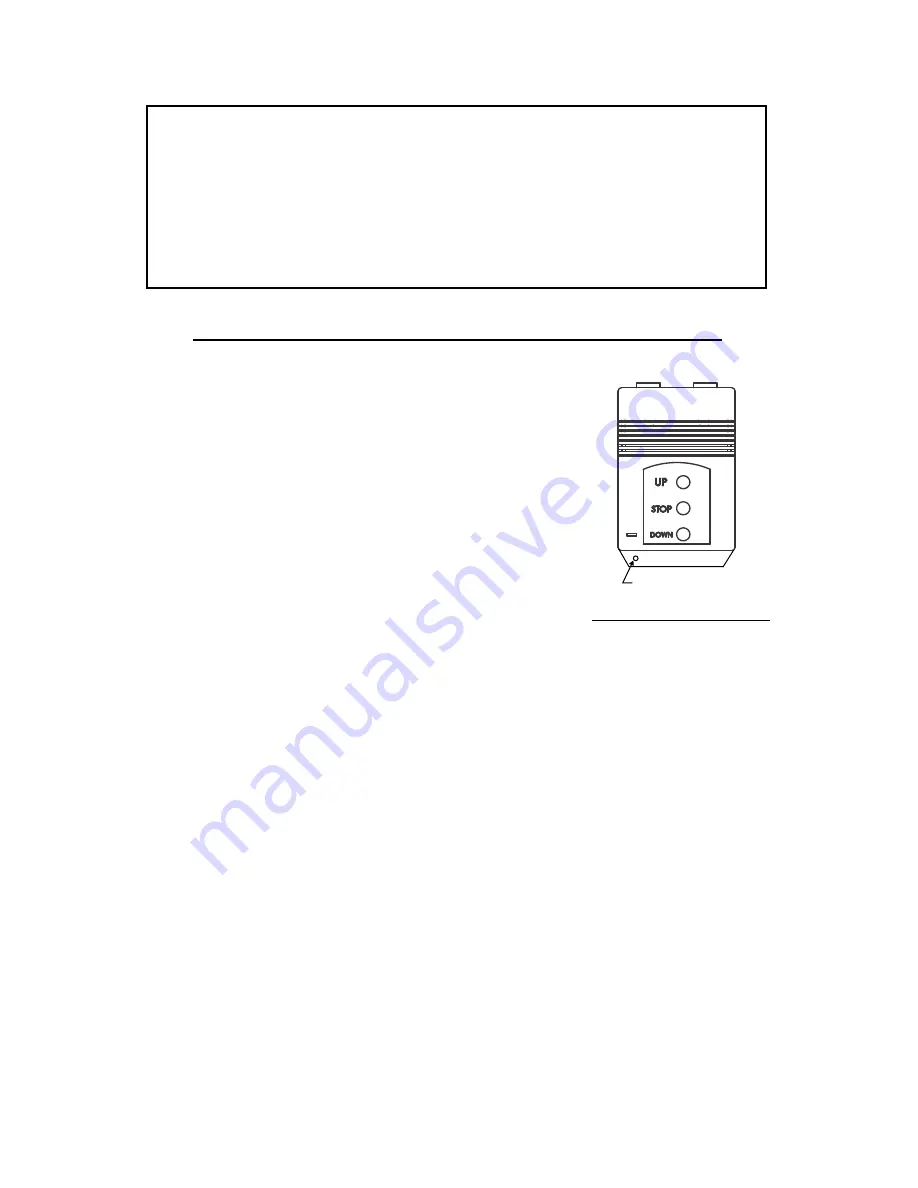
the “setup switch hole” of the IR Receiver/Wall
Switch (fig 1.6).  You must press for 6 seconds.
• 

After 6 seconds the IR Receiver/Switch Box

will beep three times (du-du-du).  This indicates
that the box has been reset.
• 

Now you must press the

setup switch

 again

and this time you will hear two beeps (du-du) indi-
cating that you have successfully set the remote
receiver into

setup status.

Figure 1.6: Setup Switch

Setup Switch Hole

Operations You Can Perform While In Setup Status

1)  Lock the remote control handset
2)  Lock the wall switch controls
3)  Match additional remotes to the receiver

Locking The Remote Control Handset

• 

Enter setup status (see above)

• 

Press the STOP button on the remote control to lock (disable) the

UP and DOWN buttons on the remote.
• 

To unlock (re-enable) the UP and DOWN buttons press STOP or

unplug the screen and plug it back in.

Locking The Wall Switch Controls

• 

Enter setup status (see above)

• 

Press the STOP button on the wall switch to lock (disable) the UP

and DOWN buttons on the remote.
• 

To unlock (re-enable) the UP and DOWN buttons press STOP or

unplug the screen and plug it back in.

NOTE: The remote is fully function right out of the box.  You
DO NOT need to program the remote before using your new
projector screen.  The following instructions for programming
the  remote  are  optional  and  are  used  to  turn  on  or  off  ad-
vanced features that many users will not find necessary.

READ FIRST

Summary of Contents for Motorized Electric Projection Screen

Page 1: ...Motorized Electric Projection Screen Thank You For Choosing Our Projector Screen Please Read This Manual Carefully Before Using Your New Screen ...

Page 2: ...For a cord connected unit do not use an extension cord Ÿ Always unplug appliance from electrical outlet before cleaning and servicing and when not in use Never yank cord to pull plug from outlet Grasp plug and pull to disconnect Ÿ Let appliance cool completely before putting away Loop cord loosely around appliance when storing Ÿ To reduce the risk of electric shock do not disassemble this appli an...

Page 3: ...ience years of trouble free use CAUTION The wiring diagrams included are for reference only and only a licensed electrician should attempt to make any adjustments or changes to the wiring of this screen Attempt to service any concealed portion of this screen during the warranty period will void your warranty This Screen is set to operate in a 110V 60Hz environ ment Do not operate in a 220V 50Hz re...

Page 4: ...hat is appropriate for bearing the weight of your screen Inquire with hardware store for help select ing the right mounting hardware for your specific installation DO mount the screen into wall studs if possible DO mount the screen where it will receive proper ventilation but not direct air flow DO NOT install the screen in a highly humid or high temperature environment Try to install in an enviro...

Page 5: ...quietly Infra Red IR Remote Operation fig 1 5 To lower the screen press the DOWN button The screen will continue to go down until you press the stop button or until it has gone down all the way To put the screen back up simply press the UP button Again the screen will go up until it has reached its upper limit and then it will stop automatically Pressing the STOP button while the screen is moving ...

Page 6: ...remote control handset 2 Lock the wall switch controls 3 Match additional remotes to the receiver Locking The Remote Control Handset Enter setup status see above Press the STOP button on the remote control to lock disable the UP and DOWN buttons on the remote To unlock re enable the UP and DOWN buttons press STOP or unplug the screen and plug it back in Locking The Wall Switch Controls Enter setup...

Page 7: ... and DOWN buttons at the same time The screen will remember this position and stop here automatically in the future Clearing the Screen Memory Using the Remote Control Press the UP and DOWN buttons at the same time to clear the screen memory Now the screen will no longer stop at the memorized position REMOTE CONTROL TROUBLESHOOTING Remote control receiver is not working and the LED indicator light...

Page 8: ...PAGE NO 8 SPECIFICATIONS DIAGRAMS Screen Fabric Matte White Gain 0 9 Viewing Angle 160 High Color Rendering High Resolution Gain Viewing Angle Measurement Screen Surface ...

Page 9: ...ROLLER 0008 MOTOR HOLDER 0009 CONNECTION 0010 LEFT ORIENTING MOUNT 0011 SCREEN FABRIC 0012 PULL BAR 0013 RUBBER END CAP 0014 SYNCHRONOUS MOTOR 0015 LATCH 0101 ROLLER ROTOR 0102 SPRING 0103 OSCILLATING LEVER 0104 SHAFT 0105 IDLER WHEEL 0106 IDLER WHEEL SHAFT 0107 RIGHT ORIENTING MOUNT 0108 LIMIT SWITCH 0109 UPPER FRAME 0110 SPRING 1 0111 SPRING 2 0112 SHIFTER LEVER 0113 FIXING SLAT 0114 FIXING SLAT...

Page 10: ...PAGE NO 10 SPECIFICATIONS DIAGRAMS AC 110V 60Hz 00 12 00 13 00 09 00 08 00 07 00 03 00 02 00 01 00 04 00 05 00 06 00 10 00 11 A 00 14 00 15 ...

Page 11: ... outlet with another de vice I e Table lamp Check that the fuse is not broken fuse is located inside the wall switch Check that the power cable has not been pulled out of the screen housing or out from the wall switch box If the remote control is not working properly try operating the remote closer to the screen and out of direct sunlight Also try replacing the remote battery OPERATING TIPS Do not...

Reviews: