background image

7

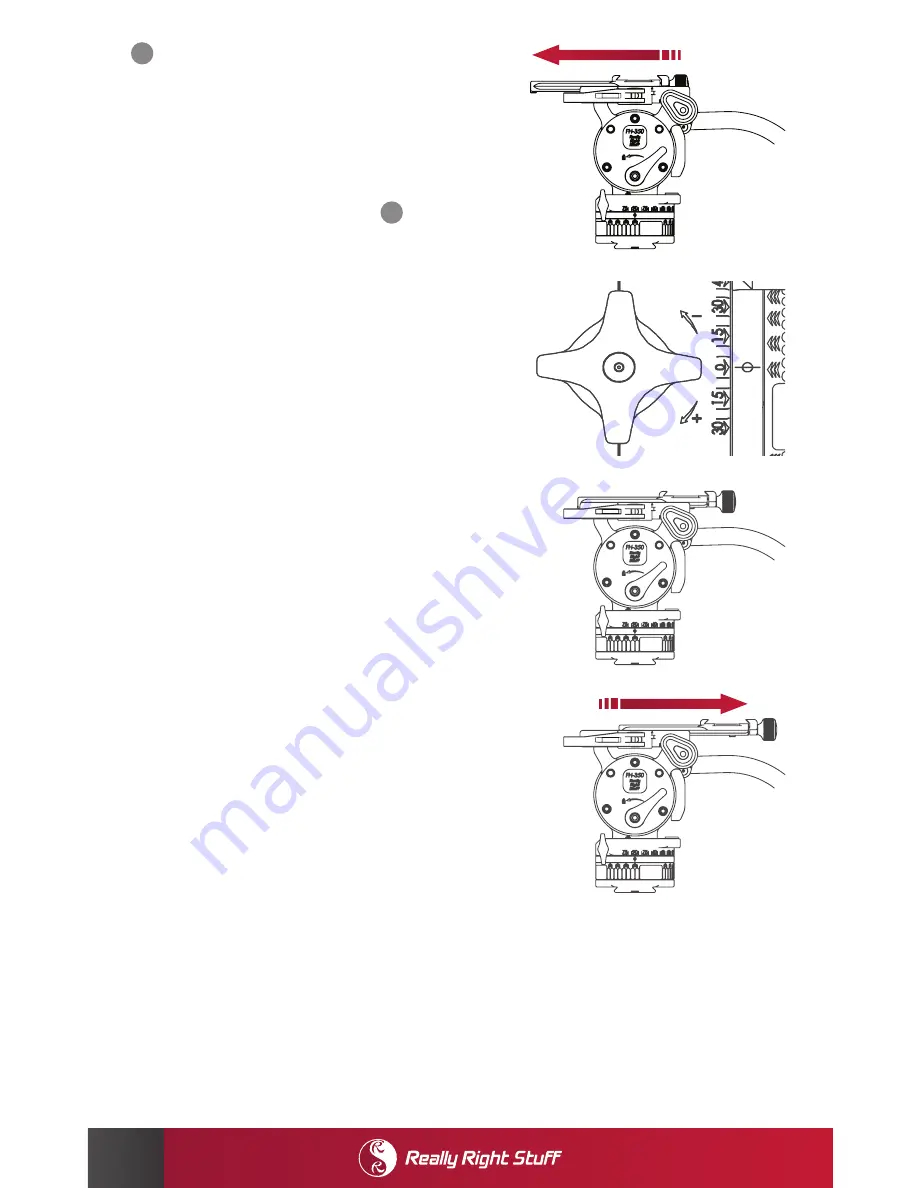
Find the center of balance


(Illustrated at right without camera 
mounted; to follow these steps, your  
camera must be mounted.)

While holding the Handle, unlock the tilt 
axis (turn Tilt Lock Lever to the unlocked 
position, the opposite of Step

         . 

When the tilt axis is unlocked, you must 
hold the Handle at all times to prevent 
free fall.


Set the head to zero degrees of 

tilt and while holding the handle lightly, 
determine if the head naturally wants to 
tilt forward toward the lens or rearward.

•   If the camera wants to tilt forward, then   
     the load needs to be shifted backwards.

•   If the camera wants to tilt rearward,   
     then the load needs to be shifted forward.

To shift the load, open the lever-release 
clamp halfway and nudge the camera or 
Balance Rail in the direction needed to 
achieve balance. When the load is bal-
anced, fully close the lever-release clamp. 
Beware of pinch points where the clamp 
approaches the pan base at maximum tilt.

6

2

SET COUNTERBALANCE

Properly setting the Counterbalance Adjustment Knob will result in effort-free tilting of the 
camera load throughout the /-90° tilt range. The true sinusoidal counterbalance 
mechanism found in the FH-350 can be adjusted for each unique camera setup. Setting 
the knob is quick and easy when following these steps.

Summary of Contents for FH-350

Page 1: ...FH 350 Fluid Head...

Page 2: ...will have increasingly diminished counterbalance support RECOMMENDED INSTALLATION Fluid heads perform best when installed on a tripod fitted with a 75mm or 100mm video bowl with leveling base RRS tri...

Page 3: ...ause of teeth wearing out like what happens with classic Rosettes or poker chip interfaces Choose between left hand or right hand positions or purchase a second handle assembly and use both Please fol...

Page 4: ...3 2 4 3 7 8 9 6 5 1 9 1 5 2 10 FRONT VIEW REAR VIEW 7 8 6...

Page 5: ...ally engaging the pan lock is not recommended Note that the knob can be removed for replacement by continuing to turn the knob counterclockwise 7 TiltLockLever RotatetheTiltLockLevertowardthedirection...

Page 6: ...t shift We recommend using either our MPR CL or MPR CL II rails SOLD SEPARATELY BALANCE THE CAMERA A balanced camera load is key to achieving consistent results with the FH 350 Without properly balanc...

Page 7: ...ion align with empty chevrons 4 Mount camera and or Balance Rail If using Balance Rail sold separately install Balance Rail to camera s quick release plate first Then mount Balance Rail into the quick...

Page 8: ...n the load needs to be shifted backwards Ifthecamerawantstotiltrearward thentheloadneedstobeshiftedforward To shift the load open the lever release clamp halfway and nudge the camera or Balance Rail i...

Page 9: ...g Adjustment Wheel should be OFF and Tilt Lock Lever is in the unlocked position 1 Tilt head forward Tilt the head forward 15 to 30 with one hand There should be a springy resistance 3 Set maximum Cou...

Page 10: ...ing the Counterbalance Level in order to achieve the most consistent results Select the desired damping level by following these steps Set Counterbalance While holding the head tilted forward rotate t...

Page 11: ...OFF DAMPING SETTINGS There is no damping between the chevrons Setting the adjustment wheel to an intermediate position will result in improper engagement of the damping and could result in damage to...

Page 12: ...1146 Farmhouse Ln San Luis Obispo CA 93401 USA 1 805 528 6321 1 888 777 5557 www ReallyRightStuff com...

Reviews: