


30
Recording a Program
Using Two VCRs for Copying and Editing Tapes
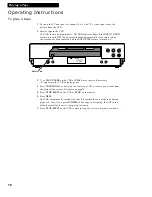
Operating Instructions
(Refer to hookup on page 6.)
Use one VCR as the playback VCR and the other as the recording VCR.
1.
Turn on the TV and VCRs.
2.
Tune the TV to the VCR viewing channel, either 3, 4, or the TV’s video
input.
3.
If you connected your VCR using Option A (page 6), tune the recording
VCR to channel 3 or 4 – the one selected on the back of the playback VCR.
If you connected your VCR using Option B (page 6), press
INPUT
on the
recording VCR’s remote to select the line input.
L
appears in VCR’s
display panel.
4.
Insert the tape you want to copy into the playback VCR. Insert a blank
tape with its safety tab in place into the recording VCR.
5.
Press
PLAY•PAUSE
, then
PLAY•PAUSE
on playback VCR when you reach
the point on the tape or program where you want to begin copying. If the
tape was not recorded on the playback VCR, streaks may appear, and you
may need to adjust tracking.
6.
Press
RECORD
on the VCR or
REC
on the remote
,
then
PLAY•PAUSE
on
the recording VCR.
7.
Press the
PLAY•PAUSE
buttons on both VCRs at the same time to begin
copying the tape.*
8.
Edit out segments that you do not want to copy by pressing
PLAY•PAUSE
on the recording VCR to stop copying the tape. Then, locate the next
segment you want to copy on the playback VCR by using
FWD, REW
and
PLAY.
Press
PLAY•PAUSE
on the playback VCR. Press
PLAY•PAUSE
at
the same time on both VCRs to resume copying.
9.
Press
STOP•EJECT
on both VCRs when you are finished.
*
You may turn off the TV after the recording has started as it does not have
to be on to copy a tape.
Caution: The unauthorized
recording of television
programs and other
materials may infringe the
rights of others.
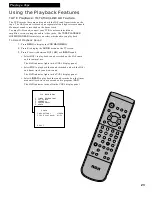
Copying and Editing Tapes Using Compatible Remote
If you have a compatible RCA or ProScan remote with
VCR1
and
VCR2
buttons, you can
program this VCR to respond to either
VCR1
or
VCR2
. This lets you control both VCRs
with one remote for easier copying and editing.
Set the
REMOTE CONTROL
feature of this VCR to
VCR1
or
VCR2
position. The
compatible remote then controls the VCR with either the
VCR1
or
VCR2
button —
depending on the position you select in the menu.
1
.
Press
MENU
to display the
VCR MAIN MENU
.
2
.
Press
4
to display the
PREFERENCES
menu.
3
.
Press
1
to activate the
REMOTE CONTROL: VCR1
or
VCR2
feature.
4
.
Press
VCR1
or
VCR2
on your compatible VCR’s remote
to change the setting and program this VCR to respond
to
VCR1
or
VCR2
— depending on the position you
selected in step 3.
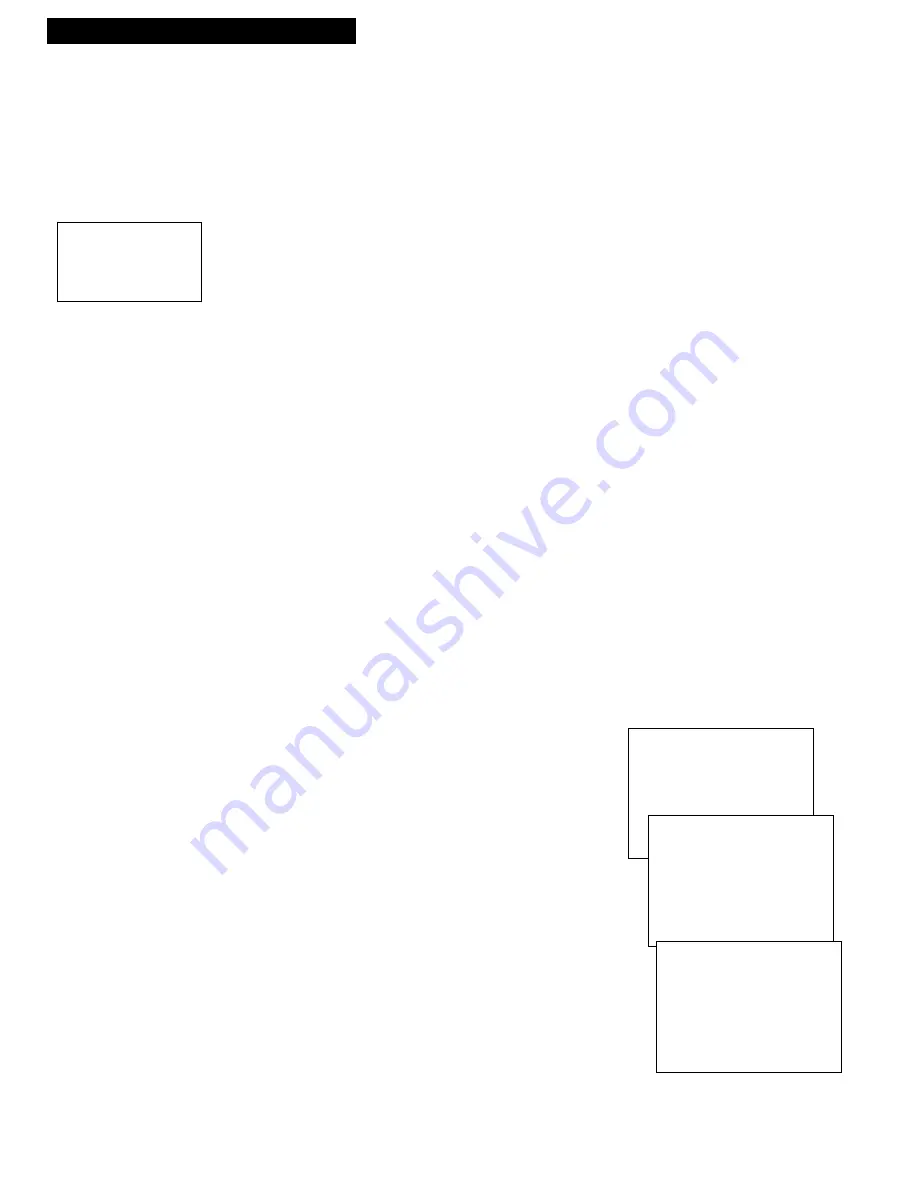
VCR MAIN MENU
1 TIMER RECORDINGS
2 SET CLOCK
3 CHANNELS
4 PREFERENCES
PREFERENCES
1 REMOTE CONTROL: VCR1
2 AUTO PLAY: ON
3 AUTO TV/VCR: ON
4 FRONT PANEL: AUTO
5 AUTO DST: ON
6 SET AUTO REPEAT
PRESS VCR2 TO CHANGE
PREFERENCES
1 REMOTE CONTROL: VCR2
2 AUTO PLAY: ON
3 AUTO TV/VCR: ON
4 FRONT PANEL: AUTO
5 AUTO DST: ON
6 SET AUTO REPEAT
0 EXIT


