


45
OTHER FEATURES
MOVIE
ADVANCE
®
MOVIE
ADVANCE helps you locate certain parts of
prerecorded movies (rented or purchased). This feature works
two ways: 1) you can go to the beginning of the movie, or, 2) you
can skip from one preview to the next. MOVIE
ADVANCE
works only on cassettes recorded in the SP speed with the safety
tab removed.
1.
To select MOVIE
ADVANCE, insert a tape with the safety
tab removed and press SEARCH. The following menu
appears:
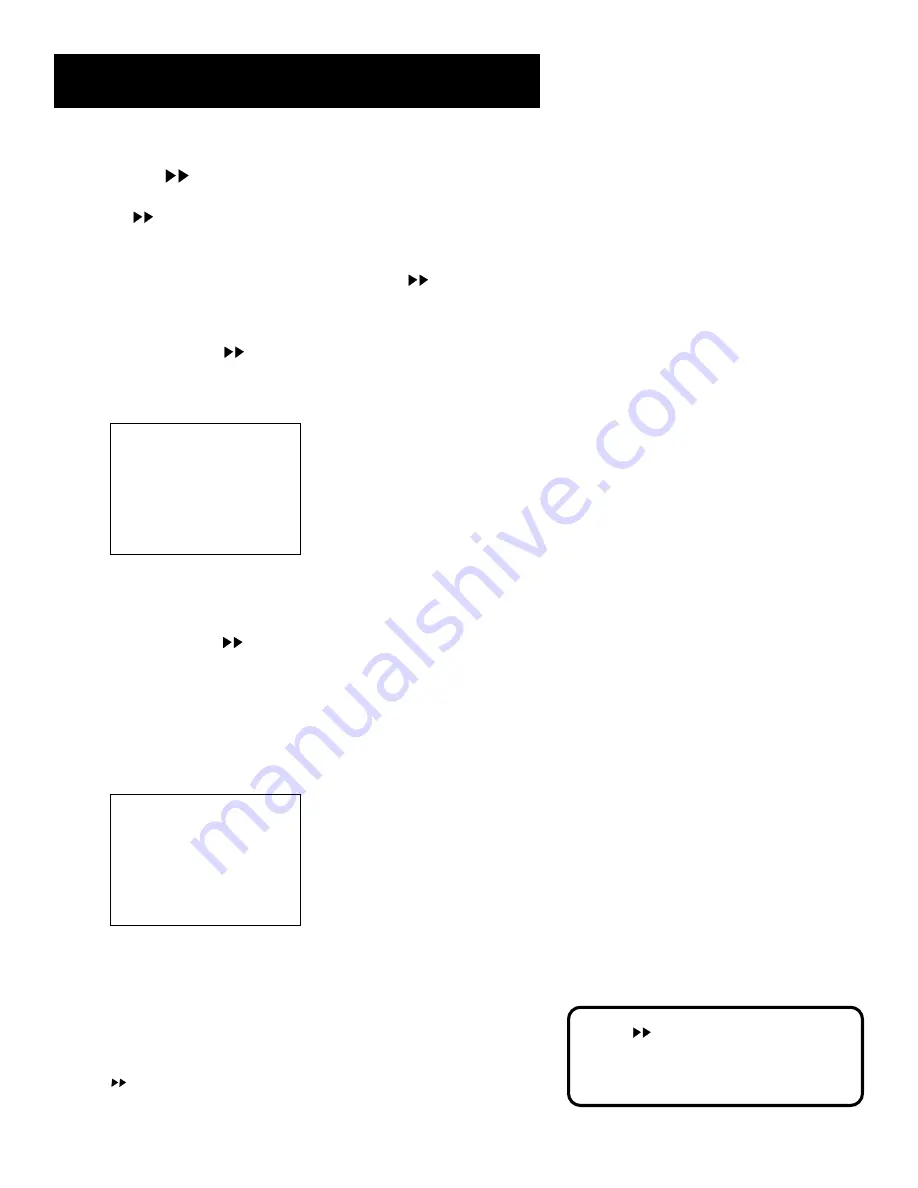
MOVIE ADVANCE
What type of tape
is this?
1 Purchased/Rented Movie
2 Home Recording
3 Other
Press CLEAR to cancel
2.
Press 1 if the tape is a purchased or rented movie,
press 2 if it’s a recording made at home, or press 3 if
it’s something else, you don’t know, or you do not want
to select MOVIE
ADVANCE.
Pressing 2 or 3 gives the same response and takes you to a
different search feature. If you accidentally make a wrong
selection, press STOP•EJECT on the VCR (STOP on remote)
and reinsert the tape. Press SEARCH.
If you press 1, the MOVIE ADVANCE menu appears.
MOVIE ADVANCE
What type of tape
is this?
1 Purchased/Rented Movie
2 Home Recording
3 Other
Press CLEAR to cancel
3.
Press 1 to advance directly to the beginning of the movie or
press 2 to view the first (next) preview.
MOVIE
ADVANCE works only on
cassettes recorded in the SP speed
with the safety tab removed.
MOVIE
ADVANCE is a registered trademark of SRT, Inc.
A Jerry Iggulden invention licensed by Arthur D. Little Enterprises.


