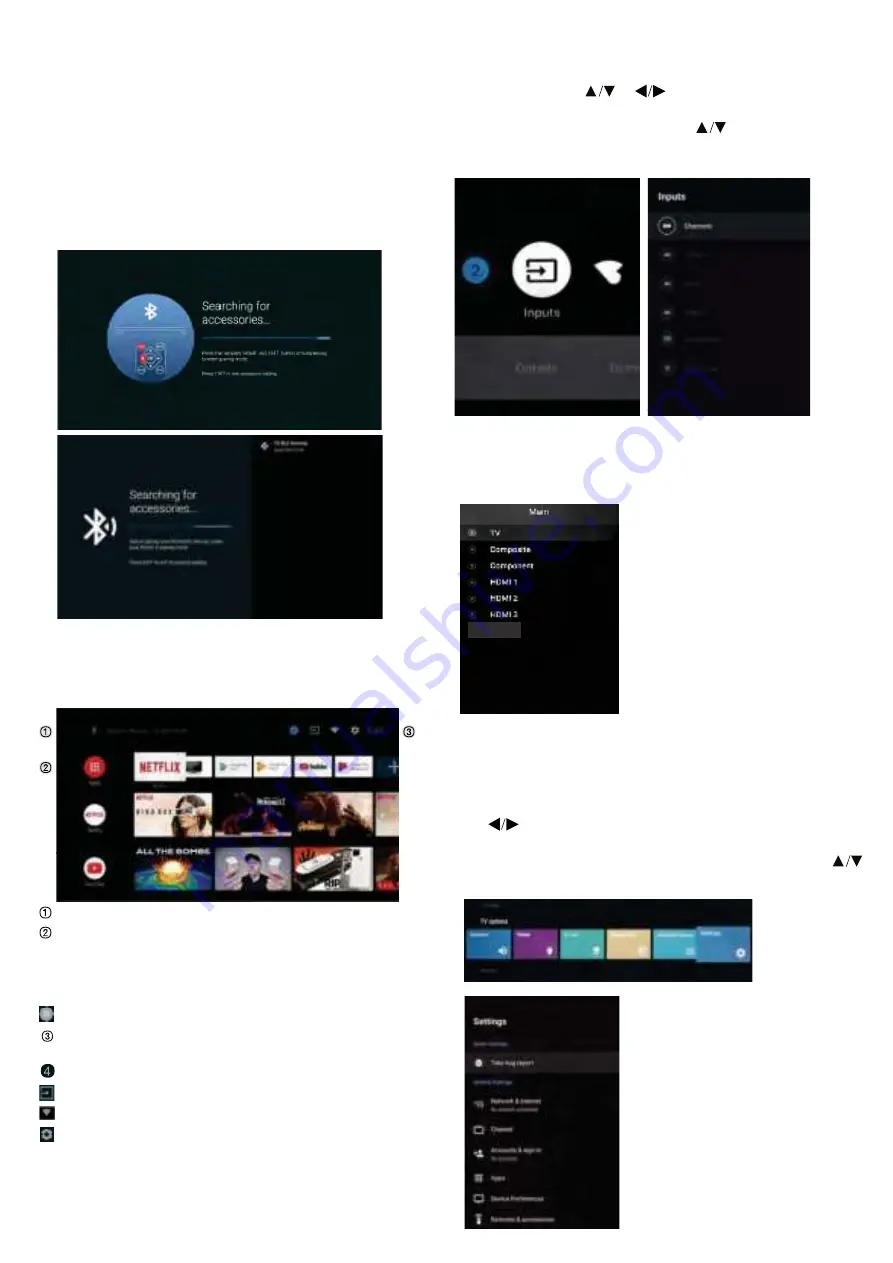
INITIAL SETUP
Please follow the instructions accordingly for the
first setup.
This is an necessary function for the remote pair
control pair code. After pairing the code successfully,
you will have access on the remote control in order to
operate the TV. Please press and hold the ''HOME'' and
''LEFT'' buttons simultaneously for 5 seconds. Then
press the ''OK'' button. Eventually, the ''TV_BLE_
Remote'' displays in the upper right corner of the screen.
INPUT SOURCE
2. Press on the ''SOURCE'' button on the remote control
while on the LIVE TV source or press 2 times on the
''SOURCE'' button to be redirected directly for all the listed
input sources.
Open the google assistant or start a voice search.
The applications installed are displayed, the icons for
the favorite applications are shown inside here.
(favorite applications can be added, changed or deleted)
Apps
: Icon to be redirected for all the listed applications
Notifications
: Display the notifications
On-screen Menu:
In order to navigate or configure
with convenience
Inputs
: Icon to select an input source.
Network&Interent:
Icon for network settings. (Wifi)
Settings:
Icon for the configuration of various settings.
For more detailed explanation regarding the settings,
please check the next page
HOME SCREEN
After initial setup, press EXIT to exit the initial setup, and
enter the HOME screen.
NAVIGATING THE ON-SCREEN MENU
This TV includes 2 separate version of an on-screen menu
- Firstly, please open the Live TV source. Please read the
chapter ‘’Input source’’ if it is not clear. Then press the
‘’HOME’’ button for the on-screen menu. Eventually press
the buttons and select a desired configuration.
- Secondly, browse the Home interface with buttons. Select
the menu icon and press OK. Eventually press buttons
and confirm the desired configuration option.
1. The HOME interface displays the ''Input'' icon in the upper
right corner. Press or buttons in order to select the
''Inputs'' icon. Please press OK in order to open all the
optional input sources. Then press buttons to select a
desired source. Eventually press the OK button in order to
confirm the input source.
Summary of Contents for RS65U2-EU
Page 1: ...RS65U2 EU Benutzerhandbuch ...
Page 16: ......
Page 17: ...RS65U2 EU Manuel de l utilisateur ...
Page 32: ......
Page 33: ...RS65U2 EU USER MANUAL ...
Page 48: ......
Page 49: ...RS65U2 EU gebruikershandleiding ...
Page 65: ......


