


23
En
-
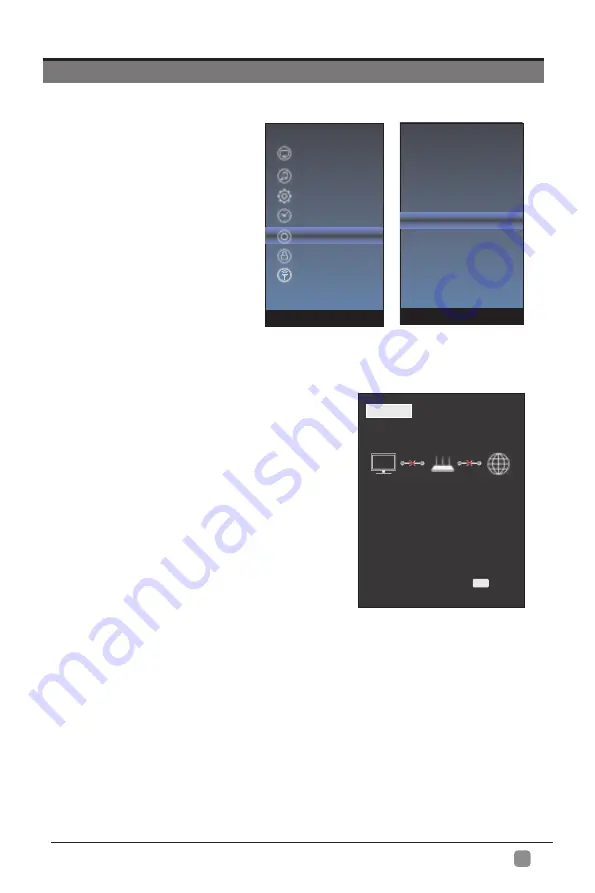
1.Press the “Menu” to enter, then pitch on the ”Option”,and press “ENTER” or click the
right button to enter the submenu.
2.Pitch on the "Network Configuration",and press "ENTER" or click right button to
enter the "Network Configuration".
3.When the wired network is used, if select dynamic IP address setting, pitch on the
"Connect" in the "Network Configuration", then click the "Connect", and press
the "ENTER"button to enter.
If select static IP address setting,pitch on the "Manual" in the "Network configuration",
then connect up the IP,Nemask,Gateway and DNS in sequence.When the connect
complete,pitch on the "connect " and press the"Enter".
NETWORK SETTING
STATUS
WIFI LAN
MODE: LAN
Fail
IP: 0.0.0.0
0.0.0.0
0.0.0.0
DNS:
GATEWAY:
EXIT
Exit
OSD Language
OSD Time
Closed Caption
Reset
Network Configuration
Software Upadate
(
USB
)
Internet Update Check
View End-User License
Network Update Information
User Mode
Picture
Sound
Function
Time
Option
Lock
Channel
Summary of Contents for RNSMU8220
Page 1: ...Model RNSMU8220...
Page 2: ......
Page 4: ...1...
Page 5: ......
Page 6: ...3 POWER Press to turn the unit on and off...
Page 9: ...6...
Page 10: ...7...
Page 11: ...8...
Page 33: ...30...
Page 34: ...SPDIF Optical USB Port 10W 10W 31 82 82 280 USB Media Player 350W...
Page 35: ...32...
Page 36: ...33...
Page 38: ...Model RNSMU8220...
Page 39: ......
Page 41: ...1...
Page 42: ...2...
Page 43: ...3 POWER Press to turn the unit on and off...
Page 46: ...6...
Page 47: ...7...
Page 48: ...8...
Page 52: ...12 Enter HDMI3 3 Component Entrada...
Page 66: ...26 pausar M s opciones...
Page 67: ...27...
Page 68: ...28...
Page 69: ...29...
Page 70: ...30...
Page 71: ...2160p 280 31 82 82 350W 3840 x 2160...
Page 72: ...32...
Page 73: ...33...


