


System Requirements
• Windows® 98, Windows® 2000, Windows® XP, or ME and USB capability
version 1.0 or higher is required.
Plug & Play
If you have model PC7330, no software installation is required. Your mouse is ready to use.
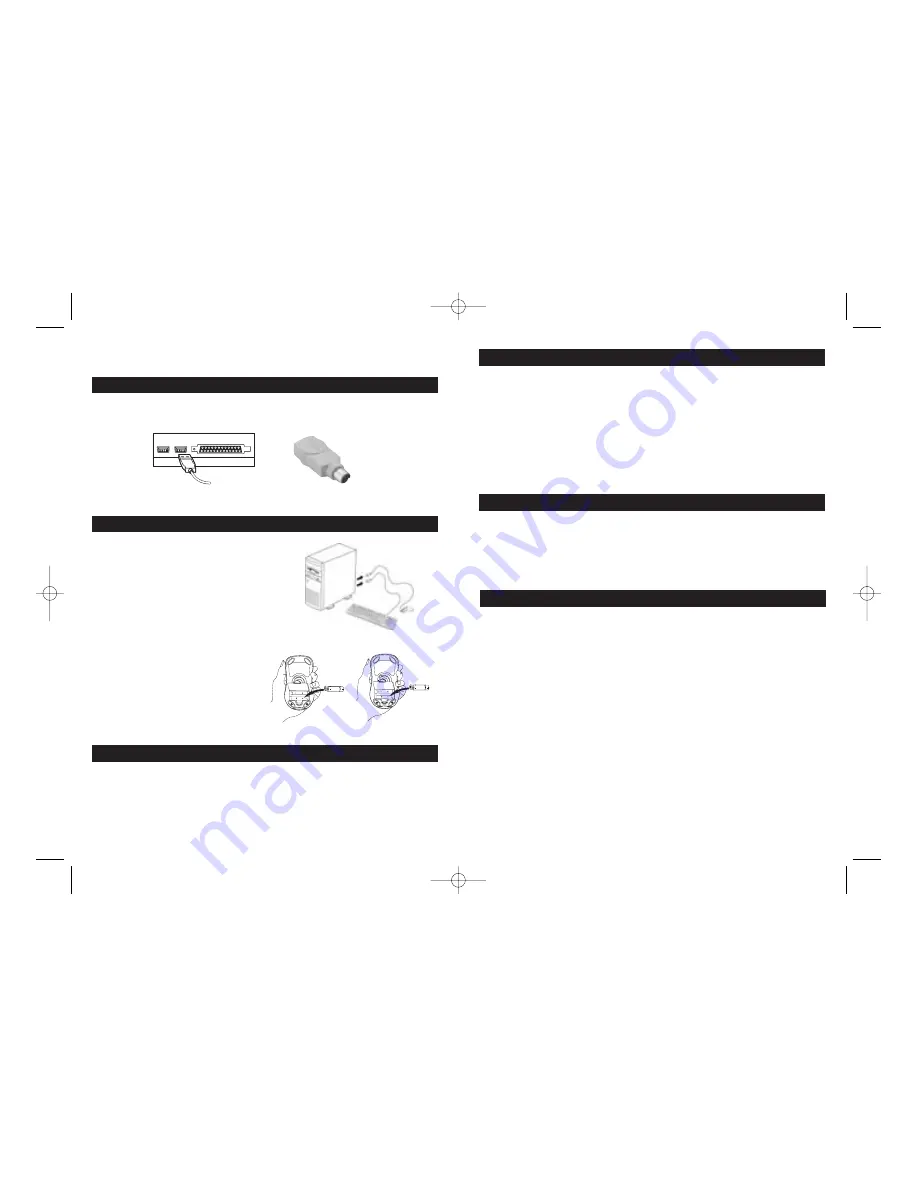
USB Port
It is important to read this instruction book before
you use your new product for the first time.
PS/2 Adapter
2
3
A
B
Getting Ready
1. Shut down your computer.
2. Remove the existing keyboard and mouse.
3. Install the AAA alkaline batteries in the
wireless mouse.*
• Remove the battery compartment cover
on the bottom or top of the mouse by
pressing down on the tab.
• Insert the batteries as shown inside the
battery compartment.
• Replace the cover.
*Note: There are 2 ways to load batteries.
• Illustration A is an example of
a bottom loading mouse.
• Illustration B is an example of
a top loading mouse.
Troubleshooting
1. Check the batteries to ensure they are fully charged.
2. Check the receiver’s USB connection. Be sure the receiver is securely connected to the
USB port.
3. If your mouse (model PC7310 or PC7330) does not respond properly, you may need to
change the frequency on which the item is operating. On model PC7330, press the learn
button on the receiver, then press the ID button on the mouse. On model PC7310, make
sure both your receiver and mouse are set to channel 1 or channel 2, and that both are on
the same channel.
4. Make sure the USB port is properly configured in the system BIOS (either “enabled” or
“disabled”). Refer to your computer’s documentation for correct port configuration. You
may also have other system device conflicts. Please change the settings as required.
Special Instructions For PC7330
Making the wireless radio frequency connection:
1. Press the “ID” button on the bottom side of the receiver, until the “Status” LED slowly
flashes. (approximately 1-2 seconds)
2. Press the “ID” button located on the bottom of the mouse to connect with the receiver.
The “Status” LED on the receiver will begin to flash rapidly. (Approximately 3-5 seconds).
When the rapid flashing has ceased, the mouse is ready to use.
Regulatory Information
Notice to Users:
This equipment has been tested and found to comply with the limits for a Class B digital device, pursuant
to Part 15 of the FCC rules. These limits are designed to provide reasonable protection against harmful
interference in a residential installation. This equipment generates, uses and can radiate radio frequency energy
and, if not installed and used in accordance with the instructions, may cause harmful interference to radio
communications. However, there is no guarantee that interference will not occur in a particular installation.
If this equipment does cause harmful interference to radio or television reception, which can be determined
by turning the equipment off and on, the user is encouraged to try to correct the interference by one or more of
the following measures:
• Reorient or relocate the receiving antenna.
• Increase the separation between the equipment and the receiver.
• Plug the equipment into an outlet on a circuit different from that which the receiver is plugged.
• Consult the dealer or an experienced radio/TV technician for help.
This product works using a radio frequency, so use on an airplane may be restricted due to interference.
CE
This equipment has been tested and found to comply with the limits of the European Council Directive on the
approximation of the law of the member states relating to electromagnetic compatibility (89/336/EEC)
according to EN 55022 Class B.
PC7330 NA IB REVB_K.qxp 1/22/04 9:33 AM Page 2


