


Chapter 4: Using the Menu System
24
Chapter 4
Graphics contained within this publication are for representation only.
Menus, On-screen Help, and Control Panels
This section explores menus of your TV beginning with some information on using menus and
control panels. Each menu is outlined and detailed to help you get the most from your TV. The
Parental Control
menu is discussed in the Features chapter.
The first menu you see when you press the MENU button on the
remote is called the
MAIN MENU
. To access the
MAIN MENU
:
1.
Press the MENU button (the
MAIN MENU
appears
).
2.
Use the arrow buttons (left, right, up, down) to move through the
menu items.
3.
Press the OK button or right arrow button to select a highlighted
item in the menu.
Note:
The Picture, Sound, Parental Control, and Preferences
menus are available and can be customized for each input. If an
option within a menu isn’t available for an input it will be
noted.
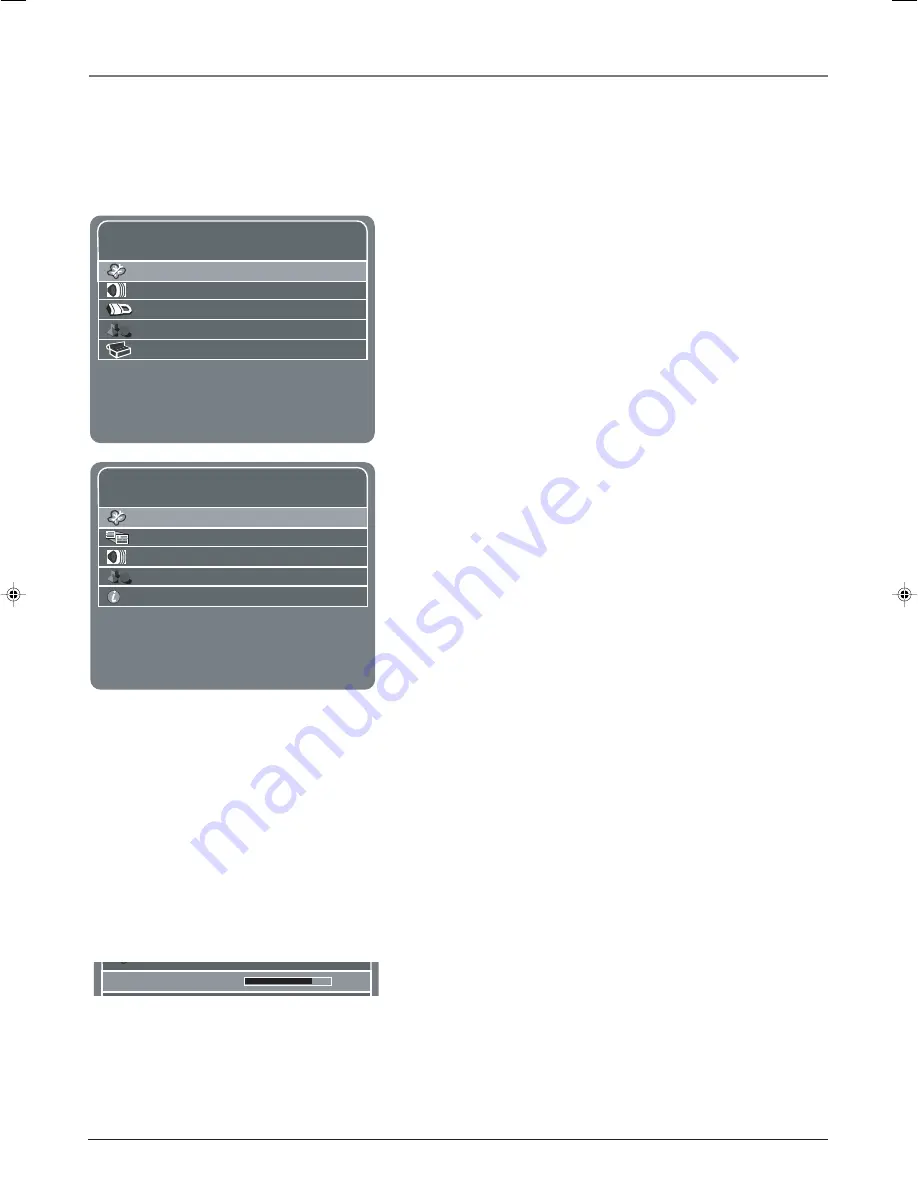
MAIN MENU
Picture
Sound
Parental Control
Preferences
Setup
Press </> or OK to go to the sub-menu.
Press MENU or CLEAR to exit.
MAIN MENU
Picture Quality
Picture Size
Sound
Preferences
Information Center
Press </> or OK to go to the sub-menu.
Press MENU or CLEAR to exit.
If you connect a PC to the TV, use the PC
MAIN MENU
to make
changes or view
Picture Quality
,
Picture Size
,
Sound
,
Preferences
, or
Information Center
menu. To access the PC
MAIN MENU
:
1.
Press the INPUT button until the PC Input selection appears.
2.
Press the MENU button (the PC
MAIN MENU
appears
).
3.
Use the arrow buttons (left, right, up, down) to move through the
menu items.
4.
Press the OK button or right arrow button to select a highlighted
item in the menu.
Exiting a menu
There are two ways to exit a menu:
•
Press MENU until on-screen menus disappear.
•
Press CLEAR. The on-screen displays are cleared from the screen
and you return to TV viewing.
Controls
Controls let you adjust the default settings of your TV. You can choose
a setting, enter a number, or adjust a level such as tint or brightness.
There are four types of controls: sliders, choice lists (check boxes, icon
selections), numeric entries, and option lists.
Sliders
Sliders are used to select a specific point of a control that has
continuous levels. To make adjustments:
1.
Press the up or down arrow button to select the slider control for
the feature you want to adjust.
2.
Press the left or right arrow button to adjust the indicator on the
slider.
Brightness
Contrast
16278150.04 Menu
12/11/03, 2:04 PM
24


