


34
Chapter 7: Using the TV's Features
Chapter 7
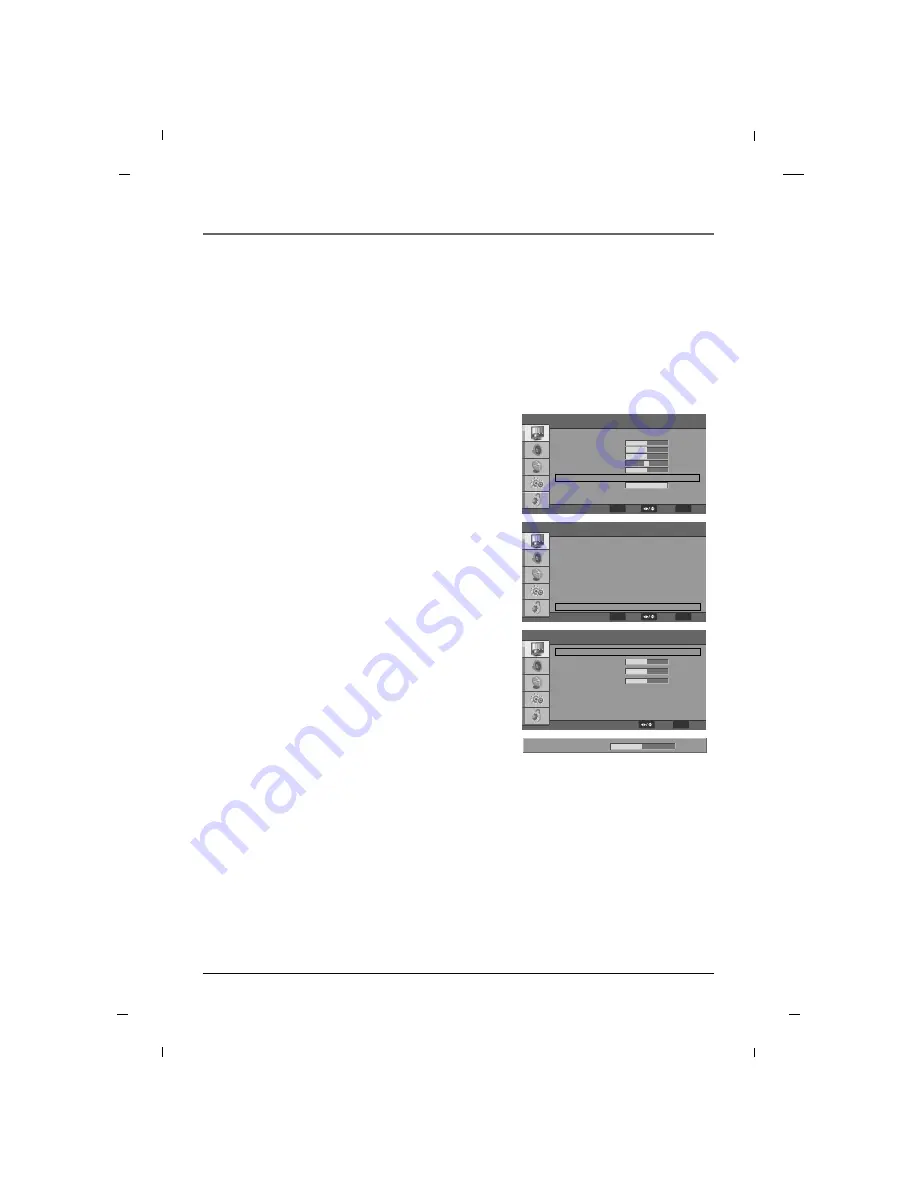
Color Temperature
1. Press the
MENU
button to enter the on-screen
menu and then press either the
Down
or
Up
button
to select the
Video
sub-menu.
2. Press the
OK
button to enter the sub-menu and
then press either the
Down
or
Up
button to select
Advanced Video
.
3. Press the
OK
button to enter the sub-menu and
then press either the
Down
or
Up
button to select
and enter into the
Color Temperature
submenu.
4. Press the
OK
button and then press the
Left
or
Right
button to select between
Cool
,
Standard
,
Warm
or
User
settings.
5. If you selected the User setting, press the
Down
or
Up
button to select desired color option you wish to
adjust.
6. Press the
OK
button and then use the
Left
or
Right
button to make appropriate adjustments.
7. Press the
MENU
button to return to the previous
menu.
The Color Temperature settings will allow you to adjust the lighting in the display to compliment your view-
ing preference.
The Cool setting will add more Blues and Greens into the image to give it a “cooler ” feeling.
The Warm setting will add more Reds and Yellows into the image to give it a “warmer ” feeling.
The Standard setting will be a more natural feeling and will fall between the Cool and Warm settings.
Color Temperature
Color Temperature
R Gain
G Gain
B Gain
Standard
F
F
G
G
0
0
0
R Gain
0
MENU
Back
Select
Note
- To adjust manually Color Temperature on your display, change the
Color Temperature
Mode to
User
.
Advanced Video
DNR
MPEG NR
Adaptive Luma Control
Flesh Tone
DI Film Mode
Blue Stretch
Game Mode
Blue Mute
Gamma
Color Temperature
Medium
Low
Off
Off
Auto
Off
Off
On
Middle
F
F
G
G
F
F
G
G
F
F
G
G
F
F
G
G
F
F
G
G
F
F
G
G
F
F
G
G
F
F
G
G
F
F
G
G
G
G
Video
User
F
F
G
G
45
50
50
0
0
G
G
100
G
G
Picture Mode
Brightness
Contrast
Saturation
HUE
Sharpness
Advanced Video
Back Light
Reset Picture Mode
MENU
Exit
Select
ENTER
OK
MENU
Exit
Select
ENTER
OK
Summary of Contents for J12H770
Page 63: ......


