17
Transferring Files to the Player
Transferring Files via Windows Explorer (Drag and Drop)
(Windows 98SE, ME, 2000 only)
If your player is not already connected to your computer, connect it to the computer
using the provided USB cable and turn on the unit.
From Windows Explorer, highlight all the files/folders
you want to transfer to your player and drag them to
the drive letter that is associated with it.
Transferring Files via Windows Explorer (Drag and Drop)
(Windows XP only)
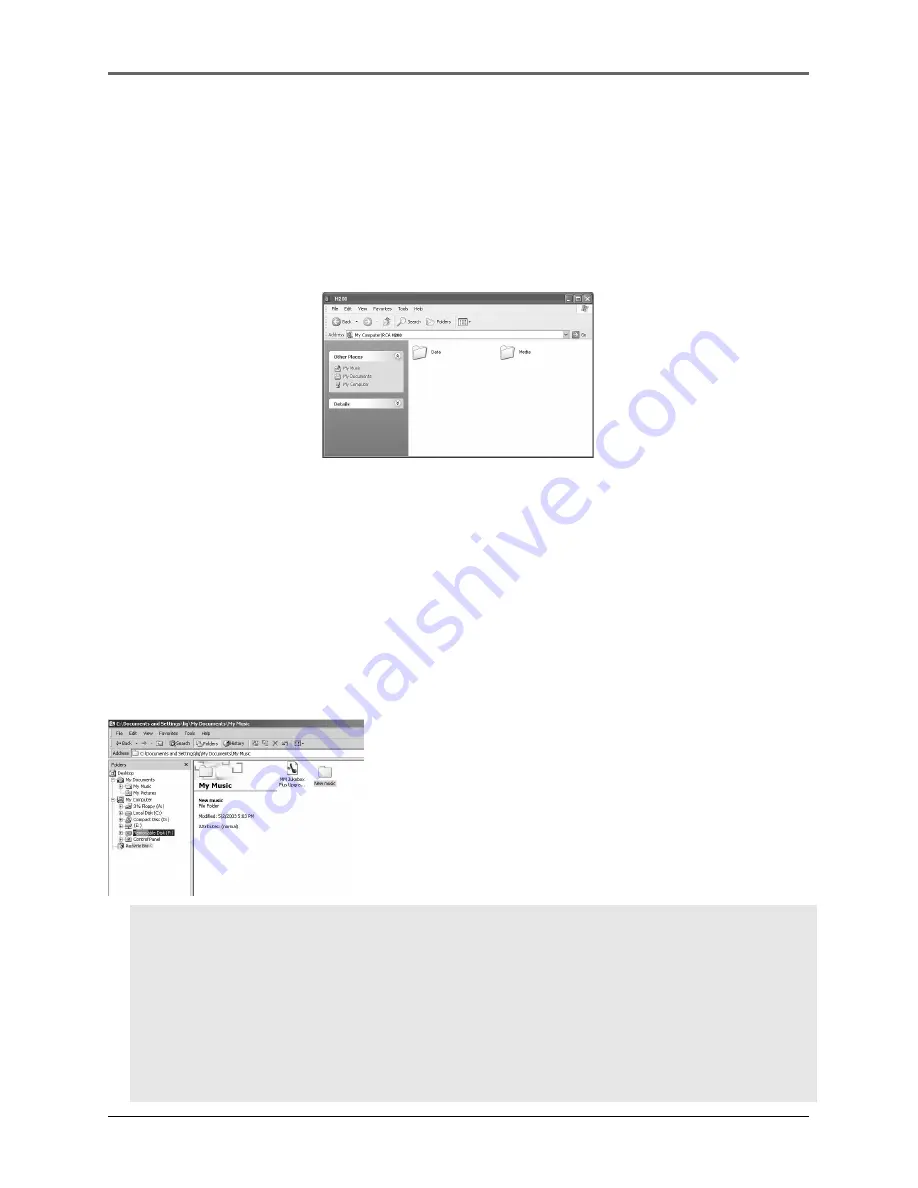
In the Windows Explorer, when the device is opened, the “Data” and “Media” views will
be displayed for the device.
The
Data View
is used to manage data content on the device, such as text files. The
Media View
is used to manage media content supported by the device for playback, such
as mp3 and wma.
You can copy files to / delete files from the device through Windows Explorer, but you
cannot open or edit the files directly from the device. If you want to edit the files, you
will need to copy the files from the device to another location (drive) in the system.
Note:
You must profile your contents after file transfer in order for the new files
to appear in the Navigation Menus. Refer to section “Profiling”.
Caution
: Secure music download files must be transferred to your player
through one of the provided Jukebox software packages or any applications
recommended by the online music download service. Please visit the online
music download service’s website where you purchased your content from for
more details on transferring secure music to your player.
Note: Windows XP requires Service Pack 1 or higher.


