Graphics contained within this publication are for representation only.
18
Chapter 1: Connections and Setup
Setting the Clock
1.
Press SETUP to bring up the DVD recorder’s main menu.
2.
General
is already highlighted, so press the OK button to bring up the General menu.
3.
Press the down arrow button to highlight
Clock
and press OK. The clock settings menu
appears.
4.
The hour is already highlighted, so press OK to change it. Use the up and down arrows or
number buttons to enter the hour.
5.
Press the right arrow to highlight the minutes, then use the up and down arrows or number
buttons to enter the minutes.
6.
Press the right arrow to highlight AM or PM, then use the up and down arrows to change the
time of day.
7. When
fi nished, press OK to save the settings.
Setting the Date
1.
In the Clock menu, press the down arrow button to highlight
Date Settings
and press OK.
2.
The month is already highlighted, so use the up and down arrows or number buttons to enter
the month.
3.
Press the right arrow to highlight the day, then use the up and down arrows or number buttons
to enter the day.
4.
Press the right arrow to highlight the year, then use the up and down arrows or number buttons
to enter the year. The default is set for 2006.
5. When
fi nished, press OK to save the settings.
Setting the Time Format (12 or 24 hour)
1.
In the Clock menu, press the down arrow button to highlight
Time Format
and press OK.
2.
Use the up and down arrows to choose
12
or
24
hour.
3. When
fi nished, press OK to save the settings.
•
To return to the main menu, press the left arrow repeatedly.
Searching for Channels
The DVD recorder automatically scans the incoming signal connected to the DVD recorder and
prepares the channel list. The channel list determines what channels appear when you press the CH+
and CH- buttons.
A progress indicator appears on the TV. When the channel search reaches 100%, press OK.
1.
Press SETUP to bring up the DVD recorder’s main menu.
2.
Press the down arrow button to highlight
TV Channel and press the OK button to bring up
the TV Channel menu.
3.
At the bottom of the channel window, you’ll see some icons. The Channel Scan icon is
highlighted.
4.
Press OK to select it. The signal types, Antenna and Cable appear. Choose the type of signal
you are using and press OK. The DVD recorder searches for all available channels.
5. When
fi nished, highlight the cancel icon and press OK to return to the main menu.
•
To cancel, press OK at any time.
Notes:
If you are using only a cable box or satellite receiver, there will be few, if any,
channels in the channel list.
If you’ve connected a satellite receiver to the RF IN jack, choose Antenna for this
step.
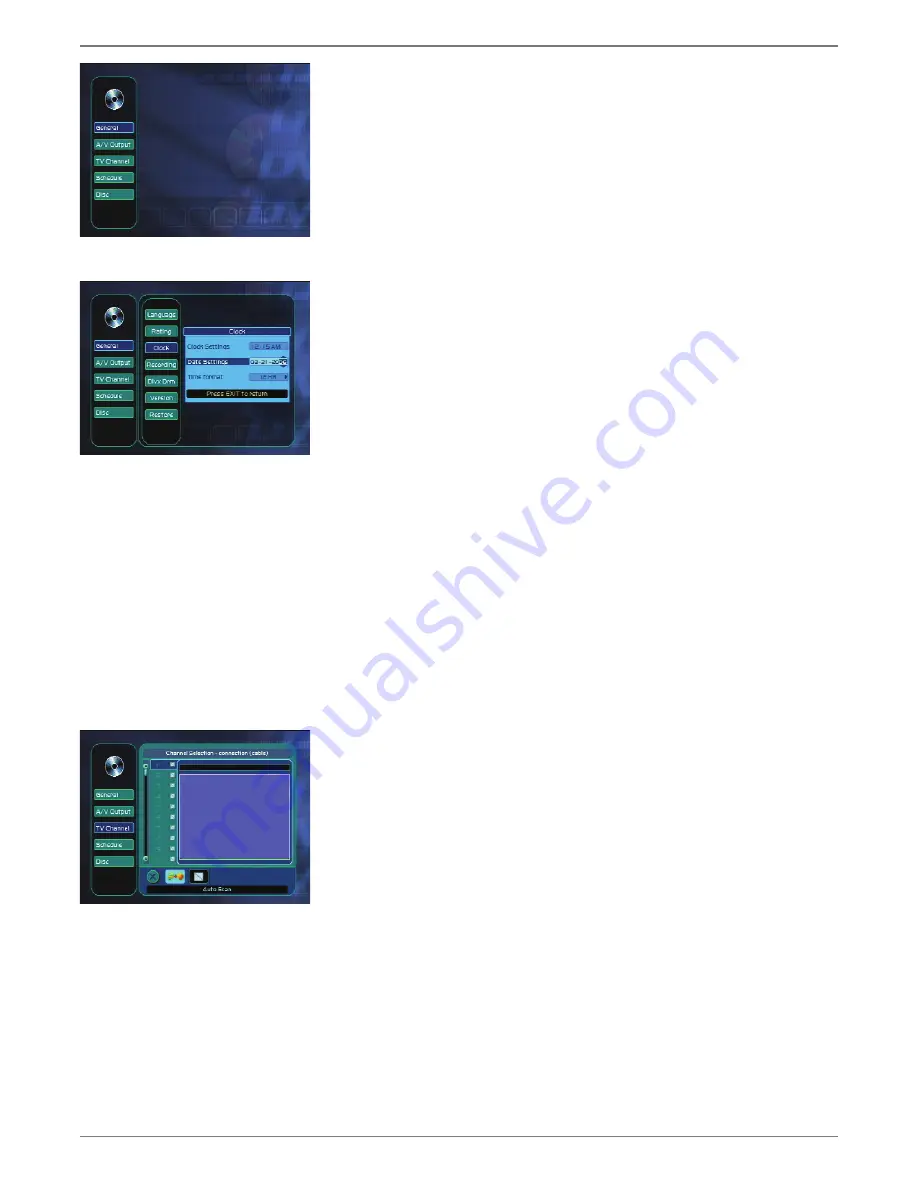
The DVD recorder’s main menu.
Note:
If you don’t see the main
menu the fi rst time you turn on
the DVD recorder, make sure
you’ve tuned your TV to the
appropraite Video Input Channel.
If you need help, go to page xx.
The Clock menu.
The TV Channel menu.
Summary of Contents for DRC8052
Page 1: ...Changing Entertainment Again DVD Recorder User s Guide ...
Page 45: ......


