


7. Store your program by selecting “Keep Timer” and then press
OK
.
8. Return to the main menu by pressing
MENU
in order to continue using your DVD recorder or turn
it off by pressing
ON•OFF
.
To program a transfer:
Press
to proceed to the next step (from step 1-3).
1.
Name
- Press
INFO
to access the keyboard table.
Enter the name of the recording letter by letter
and confirm.
2.
Day(s)
- Use the numeric keys on the remote
control to type in the date.
3.
Start Time
- Use the numeric keys on the remote
control to type in the time.
4. Store your program by selecting “Keep Timer”
and then press
OK
.
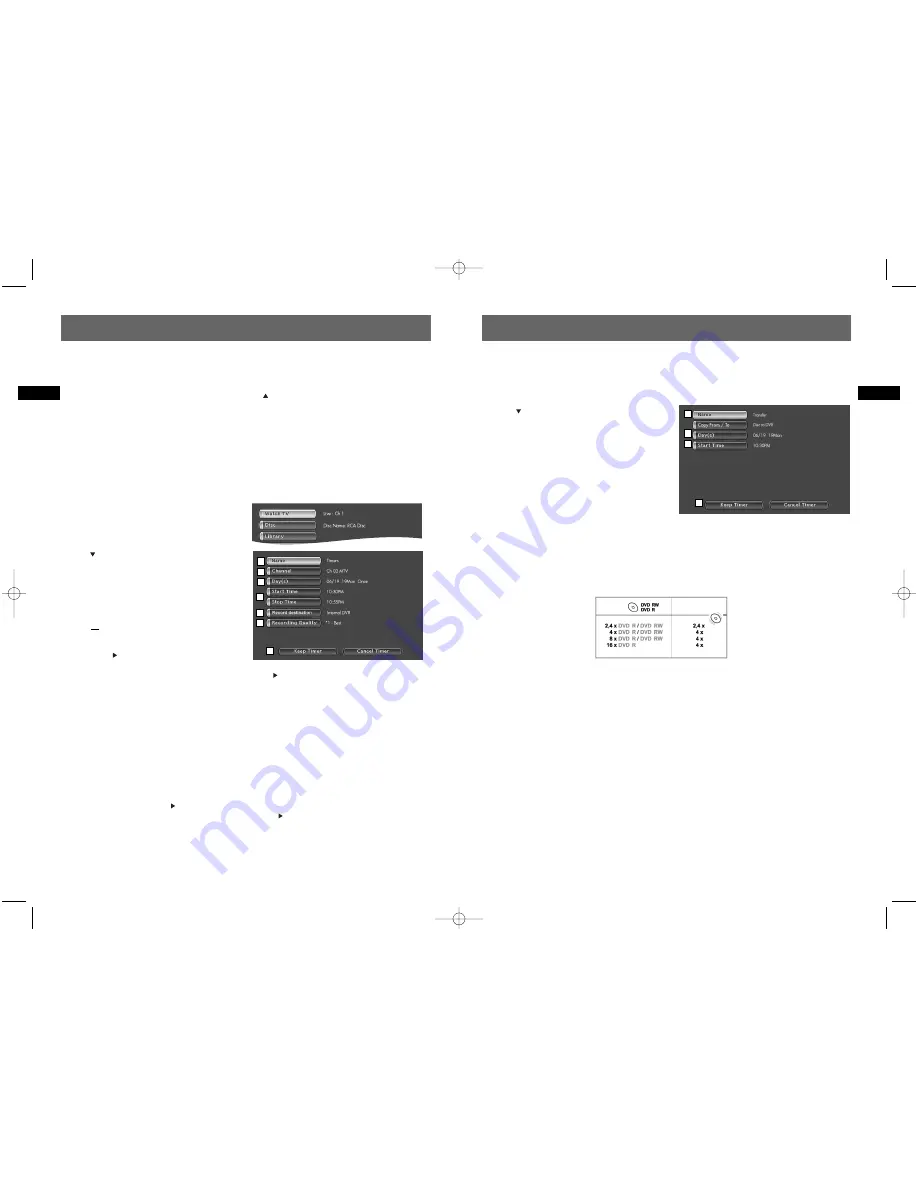
Recordable discs
•
DVD R/RW - The majority of DVD R (write once) and DVD RW (re-recordable) has 4.7 Gb capacity.
•
This recorder is not compatible with DVD RAM discs.
•
The DVD discs are certified for certain recording speeds. These speeds must correspond to the
capabilities of your player, i.e.:
14
EN
Stop recording
Press
STOP
twice.
If you only press
STOP
once, the confirmation menu appears. Press a second time to completely stop
the recording or select to continue or pause by pressing
and
OK
.
Note:
With a DVD R disc, if you do not have another recording to make, you need to “finalize” the disc for reading
by other DVD R compatible players. If you do not finalize a DVD R disc, it will still be possible to make other
recordings on it later on, providing there is enough disc space. You may also erase recordings but the corresponding
duration will be lost. You may not record other titles in their place.
Timer recording
Your DVD recorder lets you schedule recordings or transfers. It can memorize the parameters of 16
different programmings, or 15 timer recordings and 1 transfer. In the case of double programming, a
warning message is displayed.
To access the timer menu:
Player menu > Select “Timer” > Press
OK
> Select
“Add Timer” or “Set Transfer” > Press
OK
To program timer recording:
Press
to proceed to the next step (from step 1-6).
1.
Name
- Press
INFO
to access the keyboard table.
Enter the name of the recording letter by letter
and confirm.
2.
Channel
- a) Enter the channel number by using
the numeric keys on the remote control or by
pressing
CH+/CH-
.
b) Or select one of the Audio-Video (LIVE INPUT
1, LIVE INPUT 2, LIVE AUDIO) inputs to which a
device is connected (e.g. satellite receiver) by
pressing (right
key).
3.
Day(s)
- Use the numeric keys on the remote control to type in the date, if the recording is not
made the same day, and / or select a period by pressing .
Once:
to record the selected programme according to the parameters you have defined.
Each Tue:
to record the same programme the same day every week starting from today (supposing
today is Tuesday).
MON-FRI:
to record the same programme, everyday at the same time from Monday to Friday.
4.
Start Time / Stop Time
- Use the numeric keys on the remote control to type in the recording start
time and then the stop time.
If you want to record PROGRAMS from satellite receivers, you must:
- either program the satellite receiver with the same beginning and end times, then switch off the
DVD recorder and the receiver,
- or leave the satellite receiver switched on, on the channel to record, program the DVD recorder,
then switch it off.
5.
Record Destination
- Select the location where the programme will be recorded (DVD R/RW or
internal DVR) by pressing .
6.
Record Quality
- Choose a recording quality by pressing . The lower the quality, the longer the
time available on the disc. For example, the time available with a clean 4.7 Gb disc with “Low”
quality will be approximately 8 hours while in “Best” quality the time will be approximately 60
minutes.
13
EN
Recording
Recording
2
3
4
5
6
7
1
2
3
4
1
Disc
Recording
speed
DRC8030_EN 8/15/06 10:30 AM Page 20


