background image

Interference Information

This device complies with Part 15 of the FCC Rules. Operation is subject to the following two conditions: (1) This device may 
not cause harmful interference; and (2) This device must accept any interference received, including interference that may 
cause undesired operation.
This equipment has been tested and found to comply with the limits for a Class B digital device, pursuant to Part 15 of 
the FCC Rules. These limits are designed to provide reasonable protection against harmful interference in a residential 
installation.
This equipment generates, uses, and can radiate radio frequency energy and, if not installed and used in accordance with the 
instructions, may cause harmful interference to radio communications. However, there is no guarantee that interference will 
not occur in a particular installation.
Privacy of Communications may not be ensured when using this product.
If this equipment does cause harmful interference to radio or television reception, which can be determined by turning the 
equipment off and on, the user is encouraged to try to correct the interference by one or more of the following measures:
• Reorient or relocate the receiving antenna (that is, the antenna for radio or television that is “receiving” the interference).
• Reorient or relocate and increase the separation between the telecommunications equipment and receiving antenna.
• Connect the telecommunications equipment into an outlet on a circuit different from that to which the receiving antenna 
is connected.
If these measures do not eliminate the interference, please consult your dealer or an experienced radio/television technician 
for additional suggestions. Also, the Federal Communications Commission has prepared a helpful booklet, “How To Identify 
and Resolve Radio/TV Interference Problems.” This booklet is available from the U.S. Government Printing Office, Washington, 
D.C. 20402. Please specify stock number 004-000-00345-4 when ordering copies.
Notice: The changes or modifications not expressly approved by the party responsible for compliance could void the user’s 
authority to operate the equipment.

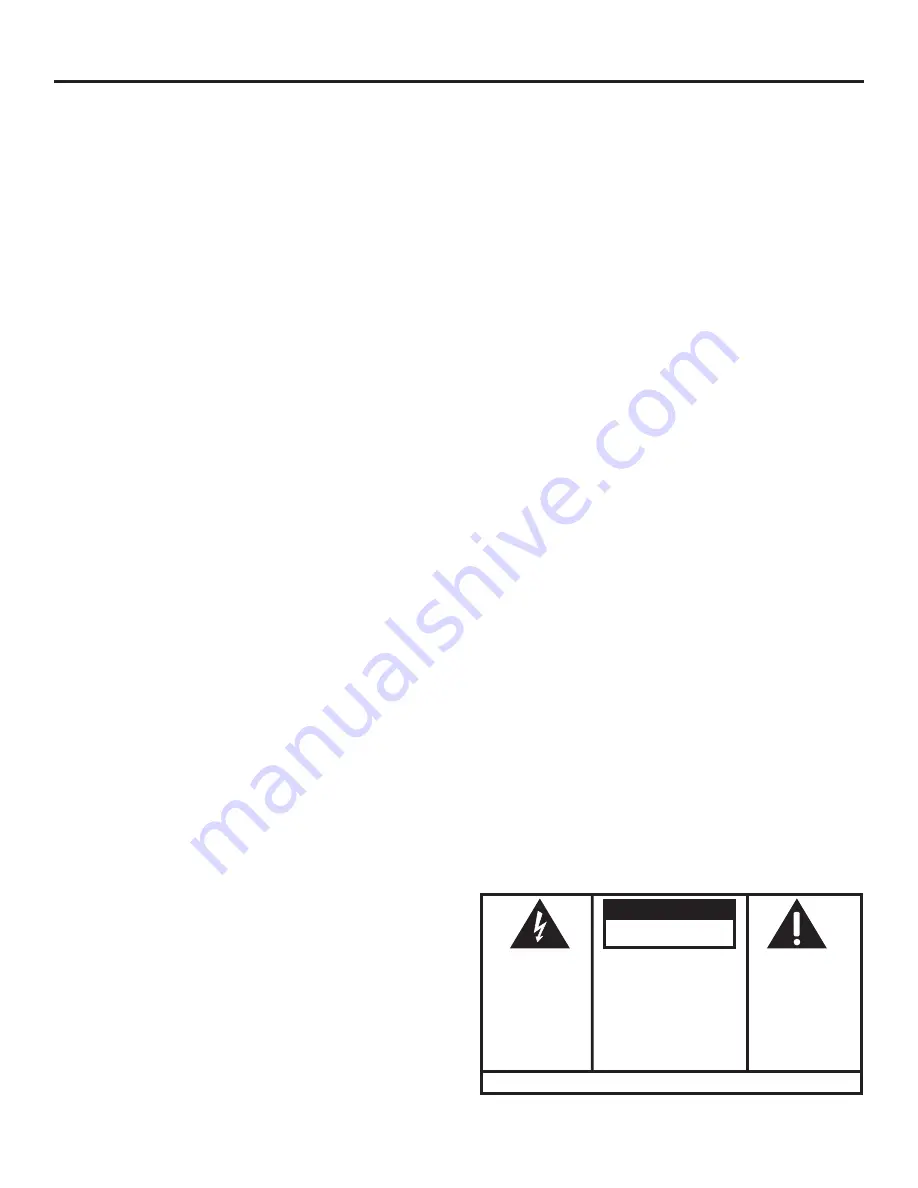
SEE MARKING ON BOTTOM / BACK OF PRODUCT

RISK OF ELECTRIC SHOCK

            DO NOT OPEN

WARNING: TO

PREVENT FIRE OR

ELECTRICAL SHOCK

HAZARD, DO NOT

EXPOSE THIS

PRODUCT  TO RAIN

OR MOISTURE.

THE LIGHTNING

FLASH AND ARROW

HEAD WITHIN THE

TRIANGLE IS A

WARNING SIGN

ALERTING YOU OF

“DANGEROUS

VOLTAGE” INSIDE

THE PRODUCT.

CAUTION: TO REDUCE THE

RISK OF ELECTRIC SHOCK, DO

NOT REMOVE COVER (OR

BACK). NO USER

SERVICEABLE PARTS INSIDE.

REFER SERVICING TO

QUALIFIED SERVICE

PERSONNEL.

THE EXCLAMATION

POINT WITHIN THE

TRIANGLE IS A

WARNING SIGN

ALERTING YOU  OF

IMPORTANT

INSTRUCTIONS

ACCOMPANYING

THE PRODUCT.

CAUTION:

Summary of Contents for 25600

Page 1: ...Model 25630 25600 MGCP VOIP Business Phone User Guide Please read this manual before operating the product for the first time ...

Page 2: ...eiving the interference Reorient or relocate and increase the separation between the telecommunications equipment and receiving antenna Connect the telecommunications equipment into an outlet on a circuit different from that to which the receiving antenna is connected If these measures do not eliminate the interference please consult your dealer or an experienced radio television technician for ad...

Page 3: ...8 Call Options 8 Hold 8 Last Number Redial 8 To Make a Call during a Call 8 To Answer a Call during a Call 8 Switching between Calls 8 Conference Call 9 Call Transfer 9 Call Forward 9 Phonebook and Call Log 9 Phonebook 9 Call Logs 9 Phone Personalization 9 Adjust the Volume 9 Mute 9 To Speak in Hands Free Mode 9 Adjust the Contrast 9 Modify Ringer 9 Modify Date 10 Modify Time 10 Alarm Clock 10 Lan...

Page 4: ...be optionally equipped with the extension module RCA 25600 to meet your expanded business needs This Quick Set up Guide shows the correct way to install and power the phone connect it to the network and use the main functions efficiently Parts Checklist Make sure your RCA 25630 includes the following items Base Power adaptor Handset cord Network cable Model 25600 contains an expansion module 3 pla...

Page 5: ...one has been powered Loading and wait for CA will be displayed Wait for the idle screen to be displayed The phone may go through 2 or 3 reboot sequences before the idle screen appears CAUTION Use only the Thomson approved UL listed power adaptor from OEM model no AD 0980L rated INPUT 120V 60Hz 14W OUTPUT 9VDC 800mA that came with this unit Using other power adaptors may damage the unit Optional Ac...

Page 6: ...Soft Key Center SKC OK button menu button vol decrease volume button mute button C cancel button vol increase volume button redial button line buttons headset button phonebook and call log button speaker button Soft Key Right SKR ...

Page 7: ...ws handsfree communication Activate or deactivate the mute feature Redial last number Communication Modes Telephone handset mode Handsfree mode Headset mode Telephone handset group listening mode Headset group listening mode Switching from one mode to another Telephone handset Handsfree Headset Telephone handset 1 Press 2 Replace handset in cradle Press Handsfree Pick up handset from the cradle Pr...

Page 8: ... listening To cancel group listening press again To End a Call Telephone handset mode replace the handset in the cradle Handsfree mode press Headset mode press Telephone handset group listening mode press and replace the handset in the cradle Headset group listening mode press and press Call Options Hold During a call press Hold SKR to put a call on hold Press Resume SKL to access a call that was ...

Page 9: ...ss Trnsfr SKL enter the phone number to which you want to transfer the call C you can either replace the handset in the cradle or wait until C answers the call then press Trnsfr SKL again Once the process is completed A and C will be in communication and you will be disconnected replace the handset in the cradle Call Forward To forward your calls to another extension 1 Press the Menu SKL 2 Scroll ...

Page 10: ...rrow keys Modify Ringer 1 Press the menu button 2 Press Config SKC 3 Scroll to Ring tones using the 5 or 6 arrow key and press Select SKL 4 Press Select SKL again 5 Select the ring tone using the 5 or 6 arrow key and press OK SKL to save Modify Date 1 Press the menu button 2 Press Config SKC 3 Scroll to Dates using the 5 or 6 arrow key and press Select SKL 4 Set the date using the key pad and pres...

Page 11: ...ed in the park condition any station within the system may retrieve it by dialing the appropriate access code Call Pick up A station user may dial a special code to answer any incoming calls ringing on any other station within his own predefined pickup group Speed dial Allows you to dial selected numbers using memory keys Pick up the handset before after pressing any one of F1 F10 Transfer Message...

Page 12: ...r him The handset cable is not correctly plugged in Ensure that the handset cable is correctly plugged into the handset and the telephone The time is not the one you ve programmed Time is automatically specified by the network Refer your system administrator Phone needs to be rebooted message Following changes in the configuration of the phone a reboot is needed to take effect Press the OK key to ...

Page 13: ... USA Acts of nature such as but not limited to lightning damage Product Registration Please complete and mail the Product Registration Card packed with your unit It will make it easier to contact you should it ever be necessary The return of the card is not required for warranty coverage Limitation of Warranty The warranty stated above is the only warranty applicable to this product All other warr...

Page 14: ... Meridian St Indianapolis IN 46290 2006 Thomson Inc Trademark s Registered Visit the RCA web site at www rca4business com Copyright 2006 Thomson Inc All rights reserved Thomson Inc reserves the right to modify the features of its products in order to make some technical improvements ...

Reviews: