


5
Down Arrow
6
Cancel
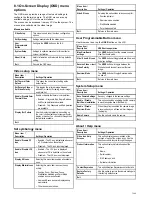
Please refer to
Chapter 8 OSD menu
for OSD menu options.
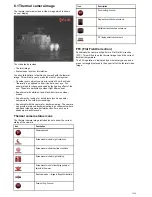
Camera control
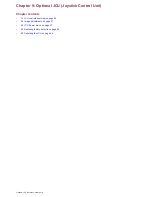
The Control status indicator located at the bottom left of the
toolbar page indicates the current control status of the thermal
camera.
The camera will not respond to any commands until the user
takes control of the camera. The control light will turn green
when the user has control of the camera.
Taking control of the thermal camera
To take control of the thermal camera using the Web interface
follow the steps below.
With the control status light not lit:
1. Select the Control status indicator or other on-screen icon.
A control request is sent to the camera.
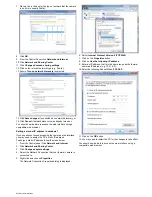
Changing account passwords
The password for all accounts can be changed when logged in
as administrator.
From the Web interface:
1. Select
Maintenance
from the top banner.
2. Select
Server
form the options on the left hand side.
3. Select
Security Options
.
4. Enter the new password in the relevant Password and
Confirm Password fields.
5. You can also select whether the account type can change
their own passwords by placing or removing a tick in the
Allow change password
check box.
When this option is ticked the change password icon will
appear at the top of the page for account types which have
been allowed to change their own passwords.
6. Select
SAVE
to save the new password(s).
Note:
If multiple users have access to the administrator
account it is not recommended that you allow change of
password on that account.
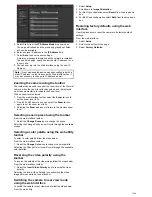
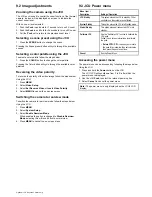
Changing the password
To change the current users password follow the steps below.
Passwords can only be changed if an administrator has allowed
the account type to change their own password.
From the Web interface:
1. Select the Change password icon
The change password icon is the yellow key icon located
along the top of the page.
The change password dialog is displayed.
2. Enter the current password and then enter your new
password in the boxes provided.
3. Select
Send
.
The password is now changed.
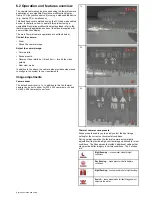
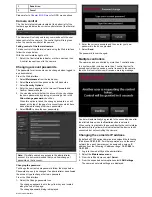
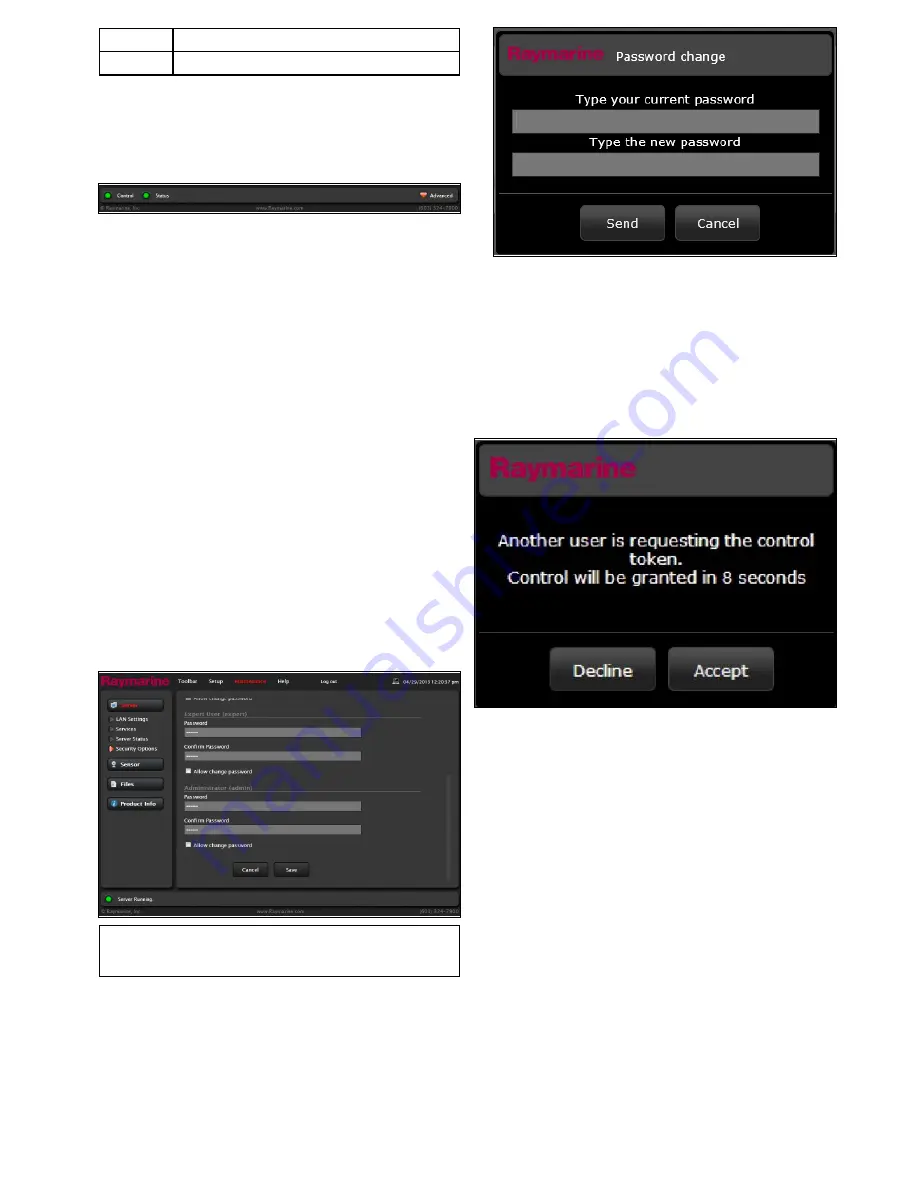
Multiple controllers
The camera can be controlled by more than 1 control device.
In a system which includes more than 1 control device if a
second control device sends a control request to the camera
then the first control device will receive a warning message.
Control will automatically be granted to the second device after
the allotted time unless the
Decline
button is selected.
When control is granted to the second device the control status
indicator will turn yellow which indicates that the device is still
connected but not controlling the camera.
Changing the camera's IP address
By default all T200 series cameras are assigned the following
IP address:
10.21.0.03
. If multiple cameras are on the same
network then each camera must be assigned a unique IP
address from the following IP address range:
10.21.0.02
to
10.21.0.15
.
1. Log into the web utility as the administrator.
2. Select the
Maintenance menu
.
3. From the left hand menu select
Server
.
4. From the expanded server options select
LAN Settings
.
The camera’s network settings are displayed.
Web browser interface


