background image


Do not use air compressors or compressed air to inflate.  Use of 
an air compressor or over-inflation can rupture the product 
beyond repair, voiding the warranty. 

 
Step 1: 

Lay out the product face up on a flat surface.  Make sure there 
are no sharp objects under the product which might puncture 
the vinyl. 
 

Step 2: 

Locate the valves. The main air chamber has a screw-type 
Boston valve and the two side rails have small plug valves. 

 
Step 3: 

Using an electric inflator or hand pump, inflate the main 
(largest) chamber first until firm. Close the valve by screwing 
the cap back on. Inflate one side rail until firm, then quickly 
insert plug into valve body and press down so plug is recessed 
and flush with the rail.  Repeat for the other rail. 
 
NOTE:  It sometimes helps to moisten the valve plug first 
before inserting it into the valve body. 
 

Step 4: 

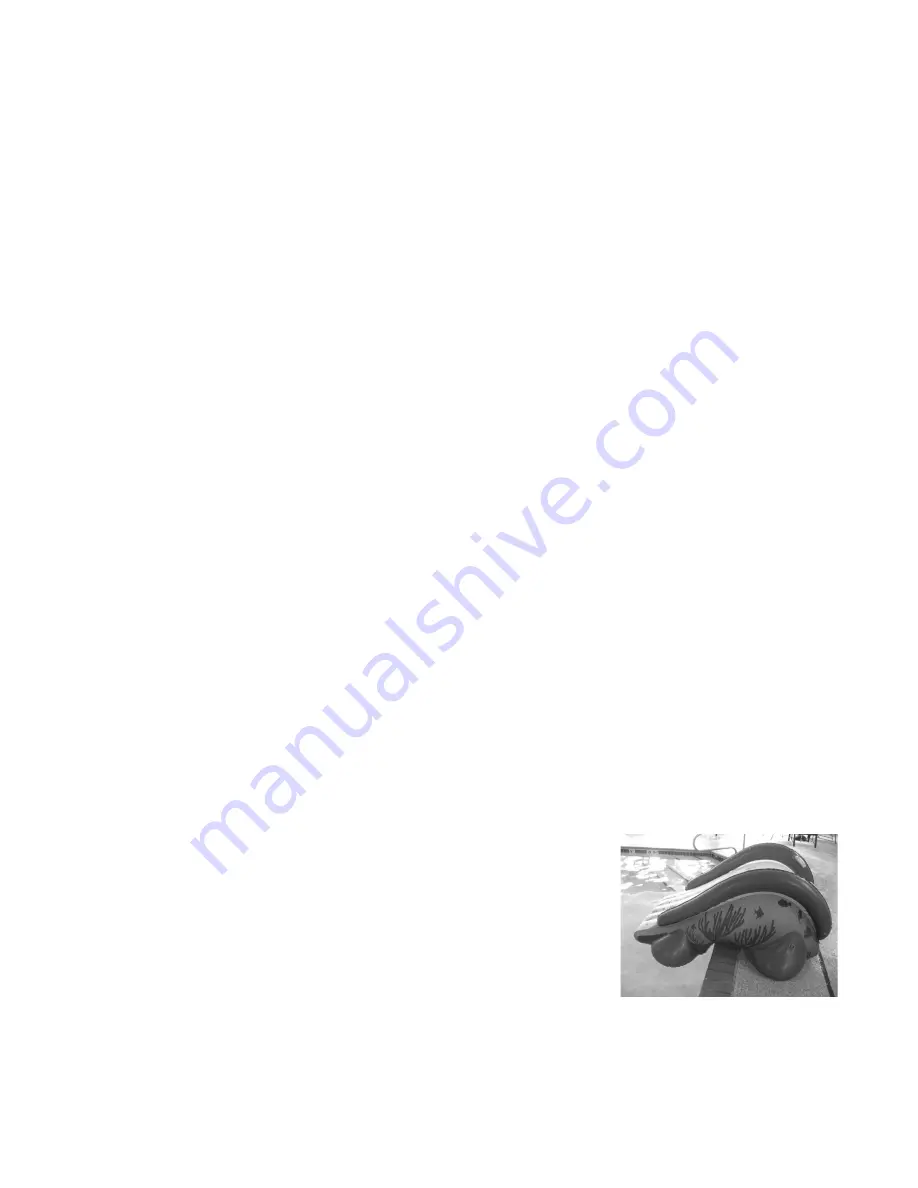
Carry slide to the water and place slide with 
the front air stabilizer bladders in the water.  
 
Never drag the slide.  

Summary of Contents for Poolside Plunge 02366

Page 1: ...his publication may be reproduced or transmitted in any form or by any means electronic or mechanical including photocopy recording or any information storage and retrieval system without permission i...

Page 2: ...signed and constructed to provide lasting memories of hours of exciting fun on the water We at RAVE Sports want your experience with our products to be the best it can be Therefore please take a few m...

Page 3: ...It is the owner s responsibility to inform all users of the product safety rules and warnings contained herein Do not dive head first Do not jump leap or dive from this product Make sure landing area...

Page 4: ...valve and the two side rails have small plug valves Step 3 Using an electric inflator or hand pump inflate the main largest chamber first until firm Close the valve by screwing the cap back on Inflate...

Page 5: ...ethod best suited for your garden hose Attach hose and slowly turn on water supply to start the flow of water to the water spray jets on the side rail of the slide Control the water spray volume using...

Page 6: ...expand while cooler temperatures cause air to condense When the product is initially inflated the air going into it will likely be warm Let the product adjust to the cooler water or outside temperatur...

Page 7: ...0 lbs 68kg Inspect the product before each use Do not use if there are any signs of deterioration or damage Repair or replace before use Take extra care not to have sharp objects on or around this pro...

Page 8: ...d drain all of the water 2 Deflation of the slide can be accomplished quickly by using the deflation capability of an inflator deflator pump Unscrew the Boston valve plug and remove it from the valve...

Page 9: ...d place in a vented storage bag or container Store in a cool dry location Do not store product directly on a concrete surface Place mothballs around stored inflatable to keep mice and insects away NEV...

Page 10: ...t repair purchase a Tear Aid Patch on ravesports com Product 20100 found under Parts Accessories Repair Kits These self adhesive patches provide immediate adhesion allowing the product to be used imme...

Page 11: ...10...

Page 12: ...11 WWW RAVESPORTS COM RAVE SPORTS A Revel Match LLC Company 985 Aldrin Drive 301 Eagan MN 55121 800 659 0790 March 2021...

Reviews: