43
4-7.Exporting a video data to a DVCAM
When you want to export an video data to a DVCAM, follow steps through.
1. Set a DVCAM to video mode.
Video Mode means you can control a video of a DV tape.
If your DVCAM is in camera mode, change mode selection switch from camera mode to video
mode slowly as mentioned 4-4.Capturing a video from a DVCAM in camera mode.
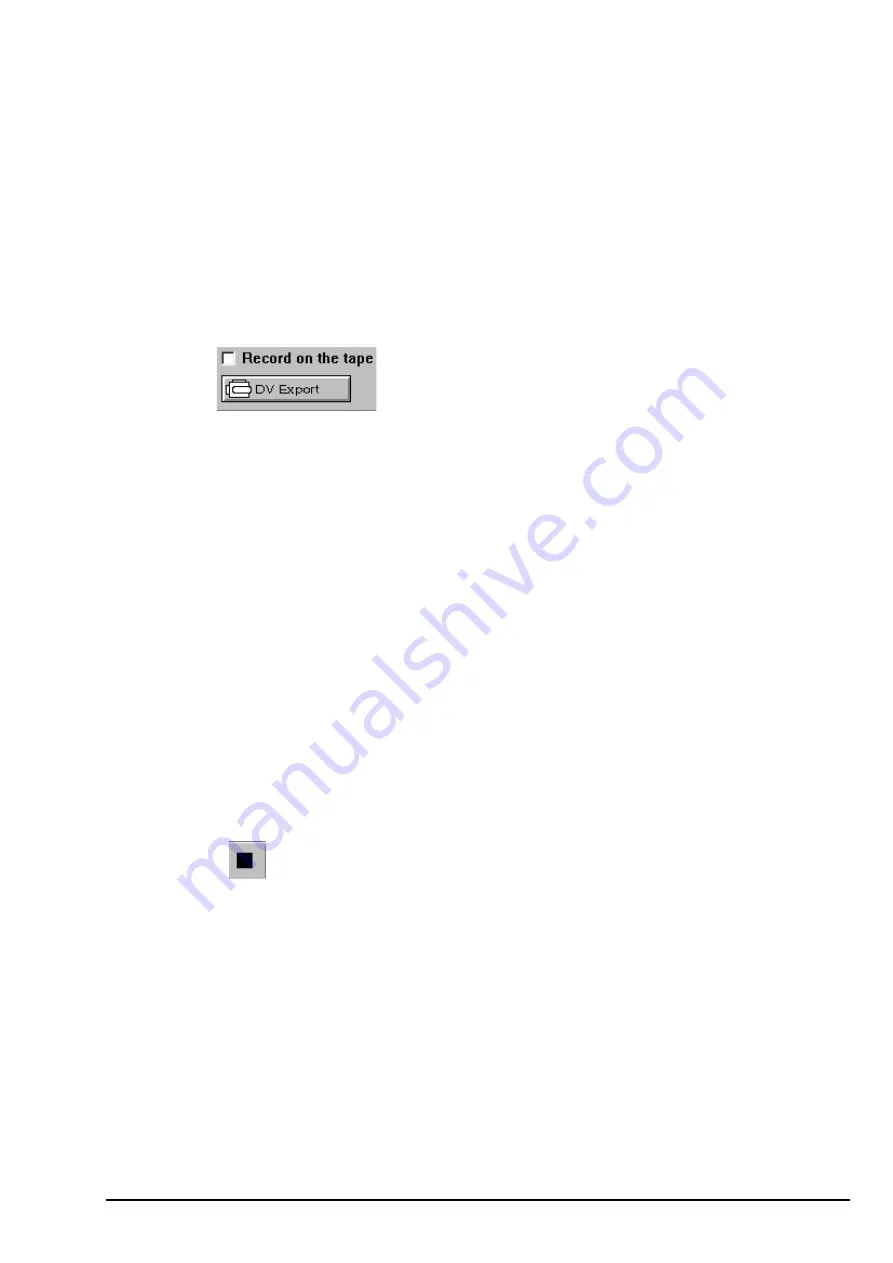
2. Click the DV Export button. The File select dialog box will appear.
Select an AVI file you want to export, and click [SAVE] button. The AVI data will be exported
to the DVCAM.
When you check “Record on the tape”, “Video image” and “Rec command” will be sent
to the DVCAM. This means the AVI file will be really overwritten to your DV tape. So, you
should be careful not to overwrite important DV tapes.
When you don’t check “Record on the tape”, only “Video image” will be sent to the DVCAM.
This means the AVI file will not be overwritten to your DV tape. You can just see the video
image on the screen of the DVCAM.
3.Click the stop button in the Camera Control Bar to stop exporting.
NOTE
1.Only a Microsoft DV AVI 2.0 with DVSD(Digital Simultaneous Voice and Data) can be
exported to a DVCAM.
2.If you can not to export clear video data, refer to the Chapter 8-2. or 8-3.When you can
not export smooth and clear video image to a DVCAM.
NOTE
There is time-delay between start of video stream and the DVCAM actually starting
to record. So, for a few seconds at the head of video stream, nothing will be recorded on
your DV tape.


