1. Mount the Distribution Module and power supply with battery backup in an appropriate location (a network closet or
machine room is recommended).
2. Plug the power supply with battery backup into a standard 120v wall outlet.
Note:
System is to be powered by a grounded 120v, 60Hz, AC outlet protected by a 15A maximum circuit breaker.
3. Using the provided power cord, plug the 3-pin female connector side into power input next to the power switch on
the Distribution Module. Plug the male 3-prong side of the power cable into any of the open outlets on the back of
the power supply with battery backup. Wait to power on the Distribution Module until all connections are made.
4. Install the Command Center Phone:
Desk Mount:
Install the foot stand on the back of the Command Center phone and choose location per owner’s
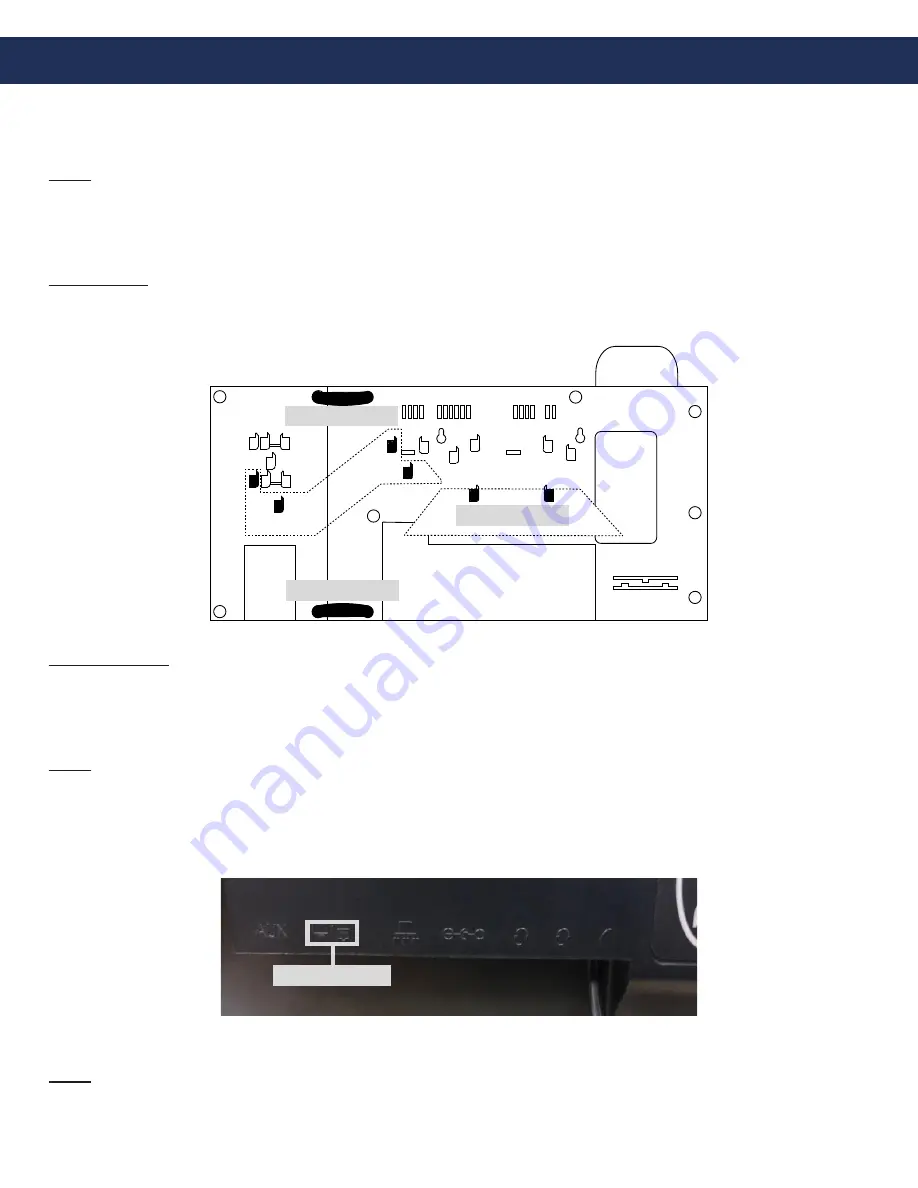
specifications. If the system is over 16 zones, connect additional button consoles to the Command Center using
the provided extenders. Refer to the diagram below for attaching the extenders and foot stands.
Page 4
Installation Steps
Cabinet Mount:
Use the provided Allen Wrench to remove the back box or back plate from the cabinet. Remove
any applicable knockouts. Mount the backbox or plate in location per owner’s specifications using appropriate
mounting hardware. Reassemble the cabinet.
5. Run a single 22 or 24 AWG twisted, shielded cable from the Command Center phone back to the Distribution
Module. This single cable provides communication and power. No additional power is needed.
Note:
The maximum wire run length from the Distribution Module to the Command Center is 6,200’ feet for
22 AWG and 3,900’ feet for 24 AWG.
6. Using a biscuit jack, screw the twisted, shielded pair landed at the Command Center side to the red and green
screws of the biscuit jack. Plug the phone line cord provided with the Command Center into the female RJ11 jack
on the biscuit jack. Plug the other end of the phone line cord into the input port on the back of the Command Center.
LINE IN HERE
EXTENDER
EXTENDER
STAND
7. Run at minimum a single 22 or 24 AWG twisted, shielded pair from each phone back to the Distribution Module.
Note:
The maximum wire run length from the Distribution Module to a phone is 112,500’ feet for 18 or 22 AWG
and 70,300’ feet for 24 AWG.
IF USING RATH SUPERVISORY BOARD, MAXIMUM WIRE RUN LENGTH CANNOT EXCEED 4,000’ FT.


