OW1.7-VS-CL-640 / USER MANUAL REV1.1
November 2017
10
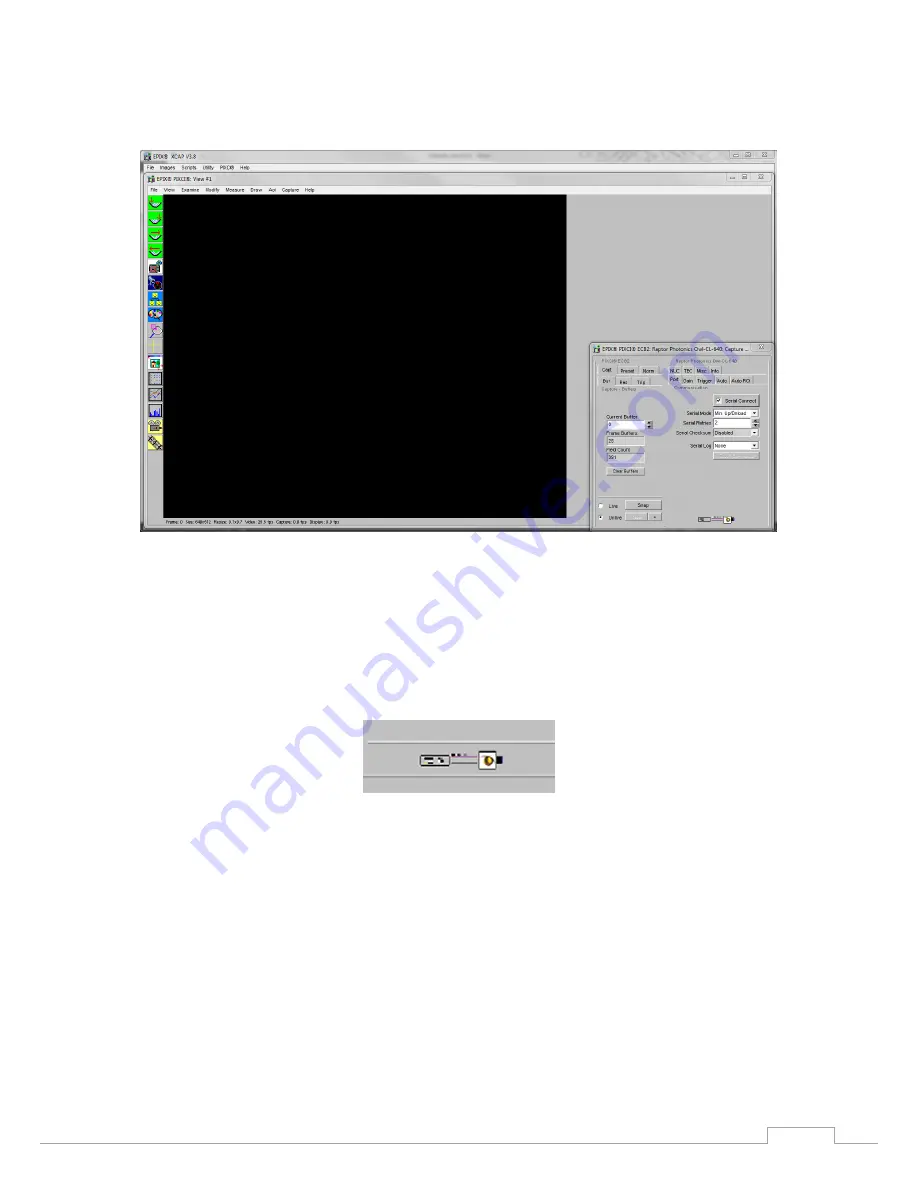
5. Select Open and the viewing and control screens, Figure 3, will now open. Two windows should open
(Figure ), a viewing window (Left) and a control window (Right).
Figure 3: XCAP Camera Control Screen
6. The camera controls are pre-configured in EPIX.
7. The control window on the right should reflect your chosen camera. For example, for the Owl 640,
it should read - EPIX PIXCI E8DB: Raptor Photonics OWL-CL-640. If not, you need to select a different
camera.
8. Check that the camera is communicating, see animated icon (Figure 4) on bottom right of control
screen.
Figure 4: Active Communication
9. You are now configured and connected, ready to acquire an image.
10. Check the Serial Connect box (to establish serial communication to the camera). This should contain
a tick (as circled in Figure 5).
11. Check the live button (as circled in Figure 5).


