2
3
DC
200
™
S
Quick Start Guide
DC
200
™
S
Quick Start Guide
1
Unplug the vehicle “cigarette lighter” charger from
the TND
™
740 set up. You will not need that cable
when using the DC 200
™
S.
2
Remove the TND
™
740 “slice” from the magnetic
mount. This is the piece you will replace with the
DC 200
™
S. Remove the TND
™
740, push the
TND
™
740 “slice” upwards on the magnetic
mount to remove.
3
Locate the diagnostic port on the truck. Now you
are going to connect the “Y” cable shipped with
the DC 200
™
S.
4
Align the plug at the other end of the cable with
the pins of the diagnostic port.
5
Press the collar on the plug toward the vehicle
and turn it clockwise to lock the cable in place.
6
You may wish to keep the Y cable as is. If you want to
keep your truck’s diagnostic port available for servicing
the vehicle without unplugging the Y cable, however,
you should remove the truck’s existing diagnostic port
connector and replace it with the second connector on
the Y cable. This may involve removing the truck’s panel
with the diagnostic port and laying the cable behind it.
7
Take the DC 200
™
S “slice” and connect it to
the rectangular connector on the other end of the
Y cable. Use the thumb screws to secure the cable
to the device. This will immediately power the
DC 200
™
S. The device will fl ash a white light
when it powers on. This may take 2-3 minutes.
8
Take the DC 200
™
S with the cable attached and
affi x it to the TND
™
740 mount. Slide the DC 200
™
S
downward on the mount until it clicks into place.
2-3 minutes.
9
Now attach the TND
™
740 on the DC 200
™
S. The
magnetic plates will bring them together.
10
The Y cable that is installed will now power both the
DC 200
™
S and the TND
™
740. There is no need to
use the vehicle “cigarette lighter” charger to power
the TND
™
740.
11
The DC 200
™
S will fl ash a sequence of red/green
lights to indicate the following connection, in order:
JBUS, GPS, Bluetooth, WiFi, Cellular.
12
Turn on the truck ignition. When the JBUS connection
is detected, the fi rst light in the sequence will change
from red to green.
13
When the device acquires a GPS signal, the second
light in the series will change from red to green.
Please refer to the user guide in the app for further
fl ashing sequence details.
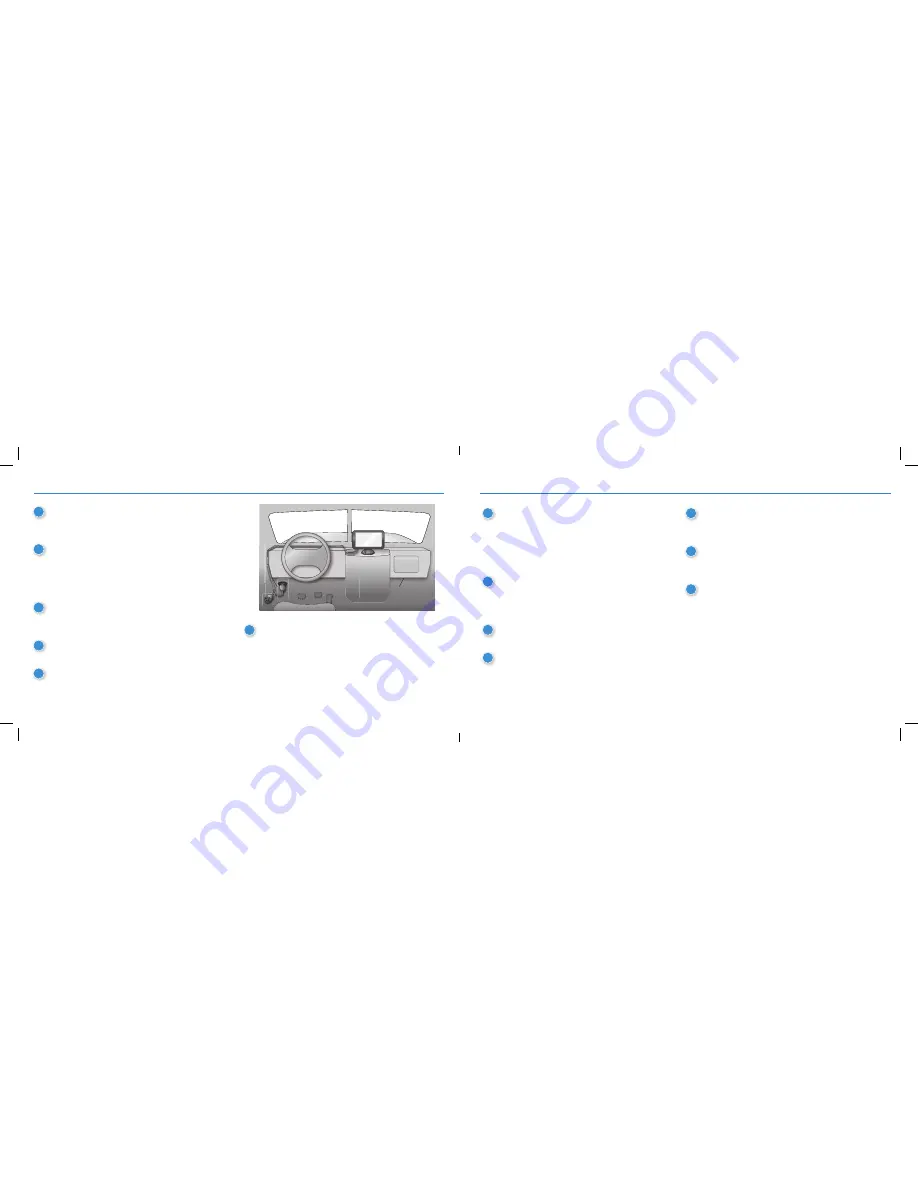
Install the DC 200
™
S


