43
NB!
The wiring for valves and receiver must be closed off before
the ignition is put on. Failing to do so could damage the
electronic system.
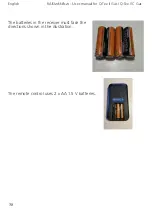
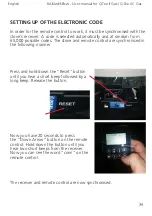
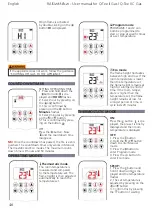
Batteries – Handset
•
Low battery indicator on the handset.
Batteries – Receiver
•
Low battery indicator: frequent beeping for 3 min-
utes when the motor is running.
•
An AC adapter connected to a socket can be used
instead of batteries.
•
If the mains adapter and battery are not used,
it is recommended that they are replaced at the
start of each heating season.
•
Old or dead batteries must be quickly removed.
If the batteries are left in the unit, they may
overheat, leak and/or explode.
•
Do NOT expose the batteries (even during
storage) to direct sunlight, strong heat, fire,
moisture or strong impacts. All these factors
could contribute to the battery overheating,
leaking and/or exploding.
•
The batteries must be stored within the rec-
ommended temperature range. (Range of the
battery's ambient temperature: 32-131 °F (0-55
°C]).
•
New and old batteries should not be used at
the same time. The same applies to batteries of
different makes. If different batteries are used
at the same time, this could contribute to the
battery overheating, leaking and/or exploding.
Software version
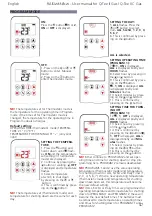
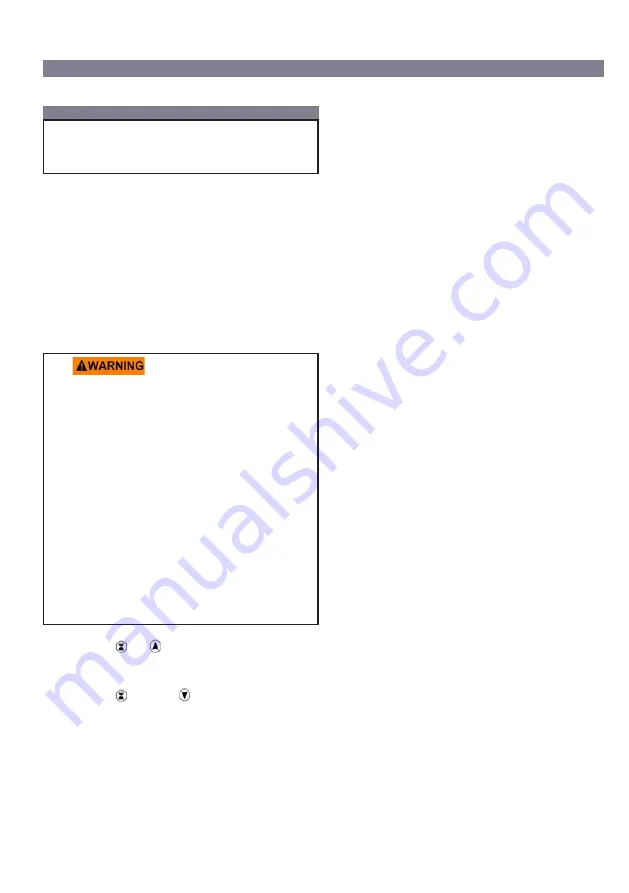
Press on the and buttons at the same time.
Now the software version is displayed.
Model number of the handset
Press on the
and
buttons at the same
time. Now the model number of the handset is dis-
played.
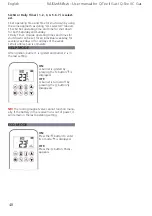
NOTE:
When you press on a deactivated button,
nothing happens and two horizontal lines are dis-
played.
NOTE:
Deactivation remains in effect after replace-
ment of batteries.
Activation of functions
1.
Install batteries All icons are displayed and flash.
2.
A function is activated by pressing the relevant
button and holding it down for 10 seconds.
3.
The function icon continues to flash until activa-
tion is completed. Activation is completed when
the function icon is displayed.
The following functions can
be deactivated/activated
•
CHILD PROOFING
•
PROGRAM MODE
•
THERMOSTATIC MODE (also deactivates PRO-
GRAM MODE)
•
ECO MODE
•
LIGHT/DAMPER (OPERATION)
•
ROOM VENTILATOR (OPERATION)
•
HELP FUNCTION
•
COUNTDOWN TIMER
Deactivation of functions
1.
Install batteries All icons are displayed and flash.
2.
While the icons are flashing, press on the
relevant function button and hold down for 10
seconds.
3. The function icon remains flashing until deactiva-
tion is completed. Deactivation has been completed
when the function icon and two horizontal lines are
displayed.
GENERAL NOTES
USER INSTRUCTIONS
User instructions
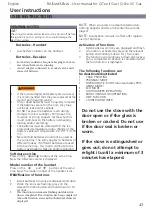
Do not use the stove with the
door open or if the glass is
broken or cracked. Do not use
if the door seal is broken or
worn.
If the stove is extinguished or
goes out, do not attempt to
relight it until a minimum of 3
minutes has elapsed.
English
RAIS/
attika
- User manual for Q-Tee II Gas / Q-Tee II C Gas
Summary of Contents for Q-Tee II GAS
Page 2: ......
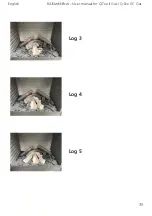
Page 35: ...35 Log 3 Log 4 Log 5 English RAIS attika User manual for Q Tee II Gas Q Tee II C Gas ...
Page 49: ...49 English RAIS attika User manual for Q Tee II Gas Q Tee II C Gas ...
Page 50: ...50 English RAIS attika User manual for Q Tee II Gas Q Tee II C Gas ...
Page 76: ...76 Français ...
Page 77: ...A A A 598 590 I E 250 D 50 149 M 76 460 410 582 291 291 149 Q Tee II Gas ...
Page 82: ...82 ...
Page 83: ...83 A A A E 250 D 50 330 179 660 479 598 590 76 460 179 M 330 Q Tee II C Gas ...
Page 91: ......

