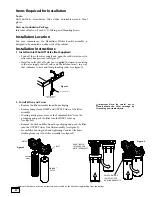
3. Mount the System
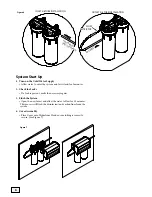
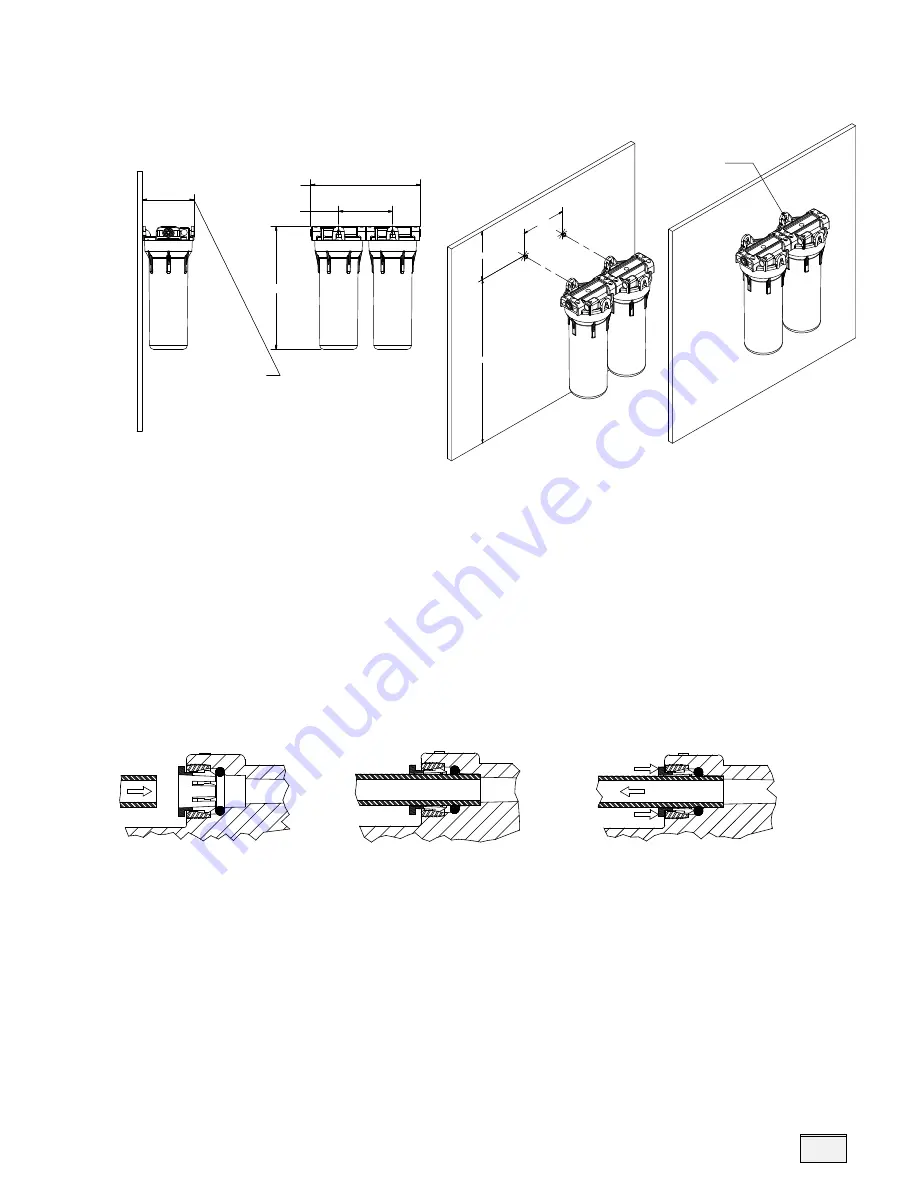
• Use screws (Not Supplied) to secure the Hydrefiner II bracket
assembly to the planned location. (See Figure 4)
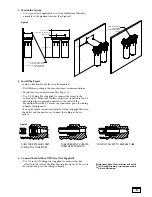
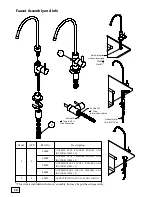
4. Install the Faucet
• Select a location for the faucet to be mounted.
• Drill Hole according to the manufacturer’s recommendations.
• Mount Faucet per instructions. (See Page
10
)
• Use 3/8 Tubing (Not Supplied) to connect the faucet to the
system outlet. Make sure the flow restrictor is installed in the 3/8
inch tubing (not supplied) connected to the outlet of the
Hydrefiner II system. To secure the connection, press the tubing
in firmly.(See Figure 5)
•For an ice maker connection, install a tee (not supplied) between
the outlet and the new faucet. Connect the tubing to the ice
maker.
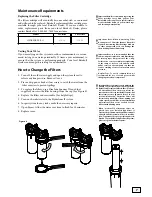
4. Connect the Inlet Shut Off Valve (Not Supplied)
• Use 3/8 inch OD tubing (not supplied) to connect the shut
off valve to the inlet of the filter housing (see figure 6). To secure
the connection, press the tubing in firmly.
5
5
!
Important Note: Flow restrictor will not fit
in 1/4 inch OD tubing. It can only be used in
3/8 inch OD tubing.
5.5
0
18
.50
5.0
0
11.4 in (29.0 cm)
10.2 in (25.9 cm)
10.4 in (26.4 cm) With Cover
5.0 in (12.7 cm)
4.8 in (12.2 cm) without Cover
5.1 in (13.0 cm) with Cover
7.0 in (17.8 cm) Mi i
n mum Required
from mounted wall.
USING PHILPS OFFSET
SCREWDRIVER
TO SECURE THE FILTER
TO WALL
Figure 4
PUSH TUBE STRAIGHT PAST
O-RING TILL TUBE STOPS
TUBE CORRECTLY LOCATED
IN SECURED POSITION
PUSH IN COLLECT TO RELEASE TUBE
Figure 5


