GR3660-TB2 User Manual
3
3. Hardware Requirements and Precautions
1.
Since GR3660-TB2 will delete all data files in your two HDDs/SSDs at its first-time use, please
first save all your personal data files before start using your new GR3660-TB2.
2. Please make sure that all hard drives have no badsectors nor defects prior to install them into
GR3660-TB2.
3.
When turn off or depart your GR3660-TB2 from your computer system, please remove GR3660-
TB2 shown as a device in your operating system first.
4. When your GR3660-TB2 connects to a computer system, please do not remove, insert or swap
any hard drives while data transfer is being performed and the status indicators are flushing.
5. WARNING: If you plan to delete or change your original RAID setting, please always duplicate
your personal data before deleting or changing it.
6. GR3660-TB2 uses a 12V/5A AC/DC Adapter. Please do not use other non-certified Power
Adapterto avoid jeopardizing your GR3660-TB2 unit.
7. We strongly recommend you to keep an extra copy of your important personal data in a safe
place other than in your GR3660-TB2. Stardom will not be responsible of your data loss problem.
4. Hardware Installation
Please follow the instructions below to complete the hardware installation.
Use the provided key in the Accessories Kit and insert it into the Key Access to eject the Tray
Latch handle and the handle can be used to extract the tray.
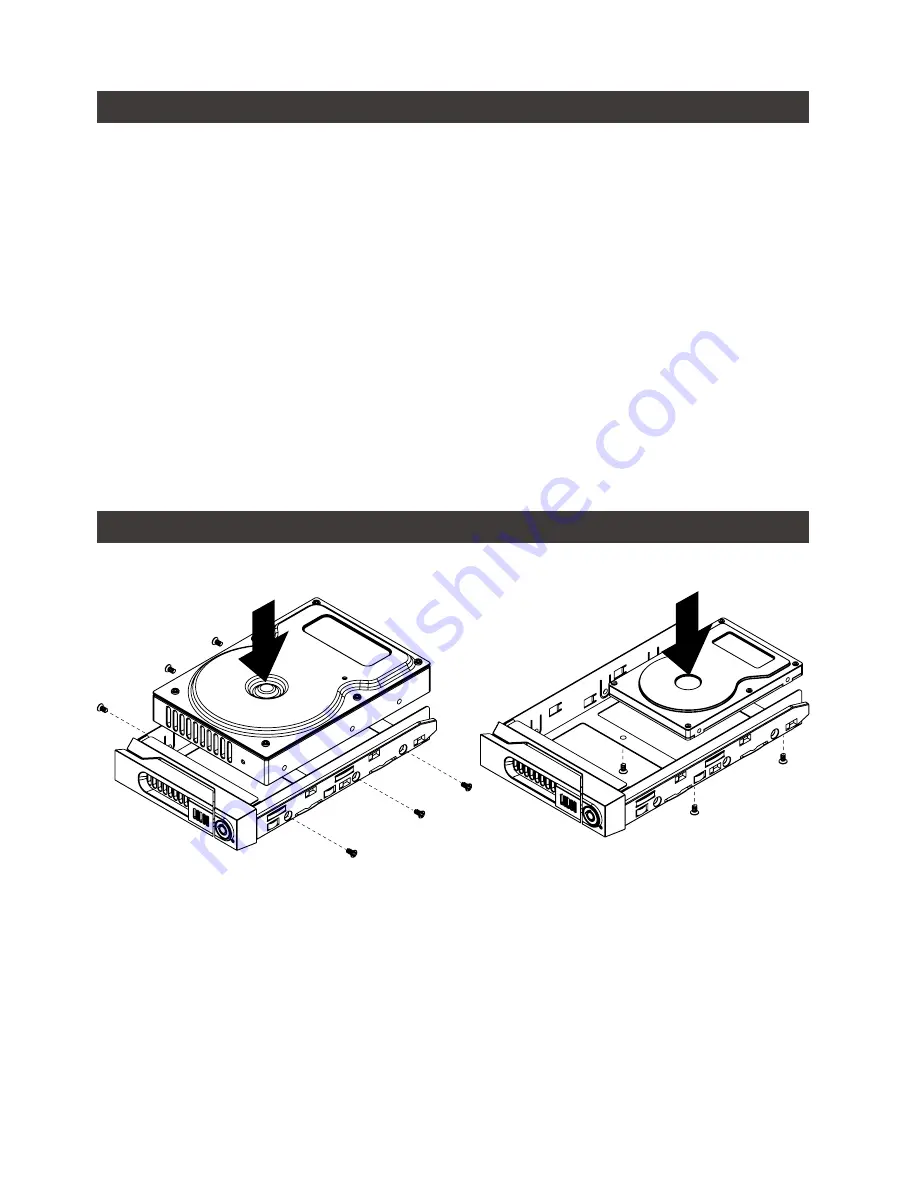
Mount your hard drives with the screws included onto the removable drive tray and secure it
to avoid any damage to the hard drive.
After installing two HDDs into Trays, please insert them into GR3660-TB2, and then latch
the handle.
Please switch RAID Dip-switch to JBOD mode at back-plate.
Please connect the Thunderbolt Cable, and then connect AC/DC Adapter to the product.
Please turn on power.
Step 1
Step 2
Step 3
Step 4
Step 5
Step 6


