


Figure 5-7
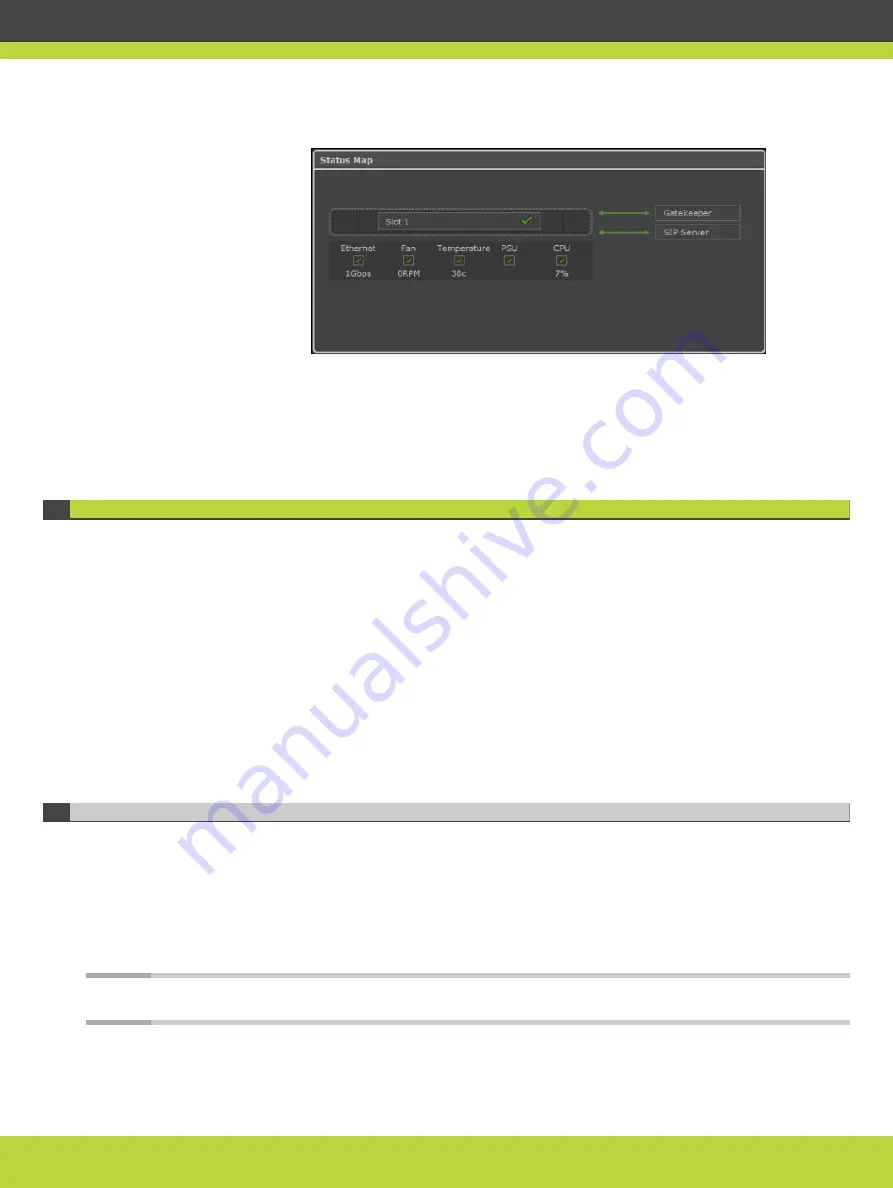
The Status Map section showing the SIP Server connection
d.
Verify that the MCU is connected to the Ethernet.
e.
If you registered the MCU with SIP registrar, verify that the MCU is connected to the SIP
Server.
Configuring Ports on All Models of the Scopia Elite MCU
This section provides instructions of how to configure the following ports and port ranges on
all models of the Scopia Elite MCU:
•
Defining the UDP Port Ranges for RTP/RTCP on the Scopia Elite MCU .............. page 37
•
Configuring the TCP Port Range for H.245 on the Scopia Elite MCU ................. page 38
•
Configuring the HTTP Port on the Scopia Elite MCU ................................... page 39
•
Configuring the UDP Port for RAS on the Scopia Elite MCU ........................... page 40
•
Configuring the UDP Port for the Gatekeeper on the Scopia Elite MCU ............. page 41
•
Configuring the TCP Port Q.931 on the Scopia Elite MCU ............................. page 42
•
Configuring the TCP/UDP/TLS Port for SIP on the Scopia Elite MCU ................. page 42
Defining the UDP Port Ranges for RTP/RTCP on the Scopia Elite MCU
The Scopia Elite 6000 Series MCU has designated UDP ports 12000-13200 (for video) and
16384-16984 (for audio) for RTP/RTCP.
While the number of ports required for this protocol remain fixed, you can determine the
exact port numbers occupied by the MCU by defining the lower end of the port range, known
as the base port.
The Scopia Elite 6000 Series MCU uses 360 ports for audio and 1080 ports for video .
Note
You cannot reduce the number of UDP ports occupied by the MCU for RTP/RTCP.
RADVISION | Installation Guide for Scopia Elite 6000 Series MCU Version 8.0
Performing the MCU Initial Configuration | 37


