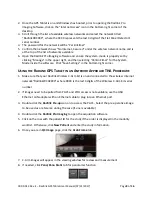
00.09-013 Rev. E – Radlink GPS Tablet User Manual (07/31/2017)
Page 9 of 16
9.
Refer to the Surgeon’s Checklist™ user manual for instructions on how to take
measurements with the software.
10.
If images need to be sent to PACS and WiFi access is not available, use the USB to Ethernet
accessory cable provided with the GPS Tablet and plug into an Ethernet port.
11.
Once cases have been completed for the day, turn off the Wireless C-Arm Kit, shut-down
the GPS Tablet and plug both devices in to charge until their next use
U
SING THE
R
ADLINK
GPS
T
ABLET IN A
P
OSTERIOR
A
PPROACH
THA
P
ROCEDURE
Important:
Do not position the X-ray generator between the GPS and the DR Panel.
Lead inside the mobile X-ray generator can interfere with the wireless communication,
resulting in a lost connection or the inability of the panel to acquire images.
1.
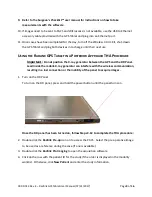
Turn on the DR Panel
To turn on the DR panel, press and hold the power button until the panel turns on.
Once the DR panel has been turned on, follow Steps 2-12 to complete the THA procedure:
2.
Double-click the Radlink Pre-op icon on to access the PACS. Select the pre-operative image
to be used as a reference during the case (if one is available)
3.
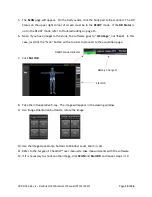
Double-click the Radlink Pro Imaging to open the acquisition software
4.
Click on the row with the patient ID for the study if the order is displayed in the modality
worklist. Otherwise, click New Patient and enter the study information.


