12
Setting up the Camera
1.
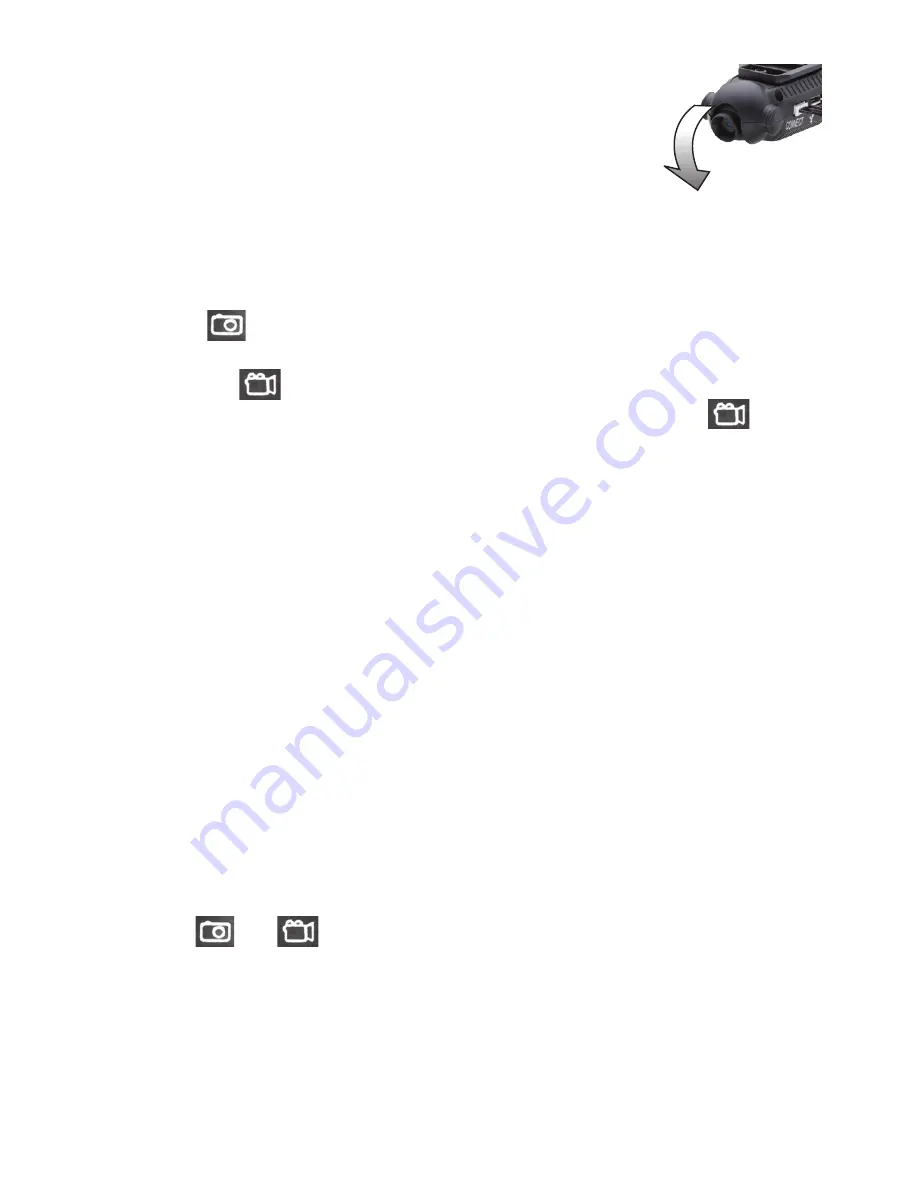
You can adjust the angle of the lens. Rotate the lens down
90° for filming or snapping aerial views. Or keep it pointed
forwards to capture views straight on.
2.
Insert a Micro SD card (not included) into the card slot.
Push the card in until it clicks.
3.
To remove the card, press it to eject.
Taking Photos and Videos on board the Drone
When the drone flies stably, on the remote control:
•
Press
once to take a photo. The remote control beeps and the
drone's back LEDs flash once.
•
Or, press
to record a video. The remote control beeps and the
drone's back LEDs flash repeatedly during recording. Press
again
to stop recording and save your file recording.
Note:
• Cards over 32GB memory size, such as SDXC, do not function on the drone.
• The video recorded may fail to play in some video applications if (1) the
Micro SD card falls out due to a crash; (2) you remove the card before
stopping recording; (3) battery power was too low during recording.
Detaching and Mounting the Camera
•
To detach the camera, unplug the camera cable connector from the drone.
Then gently pinch the prongs to unlock and slide off.
•
To remount the camera, align and push onto the groove mount. Make sure
you hear a click indicating the camera is securely locked on.
Using as Standalone Camera
1.
Detach the camera from the drone completely.
2.
To power the camera, connect a micro USB cable (not included) to the
camera's micro USB port and an independent USB power source such as a
charged power bank. The red LED inside the camera lights steadily.
3.
Use the
and
buttons on the camera in the same way as
described in the remote control operation above:
• The camera's LED blinks once when you take a photo.
• The camera's LED blinks repeatedly during recording.
Note:
The video and photo functions are automatically disabled when
connected to a USB port on a computer, as the camera will be detected as a
mass storage device. Use a micro USB cable that is for charging only, if you
want to operate the camera functions.
90
°


