St ep 5. C onfigure dist ribut ion of dat a
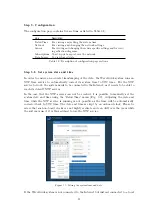
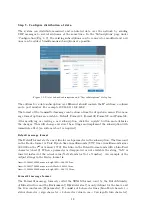
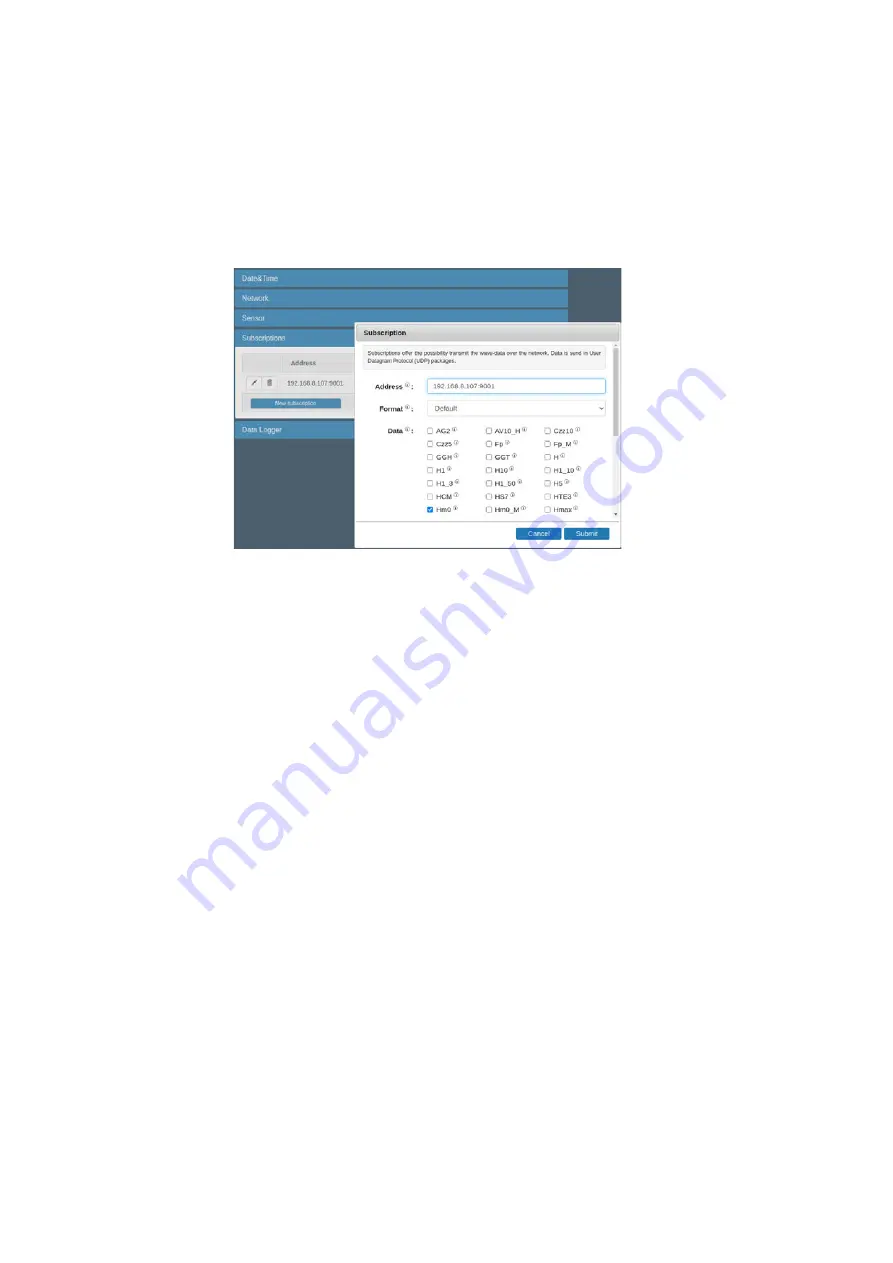
The system can distribute measured and calculated data over the network by sending
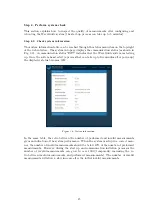
UDP messages to several addresses at the same time. In the ’Subscriptions’ page under
’Configuration’(Fig. 3.9), the existing subscriptions can be removed or modified and new
ones can be added. Simultaneous subscriptions are possible.
Figure 3.9: List of defined subscriptions and "New subscriptions" dialog box.
The address for a data subscription over Ethernet should contain the IP address, a column
and a port number. For example 192.168.111.103:8032.
The format of the transmitted message can be chosen from the drop-down menu. Five mes-
sage format options are available, Default, Format01, Format02, Format03 and Format04.
After modifying or creating a new subscription, click the ’update’ button and authorize
the changes. This will change and store the settings and implement the subscription with
immediate e
ff
ect (no system reboot is required).
D efault m essage form at
The Default format starts a new line for each parameter in the subscription. The time used
in the Radac format is Unix Epoch time in milliseconds (UTC time in milliseconds since
00:00:00 on the 1
st
of January 1970). Each line in the Default format ends with a Line-Feed
character (char10). When a parameter is disapproved or not available the string ’NaN’ is
inserted instead of the actual value (NaN stands for Not a Number). An example of the
output strings in the Radac format is:
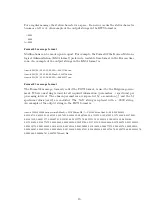
time=1516884360000;sensor=height;H1=-266.3229cm;
time=1516883700000;sensor=wob;Hm0=1.2828116cm;
time=1516884420000;sensor=height;H1=-266.33194cm;
Form at 01 m essage form at
The Format01 message, formerly called the SESAM format, used by the Dutch Ministry
of Infrastructure and the Environment (Rijkswaterstaat), is only defined for the heave and
the 10 second mean (H parameter). It consists of 8 character lines (Line-Feed cha
status cha sign cha 4 character value in cm + Carriage-Return character).
18
Summary of Contents for WaveGuide 5 Onboard 2
Page 1: ...WaveGuide Onboard 2 User Manual...
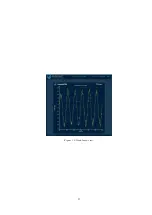
Page 20: ...Figure 3 8 Dashboard view 17...

