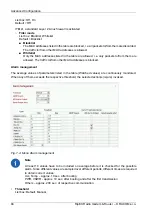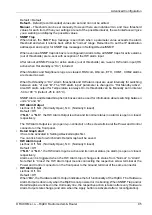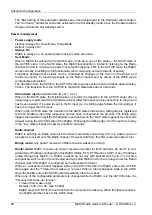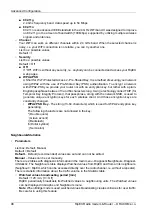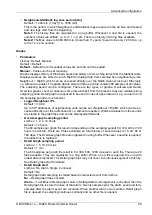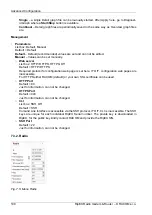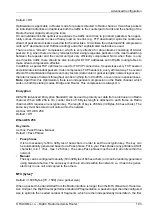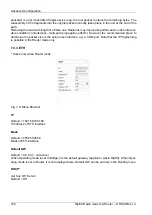
Note 1: When Frame closing is set to Stream, TX Delay is not active.
Note 2: There was the TX delay [ms] parameter in fw versions 1.3.x.x and older. It is not compatible
with the TX Delay length [bytes]. The TX Delay probability is set to default (=0, Off) during a fw up-
grade and it has to be set as needed.
•
Router mode
A TX Delay probability greater than 0 (typically below 50%) is used only in special situations when
a collision dead-lock could occur. Normally the Radio channel protocol reduces probability of collision
by its random algorithms. When the channel has been free for a certain period of time, the protocol
assumes that the risk of collision is low and if a request for transmission arrives, the packet is
transmitted instantly to maximize the channel utilization. This principle improves the efficiency of
the network, however it may result in a dead-lock of repeated collisions in some special situations.
A random TX Delay, applied only in free-channel conditions, eliminates the dead-lock while it does
not influence the network performance in busy conditions.
The recommended settings depend on the specific situation where the repetitive collisions may
occur. In most cases even the shortest possible TX Delay of 0 bytes and the TX Delay probability
of 25% set in the respective RipEXes solves the potential problem.
Hot Standby
When RipEX unit is used in RipEX-HS and Hot Standy is „On“ there are some limitations with it. Spe-
cifically, CD pin on COM1 and HW alarm Input and Output are used internally and not available to the
user. Neither Save nor Sleep modes can be activated. Please refer RipEX-HS User manual.
All settings below are valid only for RipEX units in RipEX-HS equipment, where two units in Hot Standby
mode are running. Both units MUST have the same settings! Only Unit names should be different as
this parameter is used in SNMP to recognize the sender of SNMP traps. In order to ensure that the
settings of both units are identical, it is recommended to set unit “A”, thereafter save its settings into a
file (Maintenance/Configuration/Save to file) and use these settings for unit “B”. (Maintenance/Config-
uration/Restore/File path/Upload) Finally, a unique Unit name should be assigned to Unit B.
List box: Off, On
Default = Off
When “On”, HW switching from RipEX unit “A” to RipEX unit “B” is performed based on the HW Alarm
Output settings in Settings/Alarm management. RipEX “A” is the primary unit, , Unit “B” is activated if
there is HW alarm on unit “A” or unit “A” power source is down or when Auto Toggle Period expired.
When mentioned events passed, RipEX “A” goes to be active again.
•
MAC
Both units in RipEX-HS are using the same MAC addresses (MAC cloning). Whichever unit is active
(either “A or B”), RipEX Ethernet interface will use this MAC address. This MAC address has to be
unconditionally set to the same value in both units used in RipEX-HS. Otherwise, the switching
between units will not function properly.
Read own
– it is possible to download the MAC address of this unit. The value in the second unit
has to be manually set to the same value then
•
Auto Toggle mode
When Auto Toggle mode is On (HW button on front panel), controller automatically switches-over
to RipEX ”B“, even if “A” doesn't have any alarm and uses “B” for a set time in order to confirm that
RipEX ”B“ is fully ready-to-operate.
○
Start Date [YYYY-MM-DD]
Fill in the Date in the required format when Auto Toggle mode starts.
RipEX Radio modem & Router – © RACOM s.r.o.
90
Advanced Configuration
Summary of Contents for RipEX 1.6.0
Page 2: ......

