6. Installation
Step-by-step checklist
1.
Mount RipEX into cabinet (Section 6.1, “Mounting”).
2.
Install antenna (Section 6.2, “Antenna mounting”).
3.
Install feed line (Section 6.3, “Antenna feed line”).
4.
Ensure proper grounding (Section 6.4, “Grounding”).
5.
Run cables and plug-in all connectors except from the SCADA equipment (Section 4.2, “Connect-
ors”).
6.
Apply power supply to RipEX
7.
Connect configuration PC (Section 5.3, “Connecting RipEX to a programming PC”).
8.
Configure RipEX (Chapter 7,
9.
Test radio link quality (Section 5.5, “Functional test”).
10. Check routing by the ping tool (the section called “Ping”) to verify accessibility of all IP addresses
with which the unit will communicate.
11. Connect the SCADA equipment.
12. Test your application.
6.1. Mounting
6.1.1. DIN rail mounting
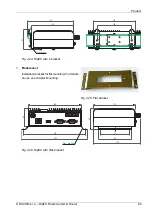
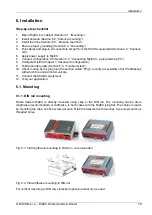
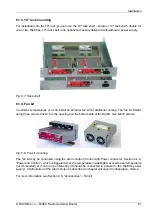
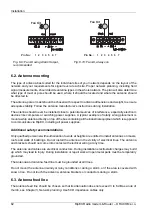
Radio modem RipEX is directly mounted using clips to the DIN rail. The mounting can be done
lengthwise (recommended) or widthwise, in both cases with the RipEX lying flat. The choice is made
by mounting the clips, one M4 screw per each. RipEX is delivered with two clips, two screws and four
threaded holes.
Fig. 6.1: Flat lengthwise mounting to DIN rail – recommended
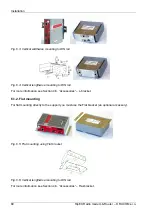
Fig. 6.2: Flat widthwise mounting to DIN rail
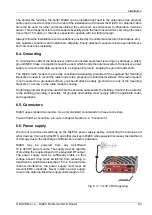
For vertical mounting to DIN rail, L-bracket (optional accessory) is used.
79
© RACOM s.r.o. – RipEX Radio modem & Router
Installation
Summary of Contents for RipEX 1.6.0
Page 2: ......


