QZTeco V55 Series User Manual Download Page 9

- 7 -

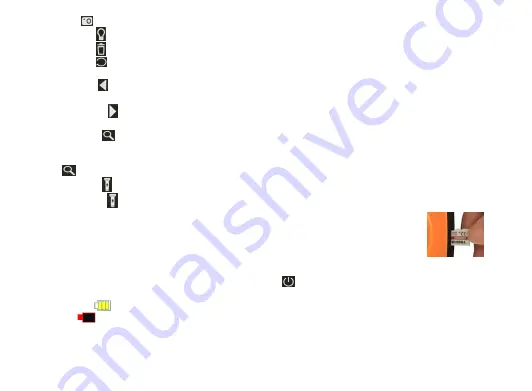
press the

button to save the still picture when the Micro SD card is installed.

6. Press the

button to increase /decrease the brightness of the camera ’s LEDs .

7. Press the

button to delete the picture/video.

8. Press the

button to flip the picture/ video (rotate it 180 °). Press the button again to

undo the inversion.
9. Press the

button to down to the bottom in the MENU or to decrease the number in

DATE/TIME setting.
10. Press the

button to up to the top in the MENU or to increase the number in

DATE/TIME setting.

11. Press the

button to zoom the picture/ video frame. The first press of the button to

a zoom level of 1.0 X. “1.0X” will appear in light at the top right of the screen. Push the

button se cond and third time to zoom in closer at a level of 1.5 X and 2.0 X. The next push

of the

button reverts to normal siz e (1.0X) vie wing.

12. Press the

button to turn on/off the flashlight.(The flashlight is standalone, you can

only press the

button to use the flashlight without power on the device.)

13.To put the Micro SD card(support MAX.32G) into the device, use your

thumb and index finger to carry the SD card with the front side up and

insert into the SD card slot, then use your thumb to push gently until the

SD card is locked with a sound. To take out the SD card, push the end of

the SD card with your thumb, the SD card is unlocked with a sound, then

you can pull out the SD card.

14 . To power off the device, press and hold the

button for at least 3 seconds.

15. The device is designed to be powered for several hours by the same set of four “AA ”

batteries. A

full battery icon will appear on screen when the total battery charge is

full.

A

flickering low battery icon will appear on screen when the total battery

charge drops below an operational threshold. To replace the batteries, follow the

procedure on

INSTALL BATTERIES

.

Summary of Contents for V55 Series

Page 1: ...spection Tool 720P HIGH DEFINITION VIDEO INSPECTION CAMERA Version 1 0 Please read this user manual carefully and thoroughly before using this product Failure to understand operation procedures may re...

Page 2: ...3 Specifications 4 Packing List 5 Basic Operation 5 6 Install batteries 5 Prepare the Probe 5 6 The Function of the Probe Tip Accessories in V5555 6 Operating Instructions 6 7 Menu Interface 8 Trouble...

Page 3: ...assembled but the video display unit is not Do not use the camera if condensation forms inside the lens Let the water evaporate before using again Do not use the unit to inspect environments known or...

Page 4: ...olor LCD display 3 9MM 4 1MM 5 5MM 720P HD ultra small camera lens with flexible snake tube 6 light adjustable LEDs mounted on lens 7 navigation buttons for functional partition Photo and video record...

Page 5: ...IDEO or VIDEO to PHOTO MENU OK button Short press to enter the MENU to confirm the selection DELETE button Increases Decrease brightness of LED lights on camera head UP button ZOOM button to enlarge v...

Page 6: ...ch Resolution 640 480 Luminance for LCM 400 Image Zoom 1 3times 1 0X 1 5X 2 0X Image flip 180 flip Brightness Control Video Image Video Resolution 1280 720 Signal Format Digital Image Format JPG Video...

Page 7: ...be turn the unit over to its back faces you use your thumb and index finger at the positions marked 0Note that the probe is tightly wrapped within a twisting channel that makes four full turns around...

Page 8: ...before using the tip accessories Each accessory has a specific purpose The 45 mirror lets the probe see around corners The hook lets you retrieve inaccessible items seen by the camera probe for examp...

Page 9: ...size 1 0X viewing 12 Press the button to turn on off the flashlight The flashlight is standalone you can only press the button to use the flashlight without power on the device 13 To put the Micro SD...

Page 10: ...aved as an individual file every 4minites approximately When the SD card memory is full you can not continue to save the picture video unless you backup the files and release the memory space Playback...

Page 11: ...e camera probe 3 The camera is damaged 1 Change the new batteries 2 Reconnect connections between the main body and the camera probe 3 Separate the camera probe from the main body and replace a new on...

Page 12: ...pply to defects resulting from abuse neglect accident unauthorized repair alteration or unreasonable use of the product Any implied warranties arising from the sale of a product including but not limi...

Reviews: