WWW.DUALSIG.COM
23
3: Scan
The PTZ can also work on the preset scan line repeatedly.
1). Scan setup
Step 1
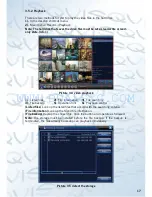
: In Picture 3.10, click the Setup button, which takes you to Picture 3.14;
Step 2
: Click the Pattern button and input a patrol value in the pattern value
blank;
Step 3
: Click the begin button and enter Picture 3.10, here you can set the
following items: Zoom, Focus, Aperture, Direction and so on. Click Set
button to go back Picture 3.14;
Step 4
: Click the End button to complete the setup, Click the right button of
the mouse to exit.
Picture 3.14 Scan Setup
2). Scan Calls
In Picture 3.10, click the Page Shift button to enter the PTZ control menu as
shown in Picture 3.12.
Please input the number of the scan in the value blank , then click the AutoScan
button, the PTZ will begin to work on the scan line . Click the stop button to stop.
4: Boundary Scan
1). Boundary Scan setup
Step 1
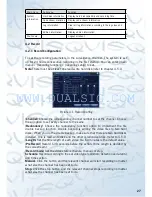
: In Picture 3.10, click the multi arrow direction button to turn the PTZ
to a left hand boundary position, then click Set button to enter Picture
3.15, select the left boundary, return to Picture 3.10;
Step 2
: Please click the multi arrow direction button to adjust the PTZ to the
right boundary, click Set button to enter Picture 3.15, then select the
right boundary, return to Picture 3.10;
Step 3
: Complete setup, the position of left and right boundary are now set.
right button click to exit.
Picture 3.15 Boundary Scan Setup
WWW.DUALSIG.COM


