background image

8

User Manual


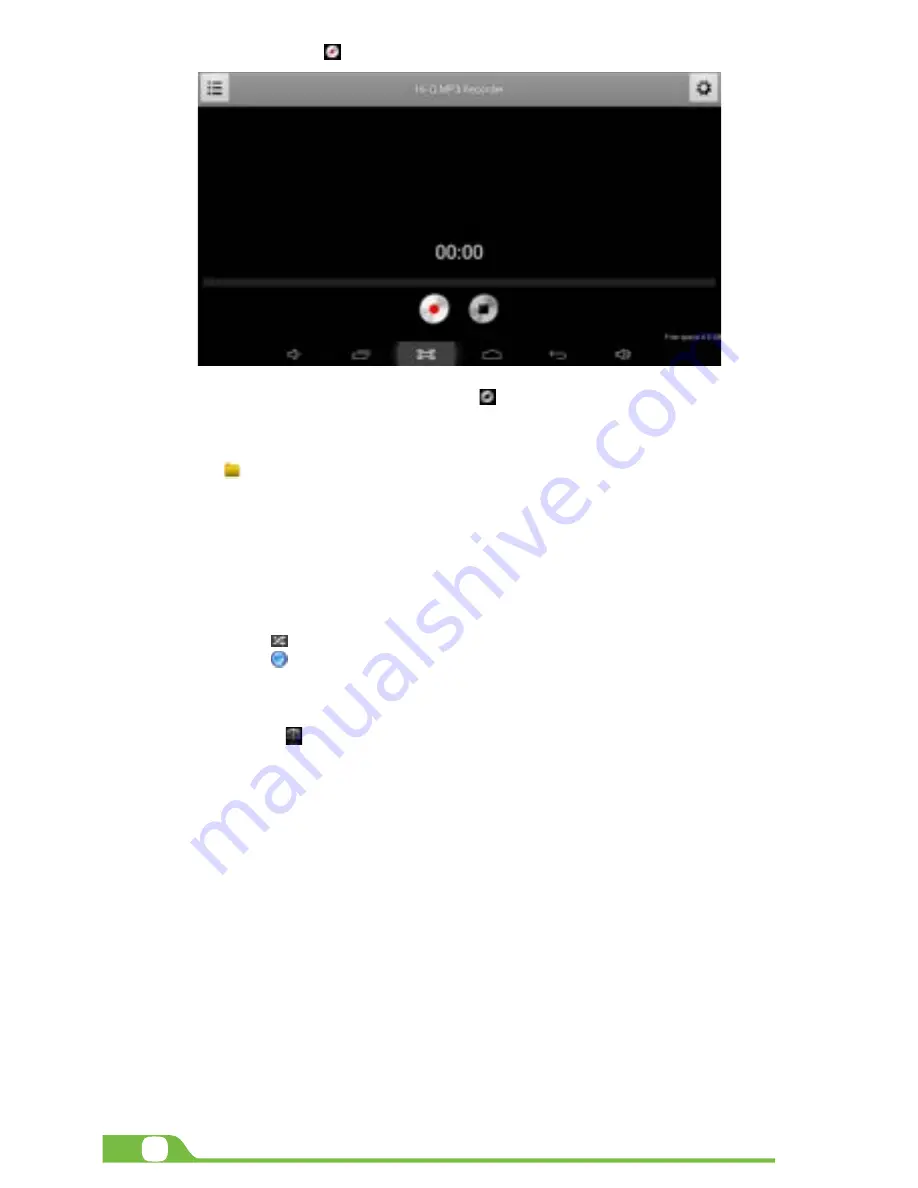
•  Next, tap on the icon    to start recording.


•  When you are finished recording, tap on the icon  to stop.


•  A dialog box will popup. Click on Done if you want to save your recording, or Discard if you prefer to 


  permanently delete that file.


•  Click on the icon to listen to the recording you just saved or go to Applications view, tap the File manager 


 icon   to see the recordings. To perform other file operations, tap and  hold your finger on the 


  recording; a menu will pop and you will be able to delete, rename, copy, move or email your file.

6.2. Music player


•  Select the icon to enter the music player interface.


•  Three different sorting schemes will be displayed at this stage: by Artists, Albums and Songs.


•  The user can also choose Playlists to replay his/her customized tracks, or tap on the Now playing tab 


  to either access the music or movie currently being played or to resume playback after being 


  stopped or paused.


•  Tap the icon   to enable or disable the random playback mode.


•  Tap the icon   to switch between continuous repeat mode or single song playback.

6.3. Camera

This interface provides an integrated camera, camcorder, and gallery experience.
 

•  Select the icon   to enter the camera interface.


•  Then touch the proper icon to toggle between still and video capture modes.


•  Tap the blue button in the center to take a snapshot or the red one to start recording.


•  After capturing a snapshot or recording a video, your file will appear above the blue button. Tap the 


  image once to choose options such as see your media file in the gallery send it by email, post it on 


  Facebook or in Twitter.


•  To delete your media file, just tap on the center of the image followed by the Garbage icon on the 


  upper right corner of the screen.


•  To view files, you can tap on the media application icon for instant visualization of your recorded files, 


  or go to your file manager and retrieve your images from the default location of the camera folder.

6.4. Camera and camcorder settings

Both the still mode and the video capture mode have additional settings. Still and video capture modes: 

slide the dot towards the plus (+) sign to zoom in or towards the minus (-) sign to zoom out. You may also tap 

the menu icon next to the minus sign to open options such as White balance, Exposure, Store location and Time 

lapse interval, only for video capture mode.

6.5. Social network applications

Your tablet comes with other popular and exciting social applications such as Facebook and Twitter. In order 

to access to them, you should set your own username password.

Summary of Contents for Pro 7

Page 1: ...User Manual mobility com PRO7...

Page 2: ...ger 5 2 Search 5 3 Manage downloads 5 4 Clock 5 5 Calendar 6 CHAPTER 6 Entertainment applications 6 1 Sound recorder 6 2 Music player 6 3 Camera 6 4 Camera and camcorder settings 6 5 Social applicatio...

Page 3: ...attery when installing it If the battery overheats or changes color while charging it or storing it stop using it Do not expose batteries to high temperatures Do not charge the battery for more than 2...

Page 4: ...y which includes six default navigation buttons accessible by touching the screen Icon Name Description Back Opens the previous screen you were working in Home Opens the Home screen Recent apps Opens...

Page 5: ...ust tap on the icon drag it and drop it at the location where you want to place it CHAPTER 3 Main applications 3 1 Internet access Configure the internet connection using your new tablet Go to Setting...

Page 6: ...ou will have instant access to all your emails using your wireless connection If you also want to set up a Gmail account look for the icon in the applications menu CHAPTER 4 Data transfer modes You ca...

Page 7: ...l storage device 5 2 Search Select the icon to open Google search in order to find content matching the key words you entered 5 3 Manage downloads The files apps or other items that the user downloads...

Page 8: ...icon to enter the camera interface Then touch the proper icon to toggle between still and video capture modes Tap the blue button in the center to take a snapshot or the red one to start recording Aft...

Page 9: ...ning or to view all of them 7 3 Personal settings Accountsand synchronization add remove and manage your Google and other accounts Locationand services enable Google s location service or Location and...

Page 10: ...swords visible tap to see the passwords as you set them 4 Device administration tap to view or deactivate device administrators or to allow installation of apps from unknown sources 5 Credential stora...

Page 11: ...ours max Standby time Up to 5 days Highlights Wi Fi Supports 802 11 b g n technology Speed 150 Mbps Sensor 360 degree 12 bit proximity light and G sensor Languages Multilingual Vibrate alert No Blueto...

Page 12: ...FCC Statement This equipment has been tested and found to comply with the limits for a Class B digital device pursuant to part 15 of the FCC Rules These limits are designed to provide reasonable prote...

Reviews: