Approved Document Number DNU6500005 Rev 4
2/4
Configuration Guide
1.
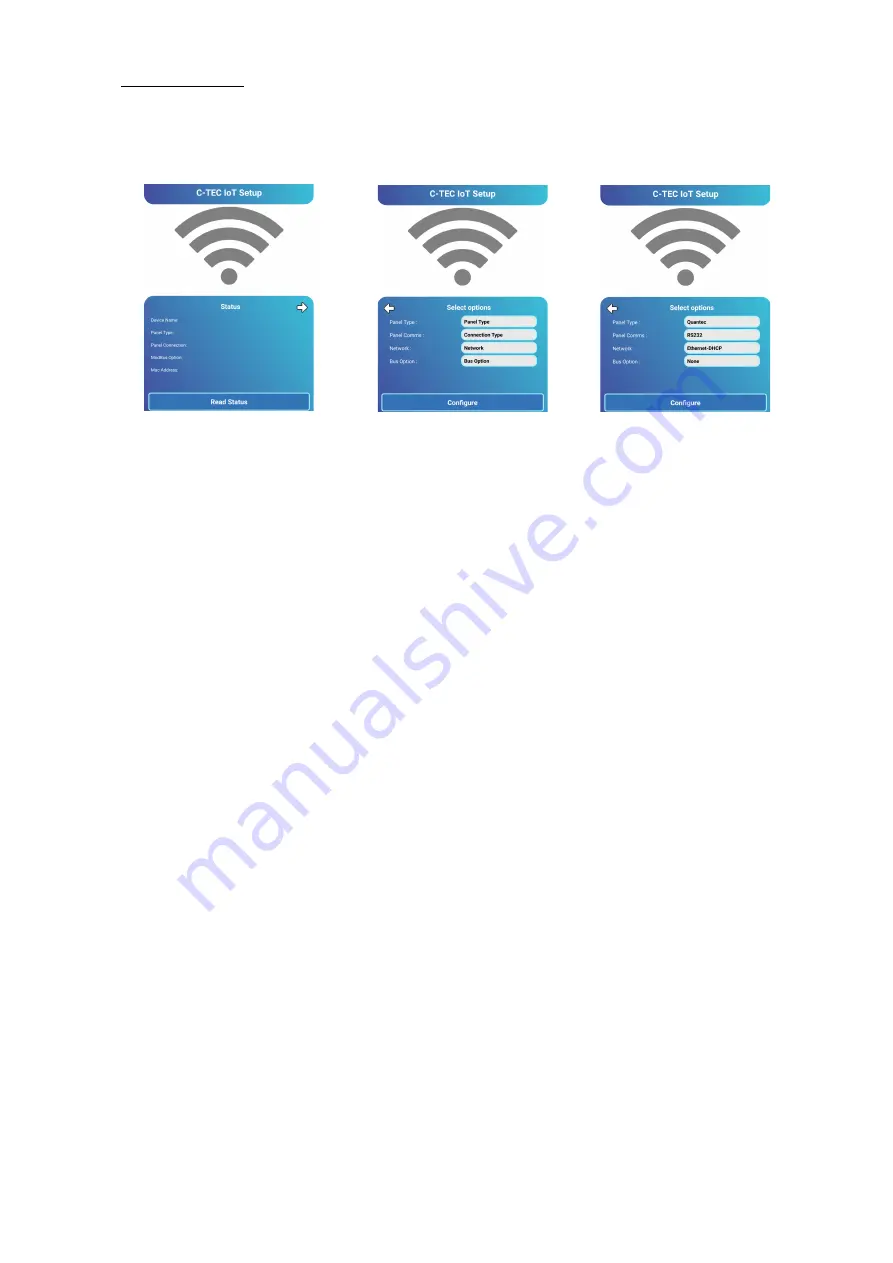
Open the ‘C-TEC IoT Setup’ app on your mobile device as shown in Fig.1 below:
Fig.1 – Typical IoT Setup Displays
2.
Use the white arrow symbol
➪
to navigate to the “Select Options” page to select the correct options
for your installation.
3.
Once the correct options have been selected, place and hold your mobile device (phone/ tablet etc.)
very close to the IOT Connect Card (within 30 cm).
Tip. If more than one Surveyor 2 device is closely located in the same area, remove power from these
devices to ensure that the correct Surveyor 2 device is connected. The app will connect to the strongest
signal (usually the closest device).
4.
Press the Configure button at the bottom of the screen. This will transfer the configuration setting to
the IOT Connect Card. It is normal for the Yellow Error light to illuminate during configuration to show
that a connection to your device has been made.
5.
Once configured a green tick will be displayed in the app. The mobile device can now be removed
away from the IOT Connect Card and the app closed.
Please note that after any configuration update, the IOT Connect Card will re-boot and may take up to
5 minutes to re-start. In the event of RUN, LINK or ERROR indicator problems (shown on page 1), the
IoT Setup app can be used to gain information on the status of the connection.
6.
Power down the IOT Connect Card using the Red button (shown on page 1).
7.
Connect the IOT Connect Card into the building Ethernet. Remove power to the IOT Connect Card
(disconnect Power connector 3 shown on page 1), then re-apply power (reconnect Power connector 3).
8.
On powering up, confirm Green light turns on at the Ethernet connector, this means connection is LIVE.
9.
Confirm Green POWER LED and Green RUN LED on the IOT Connect Card turn on.
10.
If the IOT Connect Card’s Red ERROR LED turns on, check steps above have been done correctly and
check building network connection.


