3.
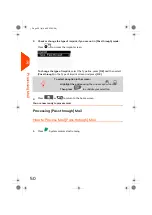
Once you are on the home screen with postage value is zero, then you press
.
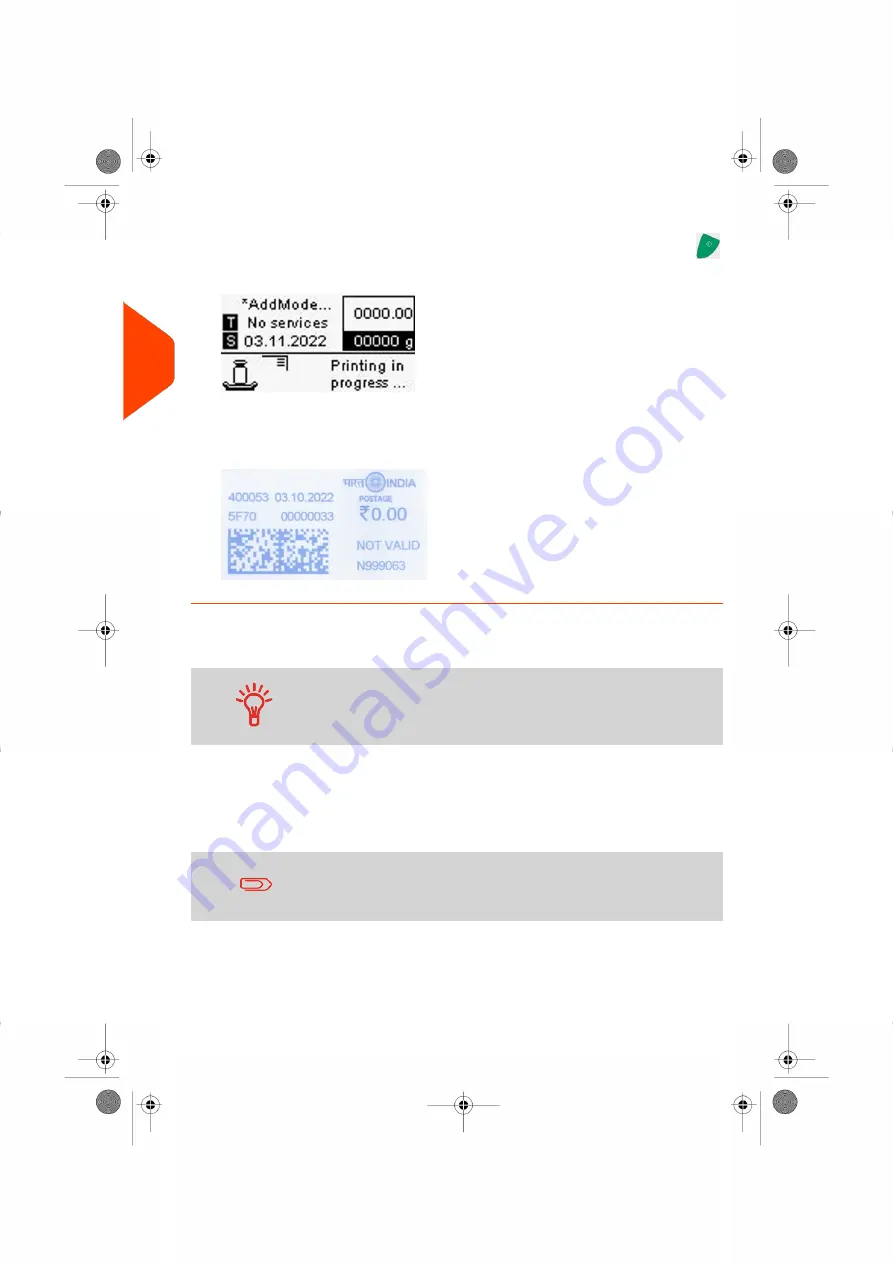
The screen is diplayed with "AddMode".
4.
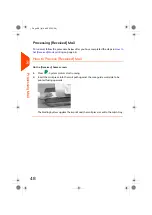
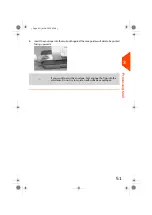
Insert the mailpiece into the mail path against the rear-guide wall, side to be
printed facing upwards.
The Mailing System applies the imprint and the mailpiece is sent to the catch tray.
Setting a Job Memory for [Normal] Mail
To set the imprint quickly, consider using
job memories
. The
memories store imprint characteristics together with rates and,
if activated, charged account. See
on page
61.
Processing [Normal] Mail
Mail processing mainly depends on the
weighing method
you have chosen. It is indicated
by the icon in the Weighing Type zone of the screen.
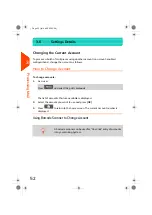
If you need to change the current account before applying
postage (on account-enabled configurations), see
on page 52.
42
| Page 42 | Jul-24-2023 01:59 |
3
Processing
Summary of Contents for IS-420
Page 1: ...User Guide IS 420 Mailing Systems...
Page 5: ...Page 4 TOC Jul 24 2023 01 59...
Page 7: ......
Page 15: ......
Page 17: ......
Page 31: ......
Page 33: ......
Page 71: ...The Label Dispenser can hold up to 40 labels 66 Page 66 Jul 24 2023 01 59 3 Processing Mail...
Page 73: ......
Page 81: ......
Page 83: ......
Page 99: ......
Page 101: ......
Page 115: ...Content 110 Page 110 Jul 24 2023 01 59 6 Reports...
Page 127: ......
Page 135: ......
Page 149: ...3 Press OK to validate 144 Page 144 Jul 24 2023 01 59 8 Configuring your Mailing System...
Page 155: ...Geodesic map 150 Page 150 Jul 24 2023 01 59 8 Configuring your Mailing System...
Page 156: ...Geodesic codes 8 Configuring your Mailing System 151 Page 151 Jul 24 2023 01 59...
Page 167: ......
Page 169: ......
Page 183: ......
Page 199: ......
Page 201: ......
Page 211: ......
Page 220: ...A0154024 A 24 07 2023...


