background image

Conversion

Procedure

3

QMS magicolor WX to QMS magicolor CX Conversion

Installing the magicolor CX Controller Board

Caution:

 The following procedure is written for the system 

administrator. Do not attempt this procedure if you have no 
experience working with circuit boards.

1

Turn off the printer, remove the power 
cord, and disconnect all interface 
cables from the printer.

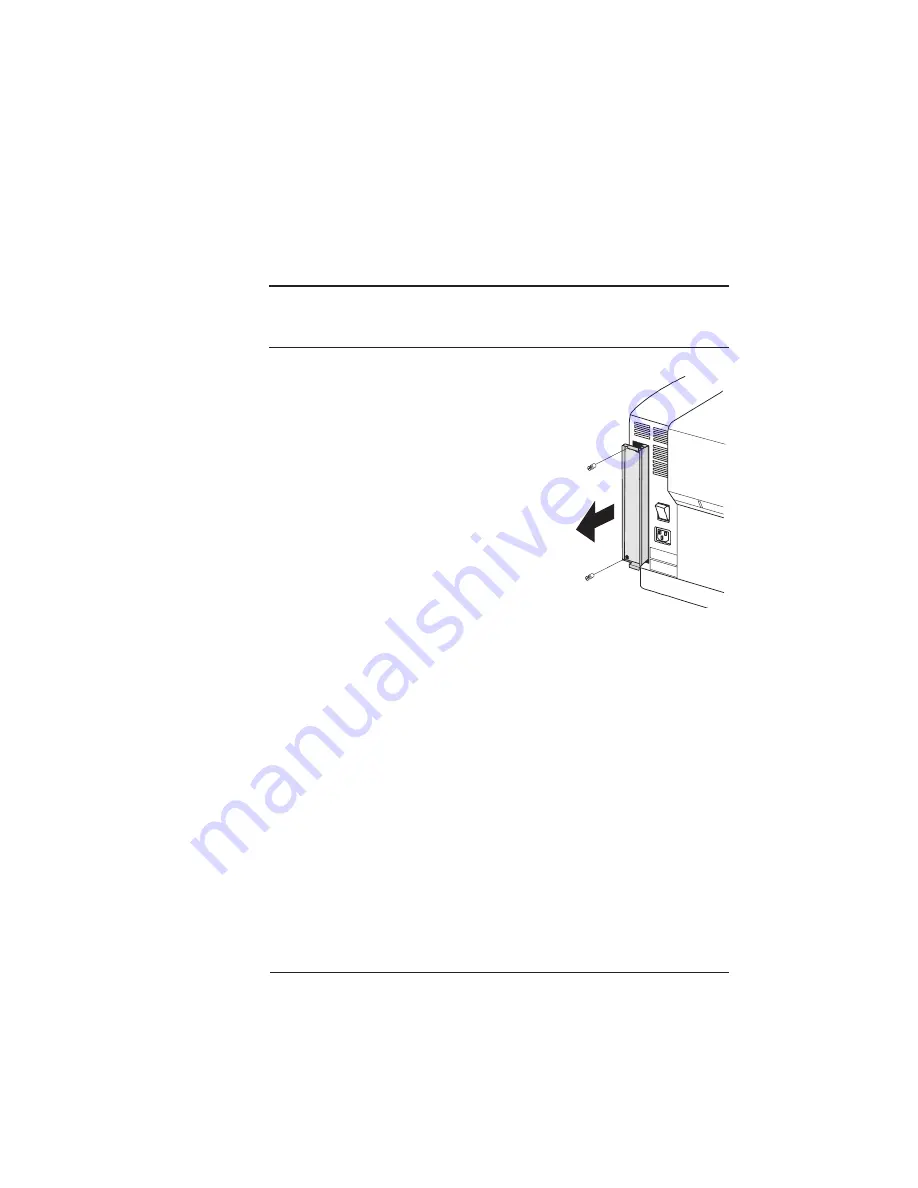
2

Using a flat-head screwdriver, loosen 
the two mounting screws that hold 
the controller board to the printer.

3

Pull the controller board straight out 
and lay it on a flat surface.

4

Remove the 

magicolor

 CX controller board from its 

packaging.

5.

Remove any SIMMs you purchased separately from their 
packaging and install them on the 

magicolor

 CX controller 

board.

Refer to chapter 2, “Printer Options,” of your 

QMS magicolor CX 

Reference

 manual for SIMM installation instructions.

6

Carefully remove any RAM SIMMs from the 

magicolor

 WX 

controller board, and, if necessary, install them on the 

magi-

color

 CX controller board.

Refer to chapter 2, “Printer Options,” of your 

QMS magicolor CX 

Reference

 manual for SIMM removal instructions and installation 

instructions.

Summary of Contents for Magicolor CX

Page 1: ...QMS magicolor WX to QMS magicolor CX Conversion Instructions 1800445 001A...

Page 2: ...ll Rights Reserved This software may not be reproduced modified displayed transferred or copied in any form or in any manner or on any media in whole or in part without the express written permission...

Page 3: ...QMS magicolor CX controller board See the installation instructions in this document n Anti static wrist strap n QMS magicolor CX User s Guide n QMS magicolor CX System Administrator s Guide n QMS mag...

Page 4: ...of equipment such as on the back of a computer is suitable if it is plugged in but turned off Never attach the wrist strap to any piece of equipment with an electrical current present Turn off all pow...

Page 5: ...oard to the printer 3 Pull the controller board straight out and lay it on a flat surface 4 Remove the magicolor CX controller board from its packaging 5 Remove any SIMMs you purchased separately from...

Page 6: ...k or an Intellifont SIMM install them now Refer to chapter 2 Printer Options of your QMS magicolor CX Reference manual for instructions 8 Reinsert the controller board making sure it s properly seated...

Page 7: ...ion Labels The following diagrams show where the new identification labels should be installed on the printer Rear Identification Labels Front Identification Labels Crown Seal P N 1241031 001 QMS magi...

Page 8: ...ow to contact QMS After the Conversion is Complete To verify the conversion print a start up page The print system name QMS magicolor CX on the printer start up page indicates that the printer has suc...

Reviews: